Cluster Configuration#
Ansible Settings#
Ensure Ansible version 2.15 or higher is installed.
Edit ansible.cfg and add the following lines:
[defaults]
jinja2_native=True
OpenShift CLI#
Log in to the Red Hat console and click Downloads.
Search for OpenShift command-line interface (oc) under Command-line interface (CLI) tools. Select Linux as the OS and click Download.
Extract the downloaded package to a directory that’s on the
PATH. For example,/usr/local/bin. Verify that you can execute commandocfrom a new terminal window.
OpenShift Web Console#
There are two ways to obtain credentials for the OpenShift web console:
End of Cluster Installation: The console URL and password are printed to the terminal after a successful cluster installation. Refer to end of installation output for more details.
- Red Hat Console:
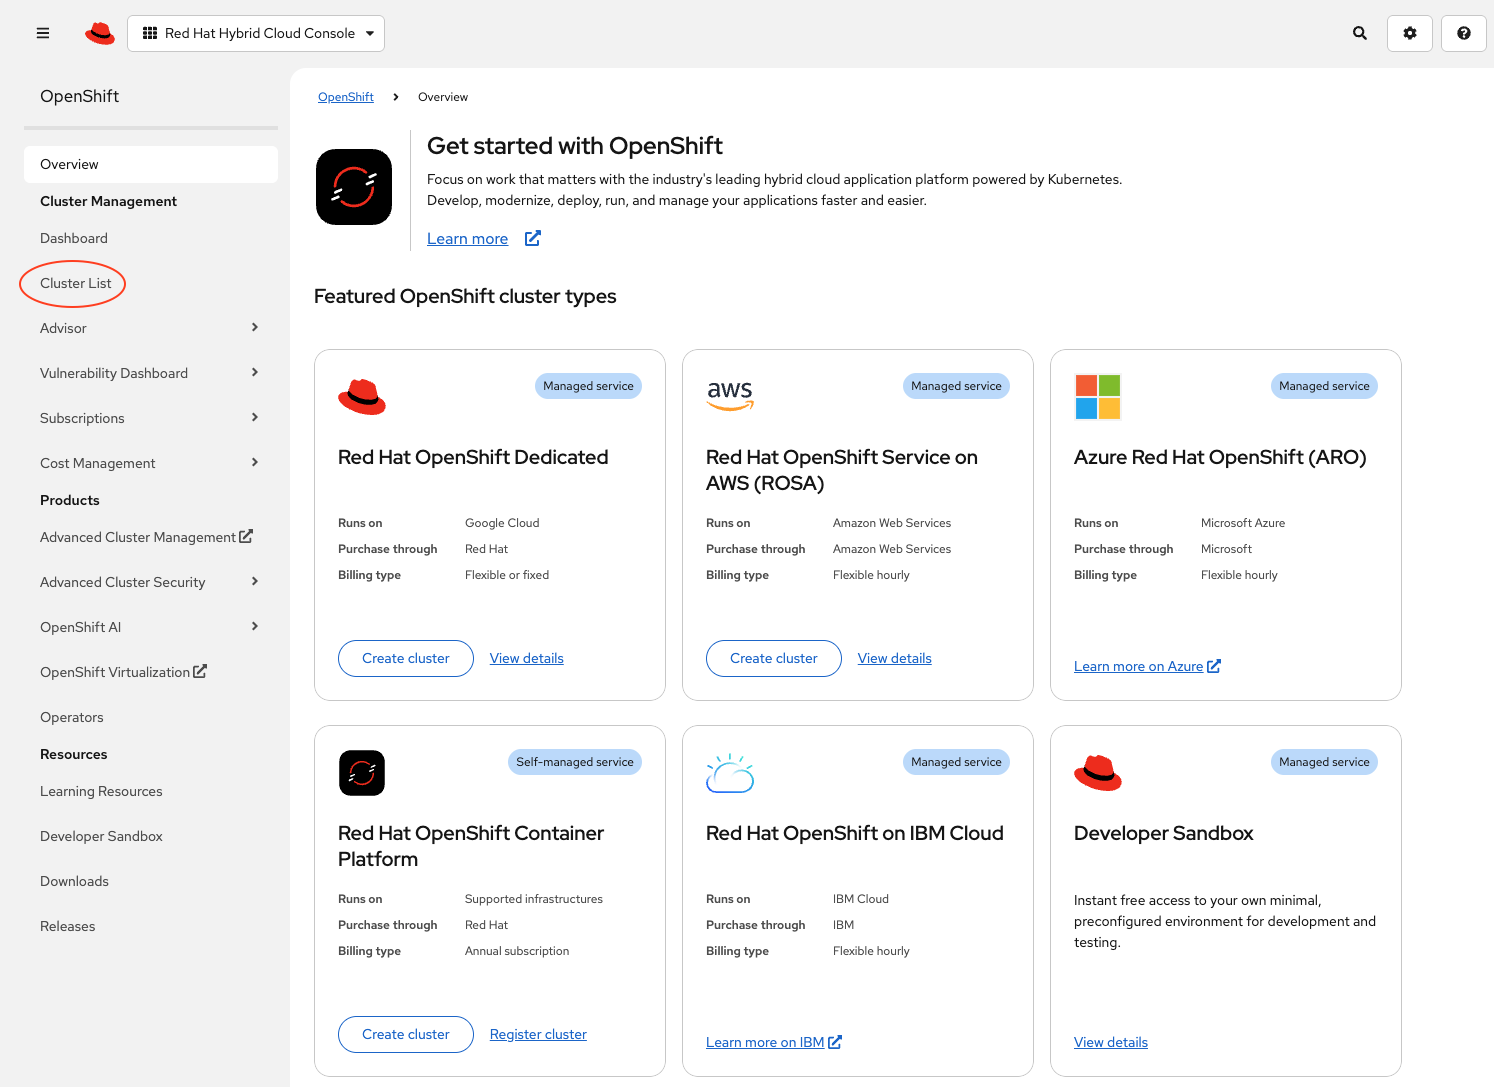
Log in to the Red Hat console and click Cluster List.
Click the cluster. Verify that it has
Readystatus. If not, then re-run the installation playbook, as the installation process did not have completed successfully.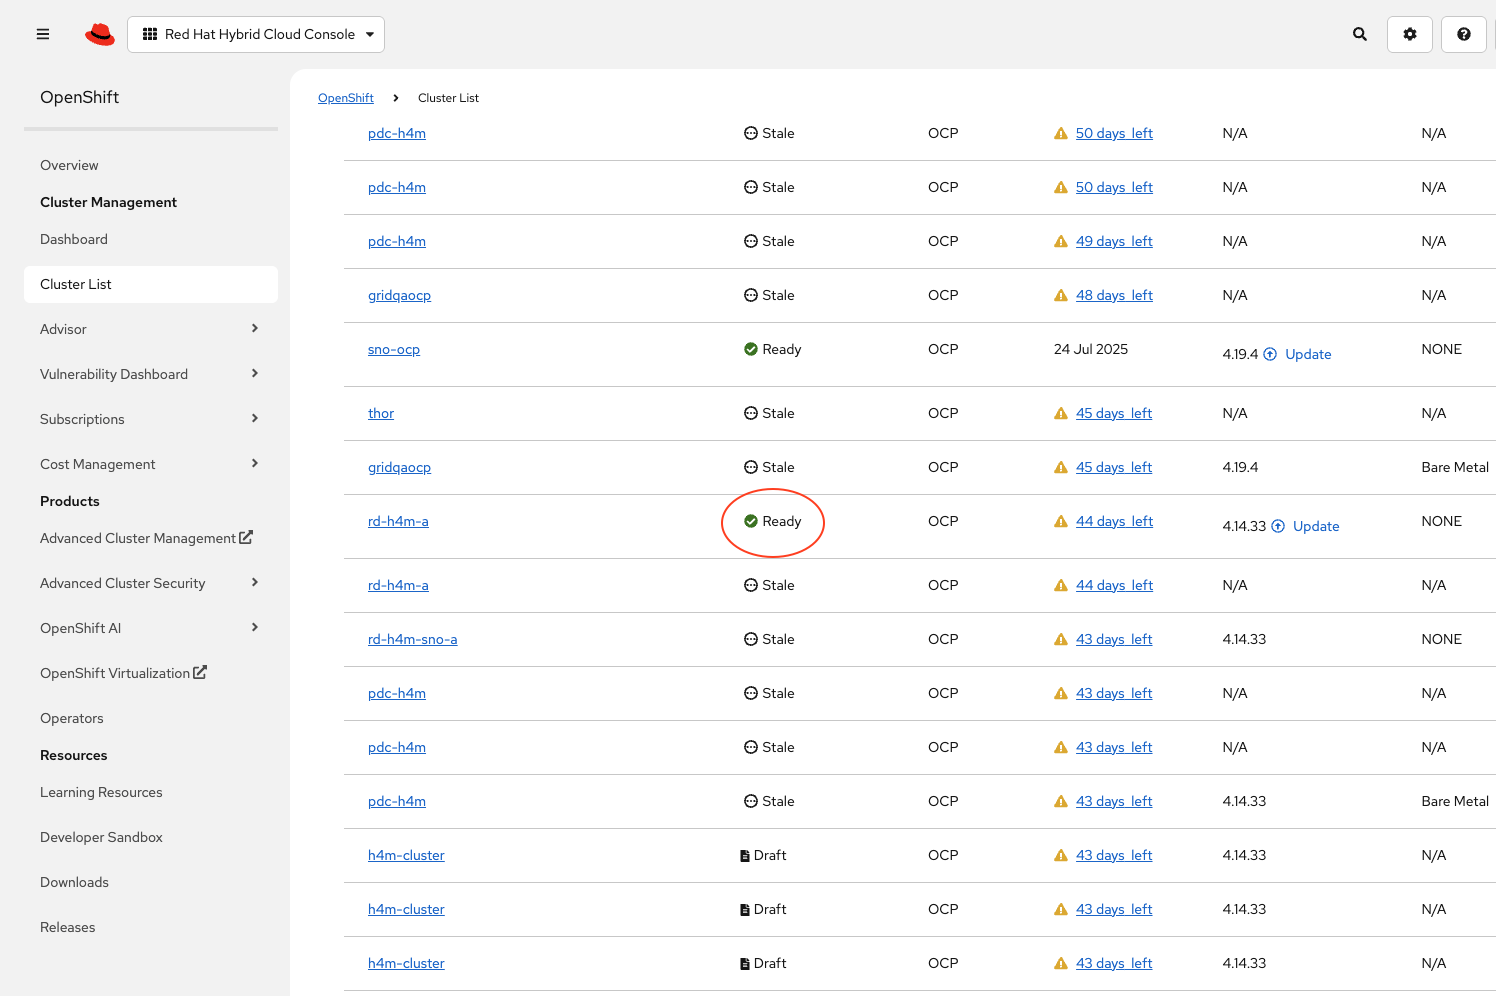
The Cluster Credentials will be displayed. Click the Web Console URL to access the OpenShift web console using the credentials.
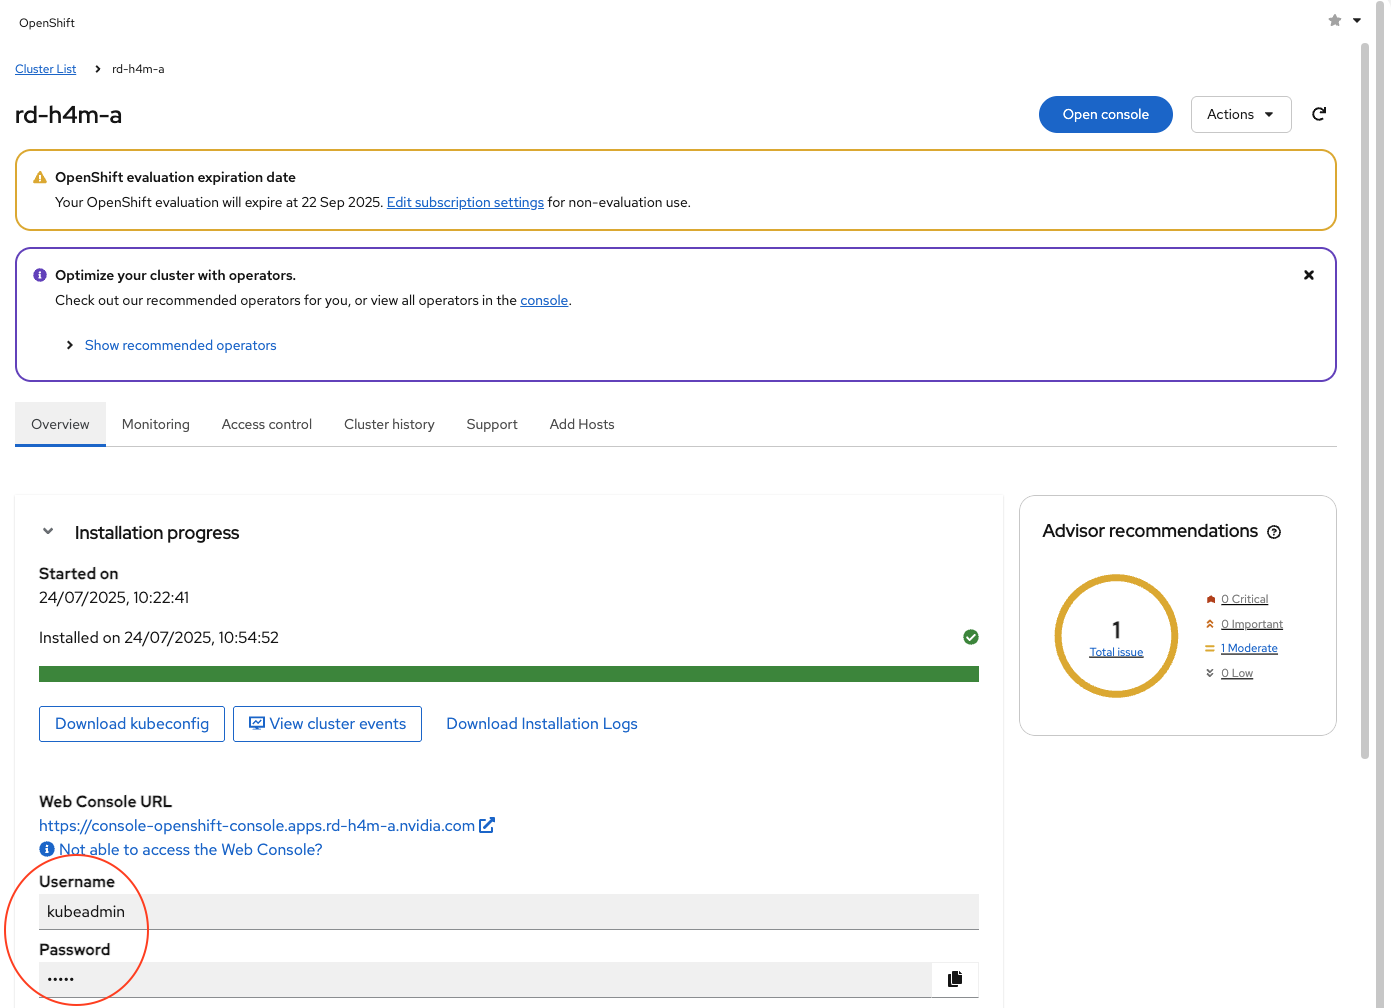
Note
If you are not able to access the web console, refer to IP Addresses and DNS Records or click Not able to access the Web Console to get a troubleshooting dialog box with information to access the cluster.

OpenShift API Token#
Use an API token to authenticate with an OpenShift cluster and configure nodes, install operators including NVIDIA Network Operator, NVIDIA GPU Operator, OpenShift SRIOV Network Operator. Follow these steps to generate an API token:
Access the OpenShift web console by entering the console URL in a browser.
Log in to the OpenShift web console using your kubeadmin credentials.
Click the kubeadmin user icon (right-hand top corner).
Click Copy login command. In the new tab that opens, click Display Token.
Make a note of server URL and token.
Sample server URL: https://api.h4m-cluster.example.com:6443
Sample token: sha256~69rjndX6omNdXuGLpi_bp3WX_3rTRFkMJQBaU-6A-N0
Running the Configuration Playbook#
Important
Before running the configuration playbook, review and update the required variables in the custom-vars.yaml file located in the configuration directory.
This file contains all the necessary settings for configuring the cluster, including the server URL and token.
If these are not provided, the playbook will fail.
Open a terminal and type
octo verify that OpenShift CLI tool is present in thePATHand can be run.Navigate to the directory where configuration tarball was unarchived (for example,
/home/user/openshift-automation/configuration/).Run ansible playbook using the following command:
ANSIBLE_LOG_PATH=./configuration_$(date +'%Y%m%d_%H%M%S').log ansible-playbook main.yaml -e @custom-vars.yaml -e "NGC_API_KEY=<API-KEY>" -vv
where:
<API-KEY>is an NGC API KeyThe
-vvflag enables verbose output for debugging. You can change it to-vfor less detail or-vvvor-vvvvfor increasingly more detailed logs.
Note
In case
JINJA2_NATIVEis not set toTrueinansible.cfg, the playbook will fail with the following error:ERROR! '{{' is not a valid tag.
To resolve this without modifying
ansible.cfg, prefix the above command withANSIBLE_JINJA2_NATIVE=True.This script will take approximately two hours to complete depending on the cluster size.
Check Network Adapter Firmware and Configuration#
To produce ST 2110 compliant streams, it is important to ensure each network adapter is optimally configured. To check and update the network adapter firmware, we will use Driver Toolkit. The Driver Toolkit is a container image, which includes the kernel packages commonly required by tools in driver containers. For more information, see the Driver Toolkit documentation.
You must iterate through this section for all of your driver-toolkit containers.
Find the Driver Toolkit image for the cluster:
oc adm release info --image-for=driver-toolkit
quay.io/openshift-release-dev/ocp-v4.0-art-dev@sha256:4feae2e6bb59f667431e11e832d294fc5900c1ab38a3bb845191ee93524208e4
Create a new project namespace:
oc new-project driver-toolkit
Create
driver_toolkit.yamlbased on the following template:apiVersion: v1 kind: ServiceAccount metadata: name: driver-toolkit-container --- apiVersion: rbac.authorization.k8s.io/v1 kind: Role metadata: name: driver-toolkit-container rules: - apiGroups: - security.openshift.io resources: - securitycontextconstraints verbs: - use resourceNames: - privileged --- apiVersion: rbac.authorization.k8s.io/v1 kind: RoleBinding metadata: name: driver-toolkit-container roleRef: apiGroup: rbac.authorization.k8s.io kind: Role name: driver-toolkit-container subjects: - kind: ServiceAccount name: driver-toolkit-container userNames: - system:serviceaccount:mft-driver:driver-toolkit-container --- apiVersion: apps/v1 kind: DaemonSet metadata: name: driver-toolkit-container spec: selector: matchLabels: app: driver-toolkit-container template: metadata: labels: app: driver-toolkit-container spec: serviceAccount: driver-toolkit-container serviceAccountName: driver-toolkit-container containers: - image: quay.io/openshift-release-dev/ocp-v4.0-art-dev@sha256:<SHA> name: driver-toolkit-container imagePullPolicy: Always command: [sleep, infinity] securityContext: privileged: true nodeSelector: node-role.kubernetes.io/<machine-config-pool>: ""
Replace
<machine-config-pool>withholoscanmediafor a 5-node cluster ormasterfor a 3-node cluster or SNO.Replace image
<SHA>with the driver-toolkit container information extracted in the section above.Deploy the daemon set:
oc create -f driver-toolkit.yaml
Note
This step reports “Warning: would violate PodSecurity “restricted:v1.24”…”. You can safely ignore it.
List pods created under the new project
driver-toolkit:oc get pods NAME READY STATUS RESTARTS AGE driver-toolkit-container-l6d5c 1/1 Running 0 19m driver-toolkit-container-qlj5d 1/1 Running 0 19m
Log into the first container:
oc exec -it driver-toolkit-container-l6d5c -- /bin/bash
Download firmware tools using the following command. The firmware tools archive will be downloaded into the current directory:
wget https://www.mellanox.com/downloads/MFT/mft-4.33.0-169-x86_64-rpm.tgzUnzip the archive:
tar -xvf mft-4.33.0-169-x86_64-rpm.tgz
Navigate to the extracted directory and install:
cd mft-4.33.0-169-x86_64-rpm
./install.sh
...
-I- In order to start mst, please run "mst start".
Install the PCI Utilities package and start
mstas instructed in previous output:yum install pciutils -y ... Complete! mst start Starting MST (Mellanox Software Tools) driver set Loading MST PCI module - Success Loading MST PCI configuration module - Success Create devices -W- Missing "lsusb" command, skipping MTUSB devices detection Unloading MST PCI module (unused) - Success
Check the network adapter firmware using the following command:
mlxfwmanager -u --online
Follow the prompts to update the firmware as required. Firmware updates take several minutes, and a restart is needed for updates to take effect. This can be done once, after all configuration changes have been made.
Check PCI address of MST devices, that is, network adapters:
mst status

MST modules:
------------
    MST PCI module is not loaded
    MST PCI configuration module loaded
MST devices:
------------

/dev/mst/mt4129_pciconf0      - PCI configuration cycles access.
                                domain:bus:dev.fn=0000:37:00.0 addr.reg=88
                                Chip revision is: 00
/dev/mst/mt4129_pciconf1      - PCI configuration cycles access.
                                domain:bus:dev.fn=0000:8b:00.0 addr.reg=88
                                Chip revision is: 00
/dev/mst/mt41692_pciconf0     - PCI configuration cycles access.
                                domain:bus:dev.fn=0000:a0:00.0 addr.reg=88
                                Chip revision is: 01
For each device listed above, ensure
REAL_TIME_CLOCK_ENABLEisTrue. Query the configuration setting using highlighted command and change as needed.mlxconfig -d /dev/mst/mt4129_pciconf0 query REAL_TIME_CLOCK_ENABLE Device #1: ---------- Device type: ConnectX7 Name: MCX713106AC-VEA_Ax Description: NVIDIA ConnectX-7 HHHL Adapter Card; 200GbE; Dual-port QSFP112; PCIe 5.0 x16; Crypto Enabled; Secure Boot Enabled Device: /dev/mst/mt4129_pciconf0 Configurations: Next Boot REAL_TIME_CLOCK_ENABLE False(0)
Because
REAL_TIME_CLOCK_ENABLEis set to False (0), let’s enable it:mlxconfig -d /dev/mst/mt4129_pciconf0 set REAL_TIME_CLOCK_ENABLE=1 Device #1: ---------- Device type: ConnectX7 Name: MCX713106AC-VEA_Ax Description: NVIDIA ConnectX-7 HHHL Adapter Card; 200GbE; Dual-port QSFP112; PCIe 5.0 x16; Crypto Enabled; Secure Boot Enabled Device: /dev/mst/mt4129_pciconf0 Configurations: Next Boot New REAL_TIME_CLOCK_ENABLE False(0) True(1) Apply new Configuration? (y/n) [n] : y Applying... Done! -I- Please reboot machine to load new configurations.
Any change in configuration requires the machine to be rebooted. This can be done once, after all configuration changes have been made.
If you are using AMD based servers, ensure
PCI_WR_ORDERINGis set toforce_relaxfor each device listed in the output of the step 15mst statuscommand. Query the the value ofPCI_WR_ORDERINGusing the following command:mlxconfig -d /dev/mst/mt4129_pciconf0 query PCI_WR_ORDERING Device #1: ---------- Device type: ConnectX7 Name: MCX713106AC-VEA_Ax Description: NVIDIA ConnectX-7 HHHL Adapter Card; 200GbE; Dual-port QSFP112; PCIe 5.0 x16; Crypto Enabled; Secure Boot Enabled Device: /dev/mst/mt4129_pciconf0 Configurations: Next Boot PCI_WR_ORDERING per_mkey(0)
Because
PCI_WR_ORDERINGis set toper_mkey (0), let’s set it:mlxconfig -d /dev/mst/mt4129_pciconf0 set PCI_WR_ORDERING=1 Device #1: ---------- Device type: ConnectX7 Name: MCX713106AC-VEA_Ax Description: NVIDIA ConnectX-7 HHHL Adapter Card; 200GbE; Dual-port QSFP112; PCIe 5.0 x16; Crypto Enabled; Secure Boot Enabled Device: /dev/mst/mt4129_pciconf0 Configurations: Next Boot New PCI_WR_ORDERING per_mkey(0) force_relax(1) Apply new Configuration? (y/n) [n] : y Applying... Done! -I- Please reboot machine to load new configurations.
If you are using a purchased Rivermax license, rather than a time-limited development license, you must enable NIC serial number validation using
VF_VPD_ENABLE.mlxconfig -d /dev/mst/mt4129_pciconf0 query VF_VPD_ENABLE Device #1: ---------- Device type: ConnectX6DX Name: MCX623106AN-CDA_Ax Description: ConnectX-6 Dx EN adapter card; 100GbE; Dual-port QSFP56; PCIe 4.0/3.0 x16; Device: /dev/mst/mt4129_pciconf0 Configurations: Next Boot VF_VPD_ENABLE False(0)
Because
VF_VPD_ENABLEis set toFalse (0), let’s enable it:mlxconfig -d /dev/mst/mt4129_pciconf0 set VF_VPD_ENABLE=1 Device #1: ---------- Device type: ConnectX7 Name: MCX713106AC-VEA_Ax Description: NVIDIA ConnectX-7 HHHL Adapter Card; 200GbE; Dual-port QSFP112; PCIe 5.0 x16; Crypto Enabled; Secure Boot Enabled Device: /dev/mst/mt4129_pciconf0 Configurations: Next Boot New VF_VPD_ENABLE False(0) True(1) Apply new Configuration? (y/n) [n] : y Applying... Done! -I- Please reboot machine to load new configurations.
Notice that any change in configuration requires the machine to be rebooted. This can be done once, after all configuration changes have been made.
Exit from the Driver Toolkit container:
exit

Exit...
Repeat the above steps for all the other driver-toolkit containers.
Delete the driver-toolkit daemon set:
oc delete -f driver-toolkit.yaml
Delete the driver-toolkit project:
oc delete project driver-toolkit
Restore the OpenShift CLI default project:
oc project default

Now using project "default" on server "https://api.h4m.example.com:6443".
Reboot each of the worker machines using the instructions listed in Reboot Node Gracefully.
Reference Applications#
A set of reference applications may be deployed on the cluster using another Ansible playbook. Refer to the Application Deployment section.