Installation#
Prerequisites#
Before proceeding with the automated cluster installation using the downloaded Ansible playbooks, prepare the following items.
OpenShift Access Token#
Generate an offline token for authentication with the Red Hat Assisted Installer API.
Log in to the OpenShift Cluster Manager as a user with cluster creation privileges.
Click Downloads in the left-hand menu bar.
Scroll to the bottom of the web page and click View API Token in the Tokens section.
Click use API tokens to authenticate.
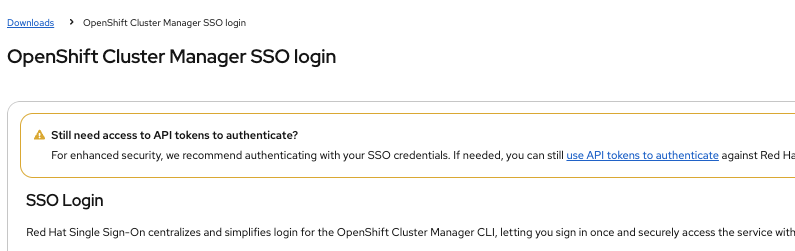
Click Load Token. Copy the token and save it to use during cluster installation.
IP Addresses and DNS Records#
The IP address of each node’s IPMI/BMC interface is required at installation time. Each node also requires a DHCP-assigned IP address for its node management interface. It is recommended to make DHCP reservations for these Node IP addresses.
All OpenShift clusters have two important external endpoints:
Kubernetes API: This provides a single, stable entry point for clients to interact with the OpenShift Container Platform API. This includes operations like managing cluster resources, deploying applications, and retrieving cluster status.
Ingress: This serves as the entry point for external traffic destined for applications running within the OpenShift cluster.
For single node clusters, these endpoints are exposed on the Node IP address. For compact (3-node) and standard (5+ nodes) clusters, a static Virtual IP (VIP) address is required for each of these endpoints.
The DNS names for these endpoints have the following format:
Kubernetes API:
api.<name>.<base_dns_domain>Ingress:
*.apps.<name>.<base_dns_domain>(wildcard)
The Cluster Details section below describes how the name and base_dns_domain are configured at installation time.
Add DNS A records to your DNS server to map these DNS names to the VIP addresses or, in the case of a single-node cluster, the Node IP address.
Alternatively, you can add entries to your local hosts file. This does not support DNS wildcards, so entries must be created for every application’s ingress endpoint and kept updated as new applications are deployed.
Configuring Installation Playbooks#
We need to change properties in the following asset files required by the installation playbook. These asset files are located in the installation/assets directory:
File |
Purpose |
|---|---|
|
Defines cluster-level properties including name, base domain, OpenShift version, CPU architecture, high availability mode, and API/Ingress VIP addresses |
|
Contains server-specific information including IPMI/BMC credentials, hostnames, and node roles for each physical server in the cluster |
Cluster Details#
Open the cluster.json file and add the following details:
Property |
Description |
|---|---|
|
Name of the cluster. For example, |
|
Base DNS domain of the cluster. For example, |
|
API virtual IP address. For a single-node cluster this field is ignored. |
|
Ingress virtual IP address. For single-node cluster this field is ignored. |
With the example name and base_dns_domain values:
Kubernetes API endpoint:
https://api.h4m-cluster.example.com:6443Ingress endpoints:
*.apps.h4m-cluster.example.com, for example,https://console-openshift-console.apps.h4m-cluster.example.com
Server Details#
Open the cluster_details.json file and provide the Intelligent Platform Management Interface (IPMI) login credentials for each server.
Cluster Size Requirements:
Single Node Cluster: Add details of one host
Compact Cluster (3-node): Add details of three hosts (all with
masterrole)Standard Cluster (5+ nodes): Add details of five or more hosts (three with
masterrole, the rest withworkerrole)
Property |
Description |
|---|---|
|
IPMI/BMC IP address of the server (used for Redfish API access to control server power and virtual media). |
|
IPMI/BMC username for authentication. |
|
IPMI/BMC password for authentication. |
|
Specify a name that will be assigned to the server during OpenShift cluster installation, for example, |
|
Node role in the cluster: |
Run the Playbook#
The Ansible playbooks need sudo access to copy the ISO file to the Apache HTTP server directory.
To run any Ansible command, activate the Python virtual environment previously created in the Software Prerequisites section:
source .h4m/bin/activate
Note
To exit the virtual environment at any time run:
deactivate
In the same terminal, export the offline access token generated earlier (refer to OpenShift Access Token).
export OFFLINE_ACCESS_TOKEN=<token>
In the same terminal, run the Ansible playbook using the following command:
ANSIBLE_LOG_PATH=./installation_$(date +'%Y%m%d_%H%M%S').log ansible-playbook main.yml --ask-become-pass -vv
The
-vvflag enables verbose output for debugging. You can change it to-vfor less detail or-vvvor-vvvvfor increasingly more detailed logs.
When prompted, enter the current user password to grant
sudoaccess.
After completion of the playbook, the final Ansible task prints the clusters’s OpenShift web console login details on the terminal:
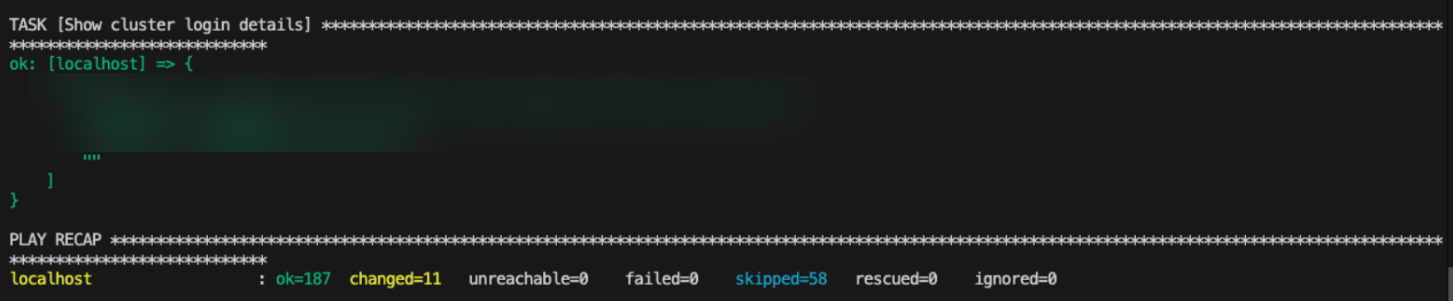
Save the console URL, username, and password. They are used later to generate the OpenShift API Token from the OpenShift web console.
Download Kubeconfig#
It is recommended to download the kubeconfig file as Red Hat maintains it only for 20 days from the cluster installation.
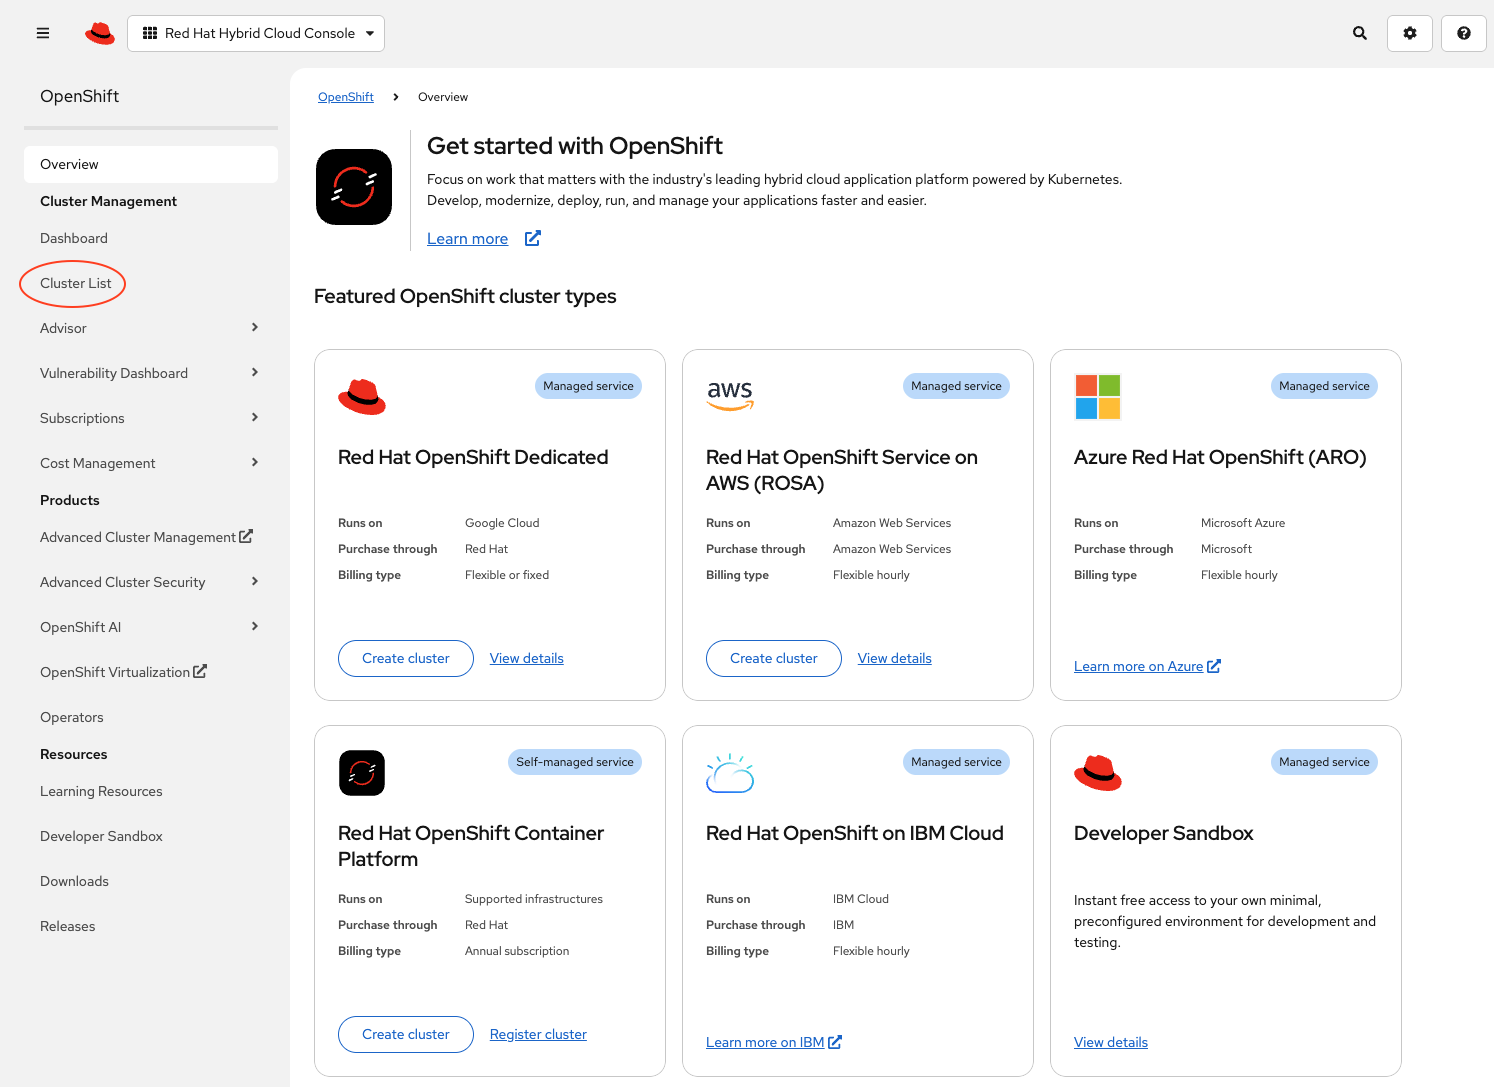
Login to the Red Hat console and click Cluster List.
Click the name of the cluster.
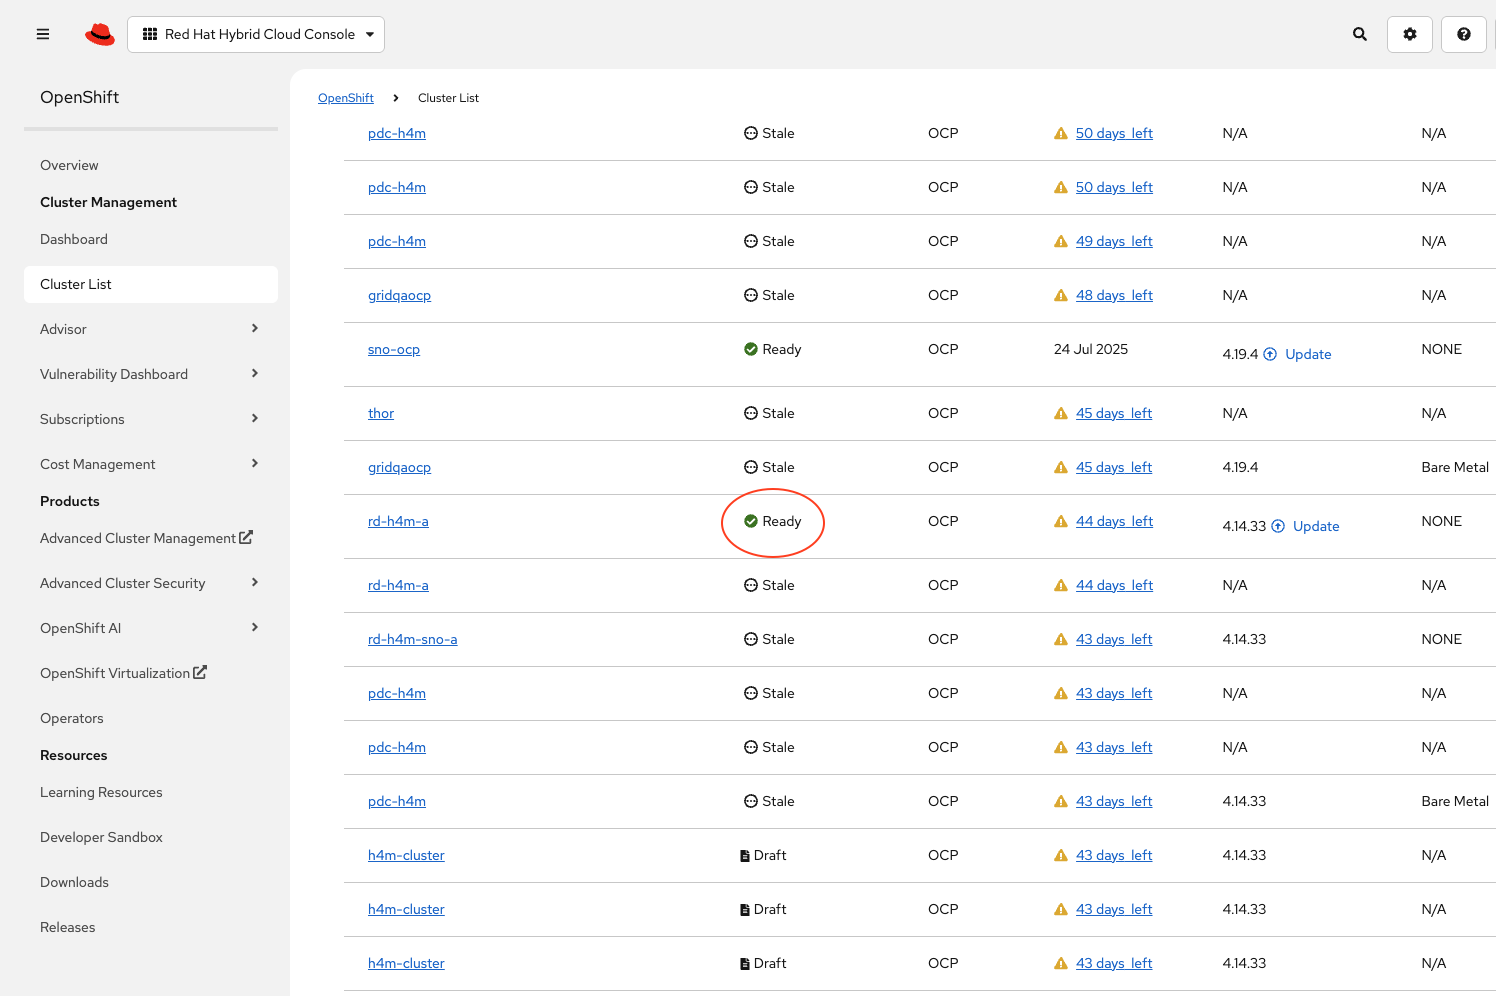
Click the Download kubeconfig button to download the
kubeconfigfile.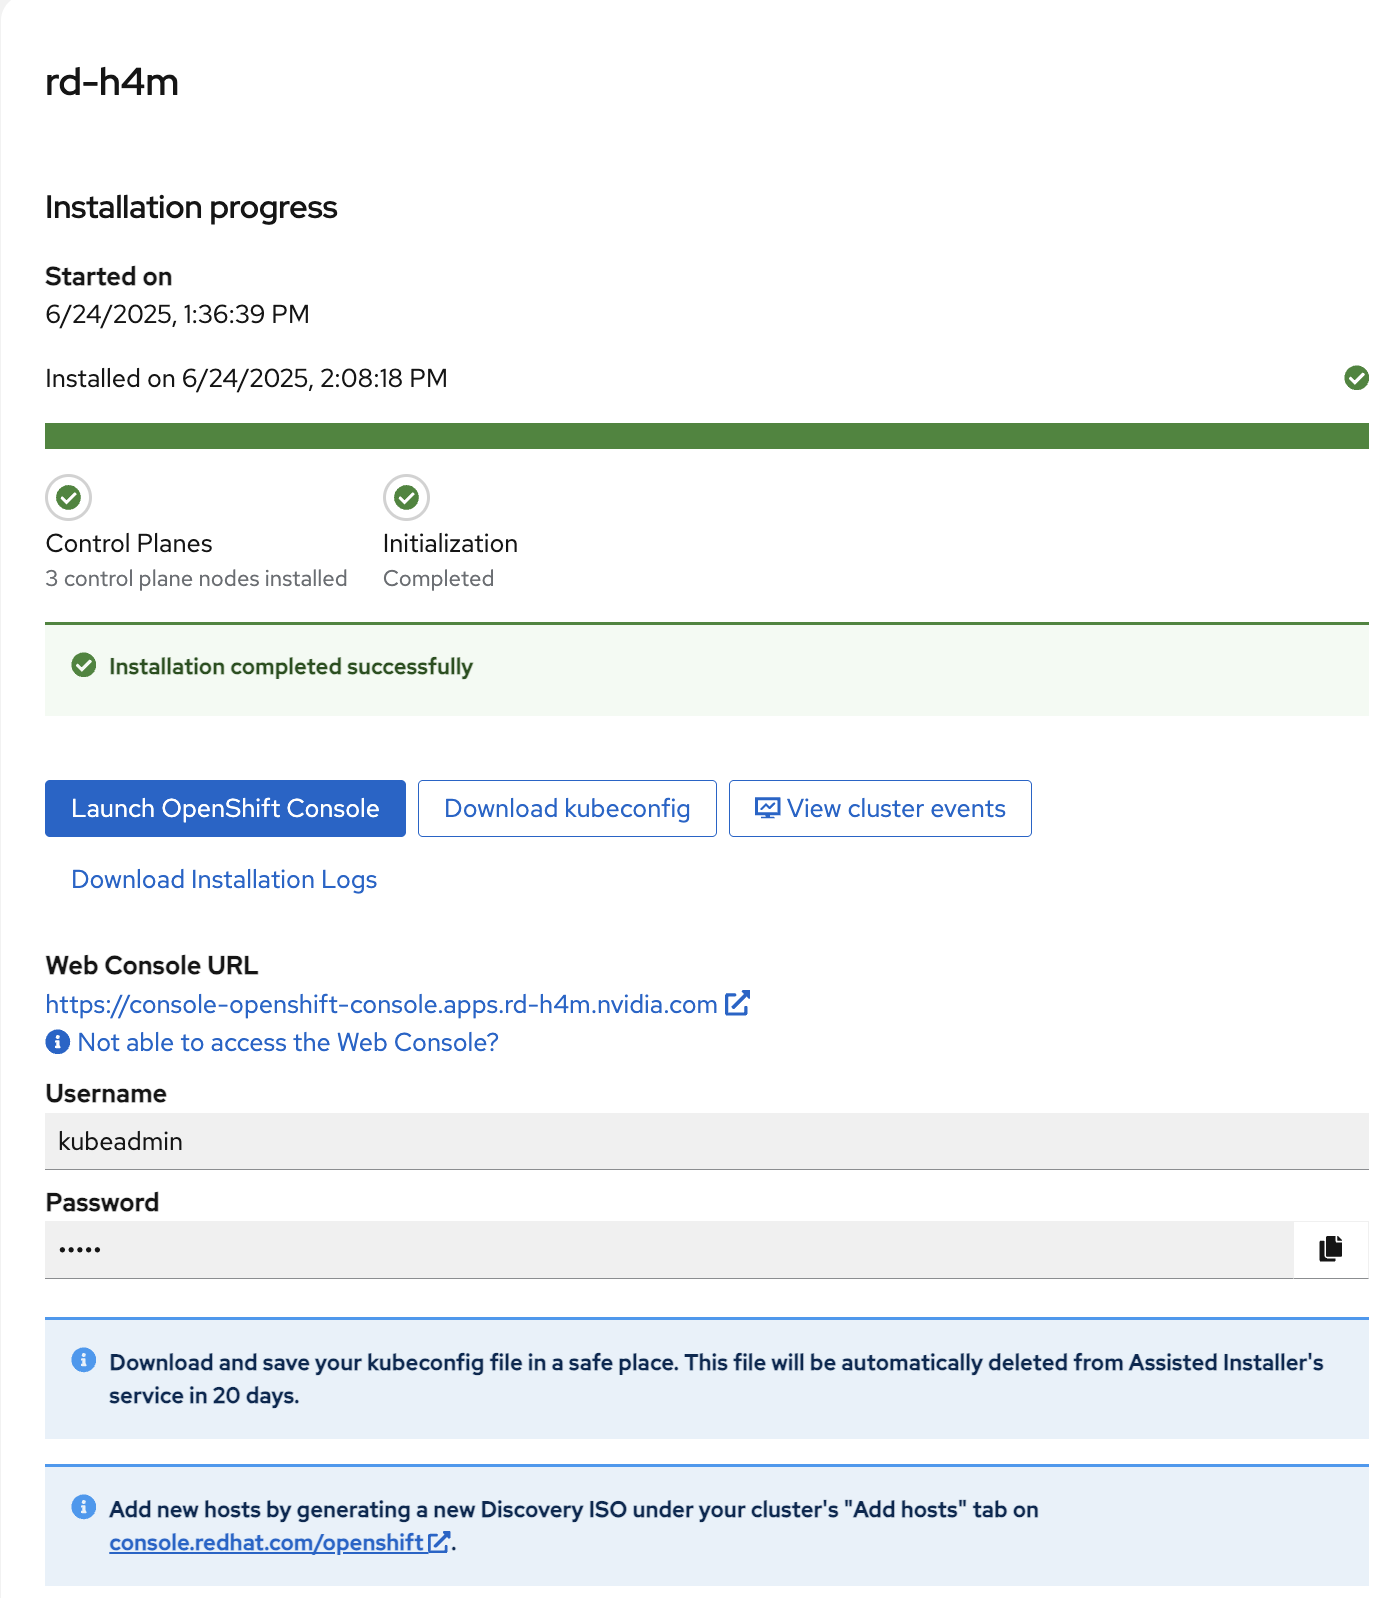
Copy the
kubeconfigfile to~/.kube/configon the jump node to access the cluster.