Cluster Installation#
OpenShift Container Platform nodes in the cluster need access to an NTP server. OpenShift Container Platform nodes use NTP to synchronize their clocks.
OpenShift Assisted Installer#
Installer-provisioned installation configures the infrastructure on which OpenShift cluster runs.
Follow the steps outlined to install an OpenShift cluster:
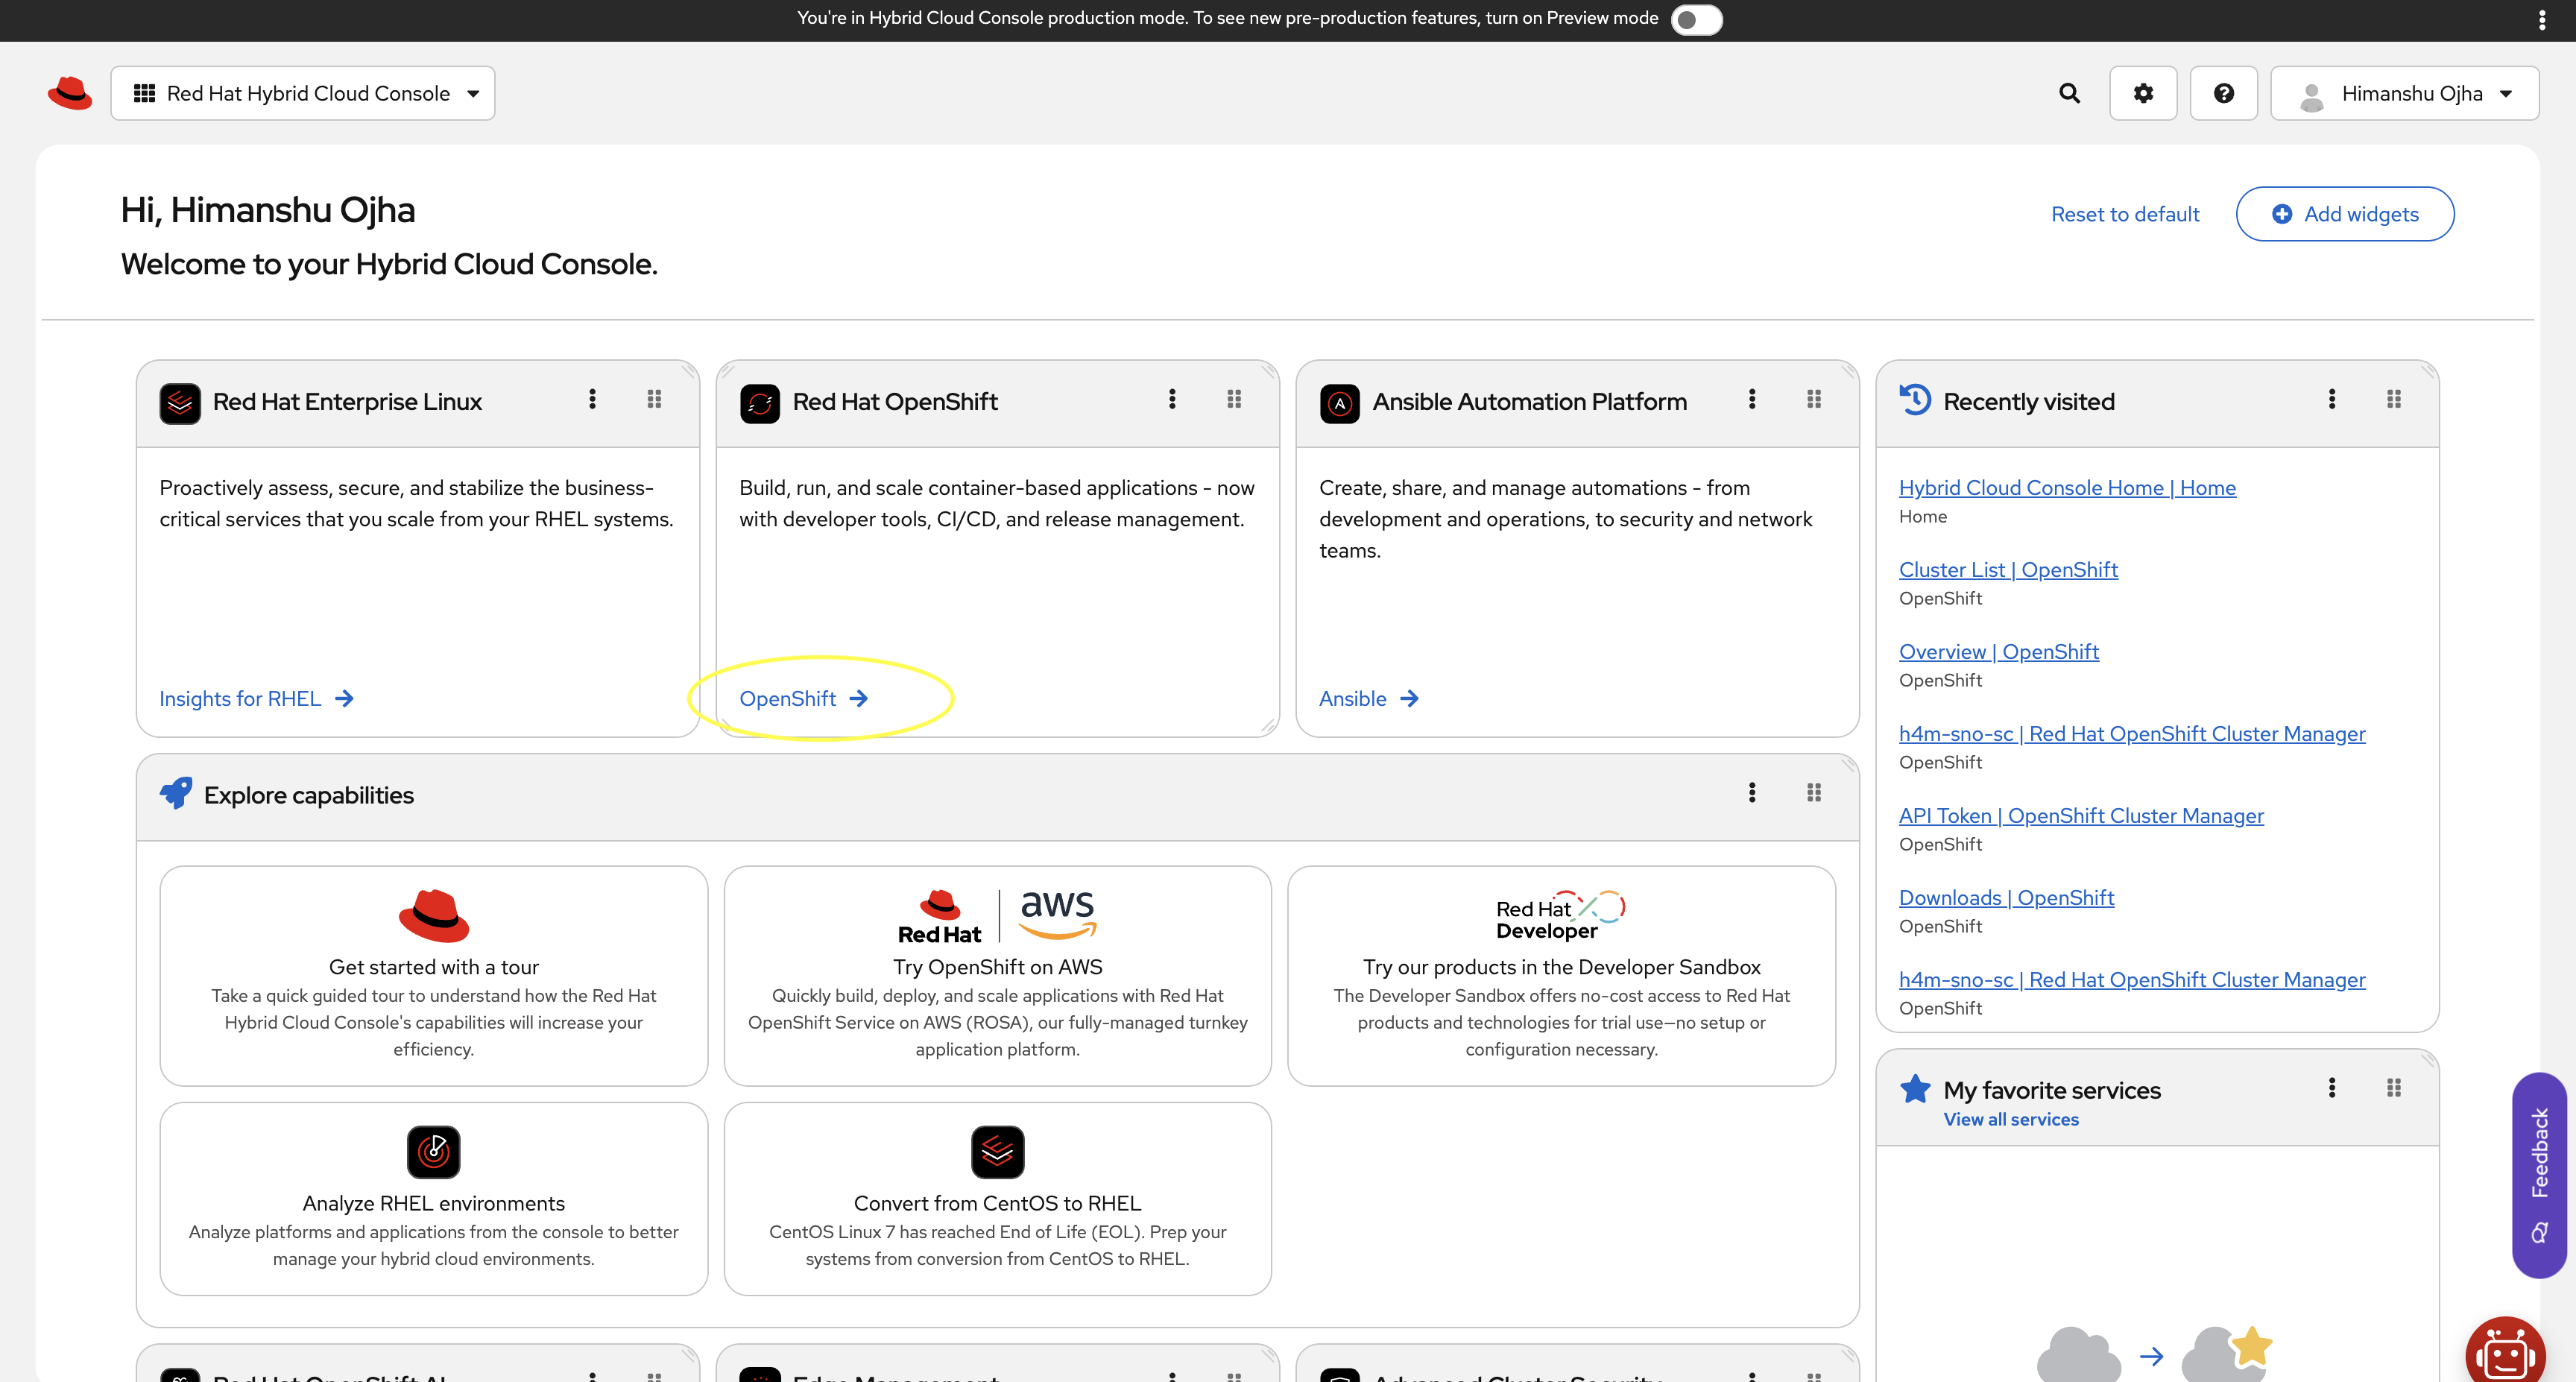
Open a web browser on Jump Node, connect to Red Hat Cloud site and log into the console with your credentials.

Click the OpenShift link.
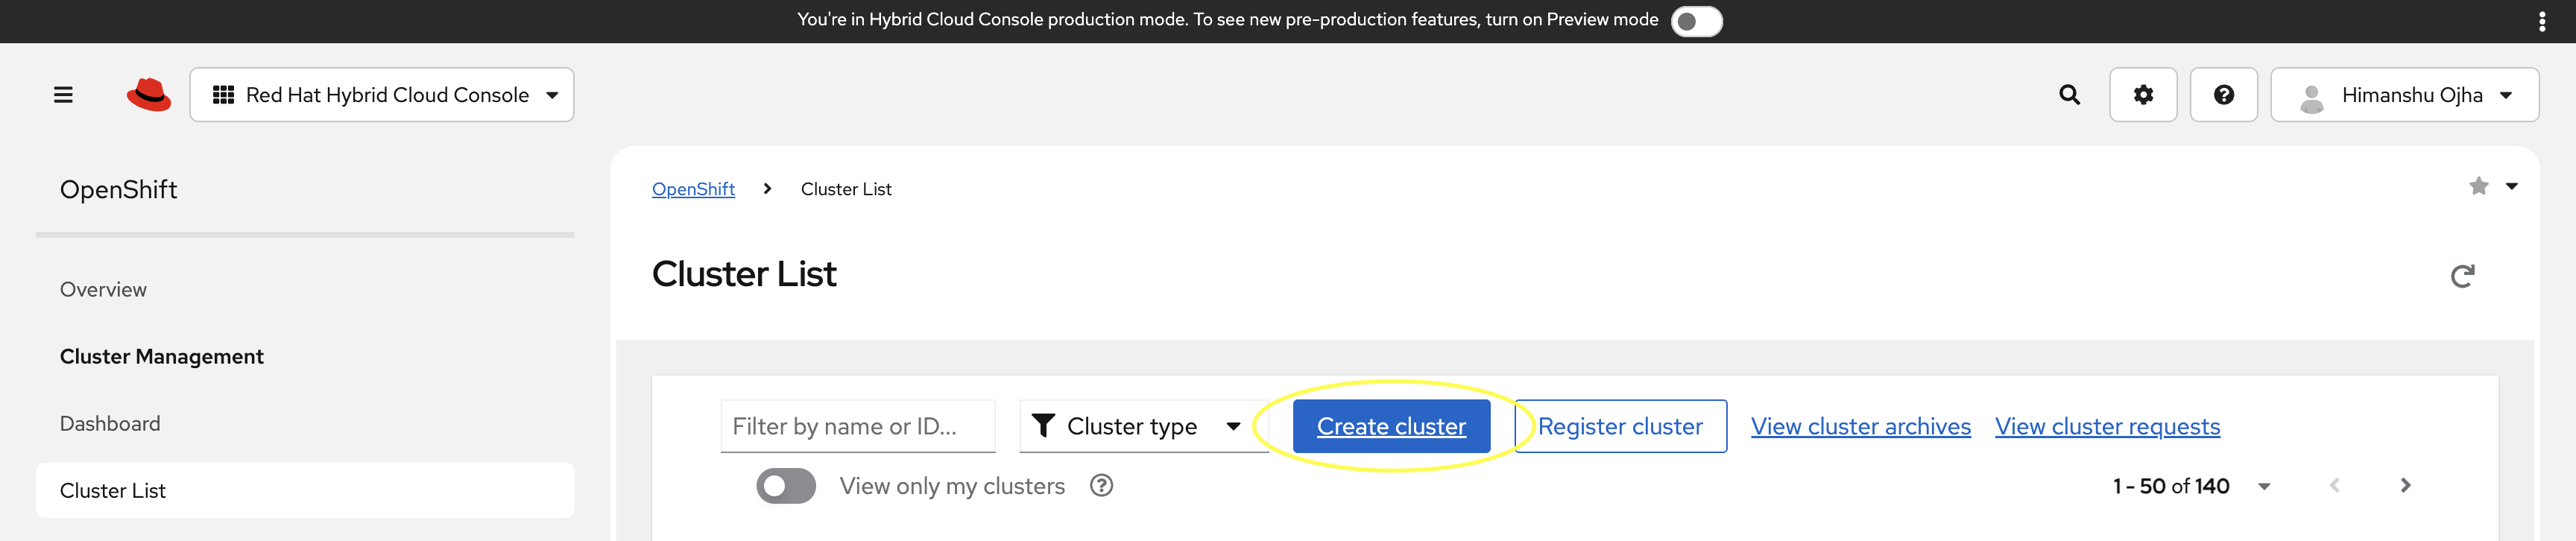
Click Clusters List under the left menu bar and then click Create Cluster.
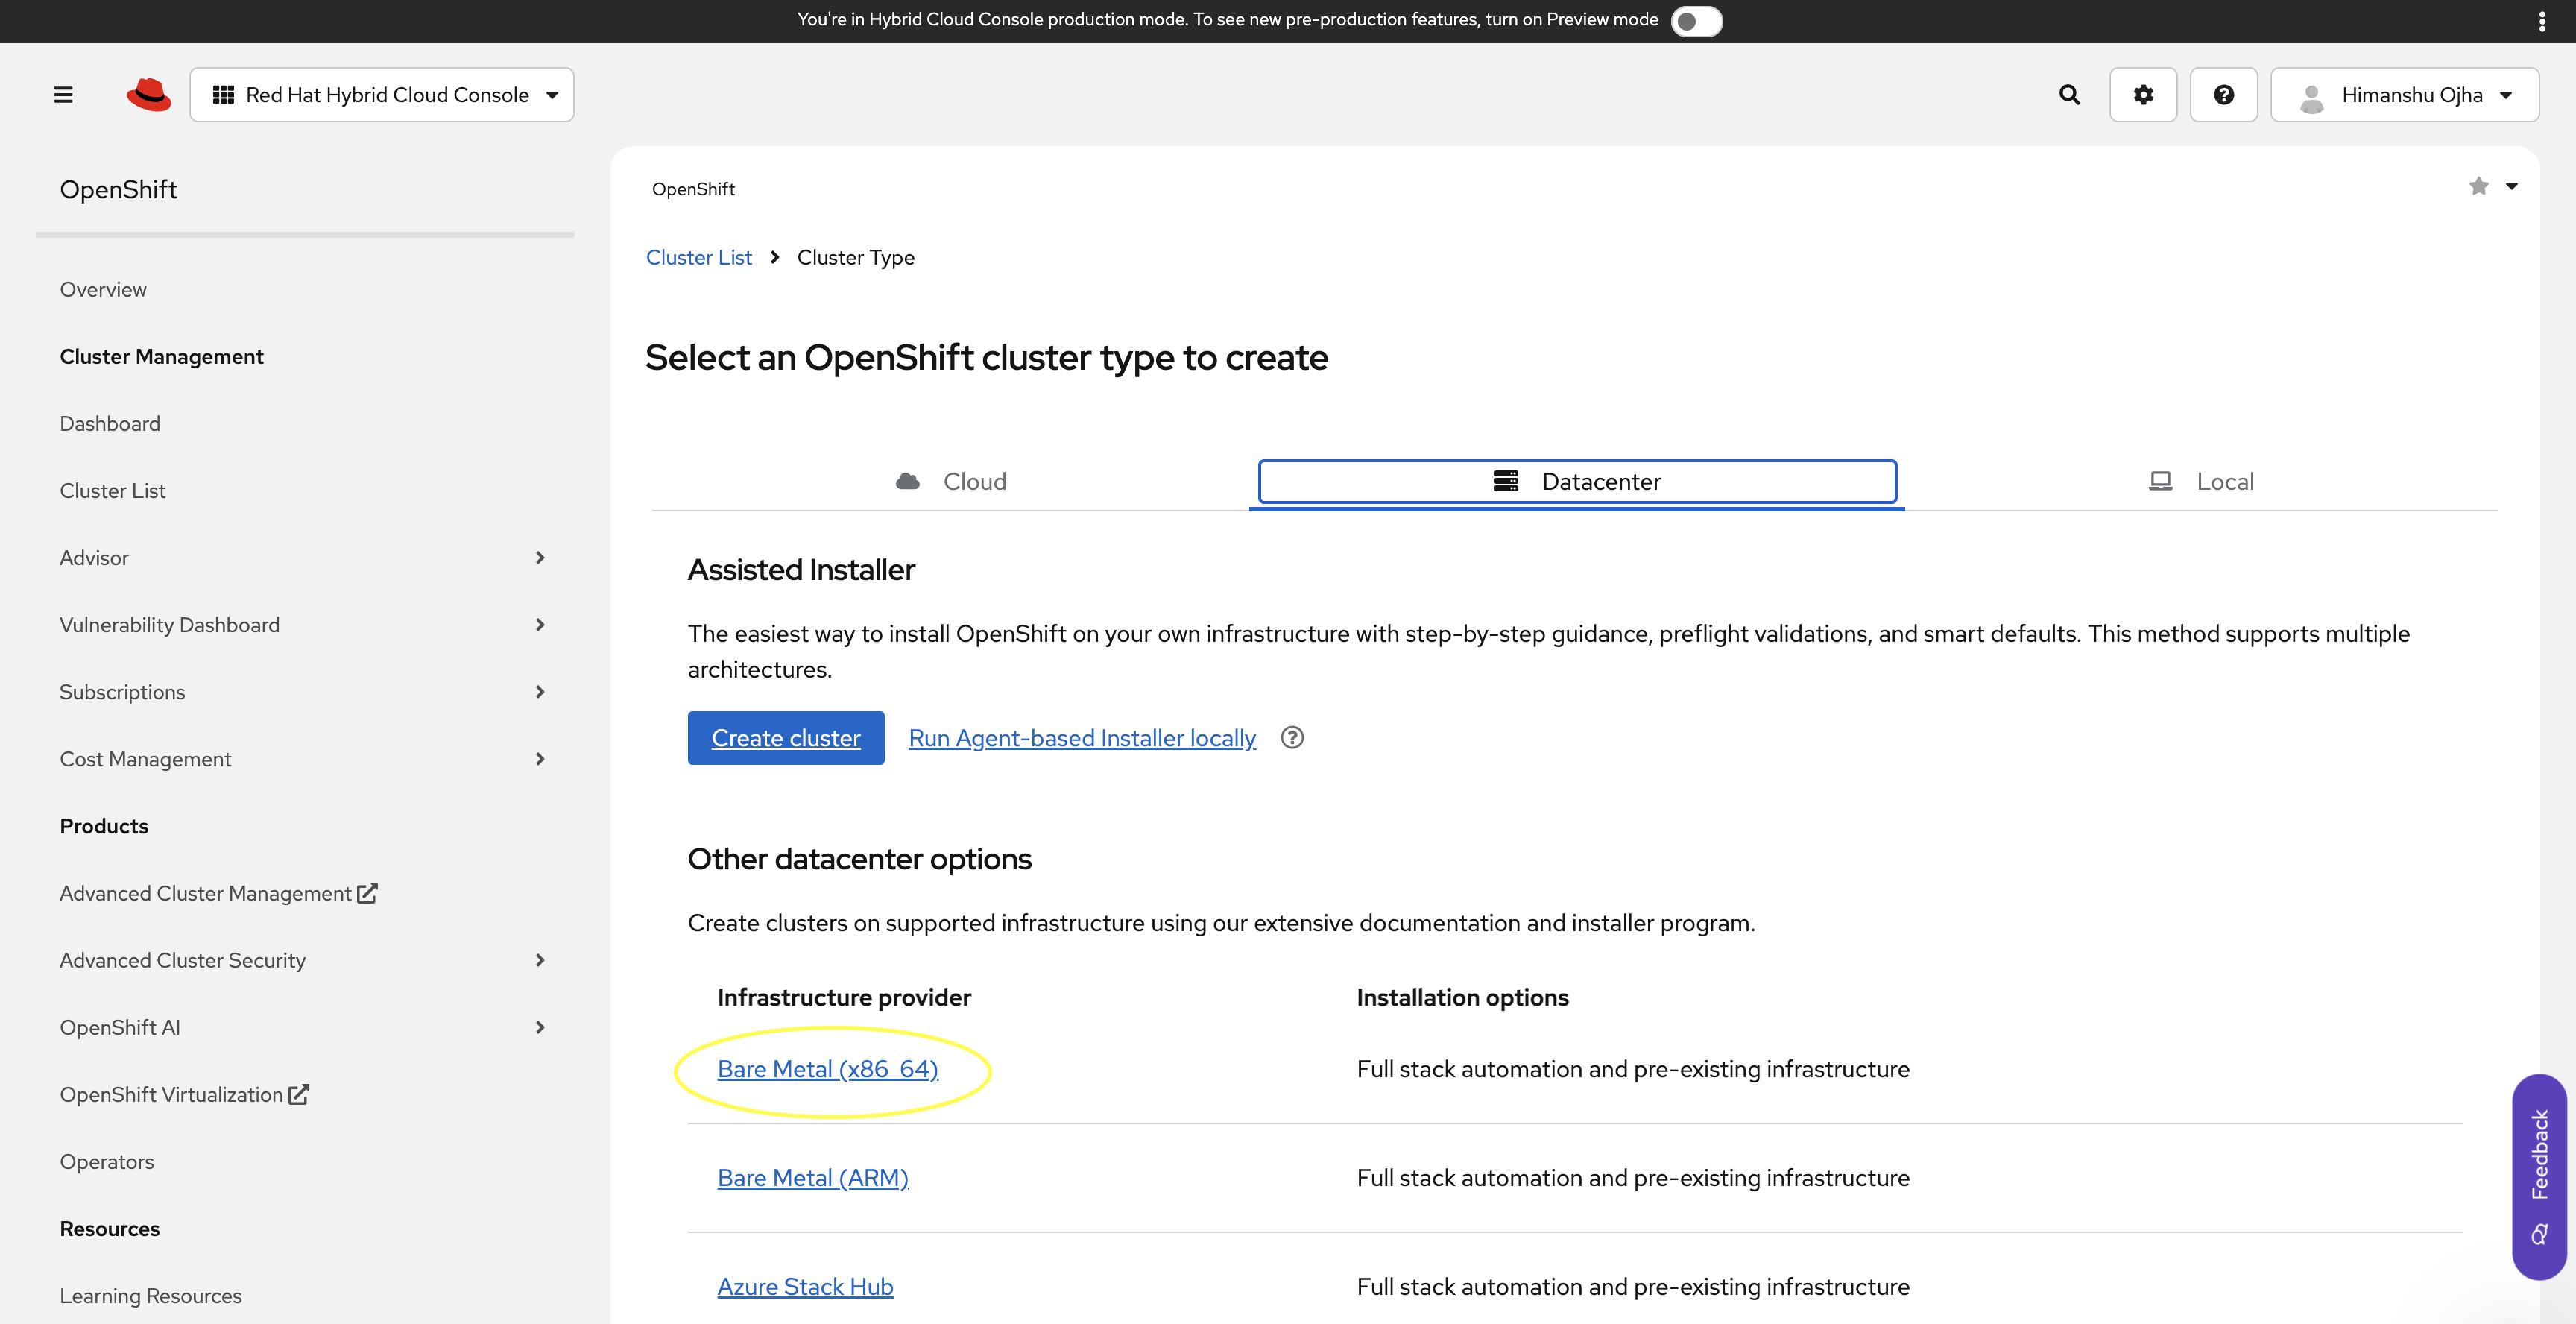
Select Datacenter tab and click Bare Metal (x86_64) under the Infrastructure provider column.
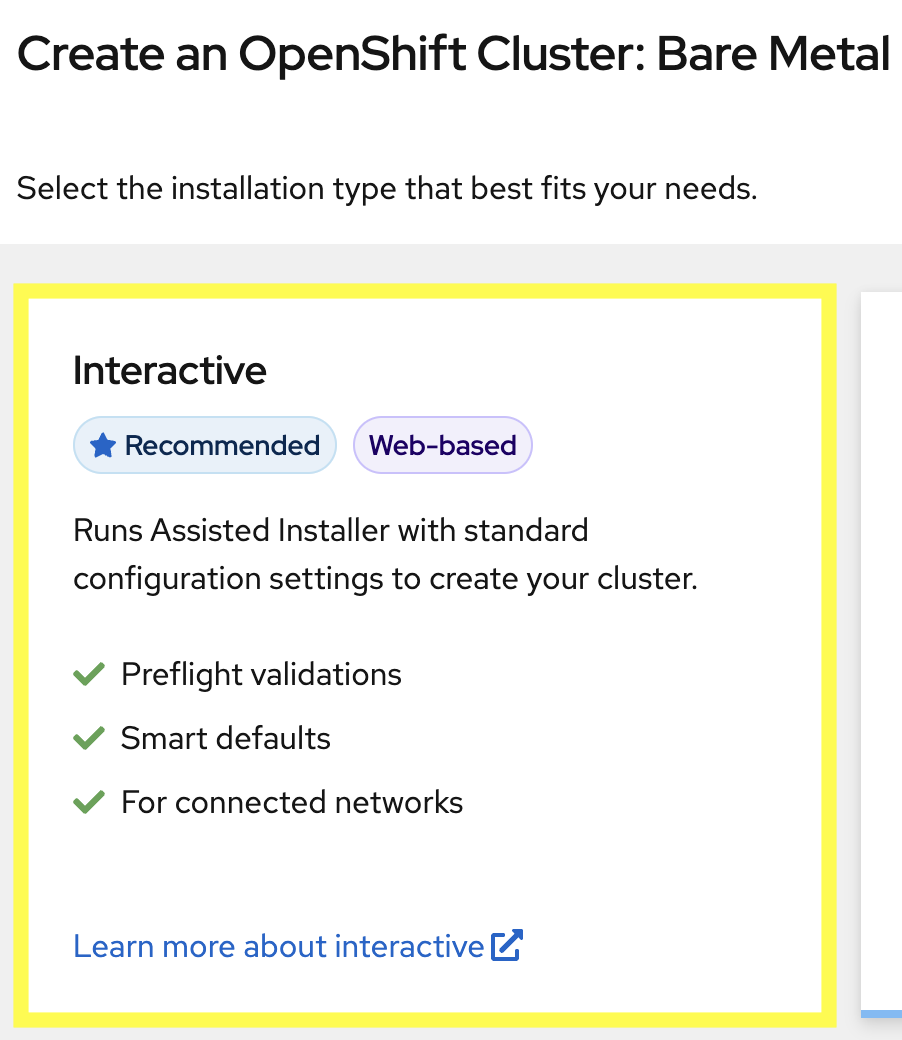
Select the Interactive option.
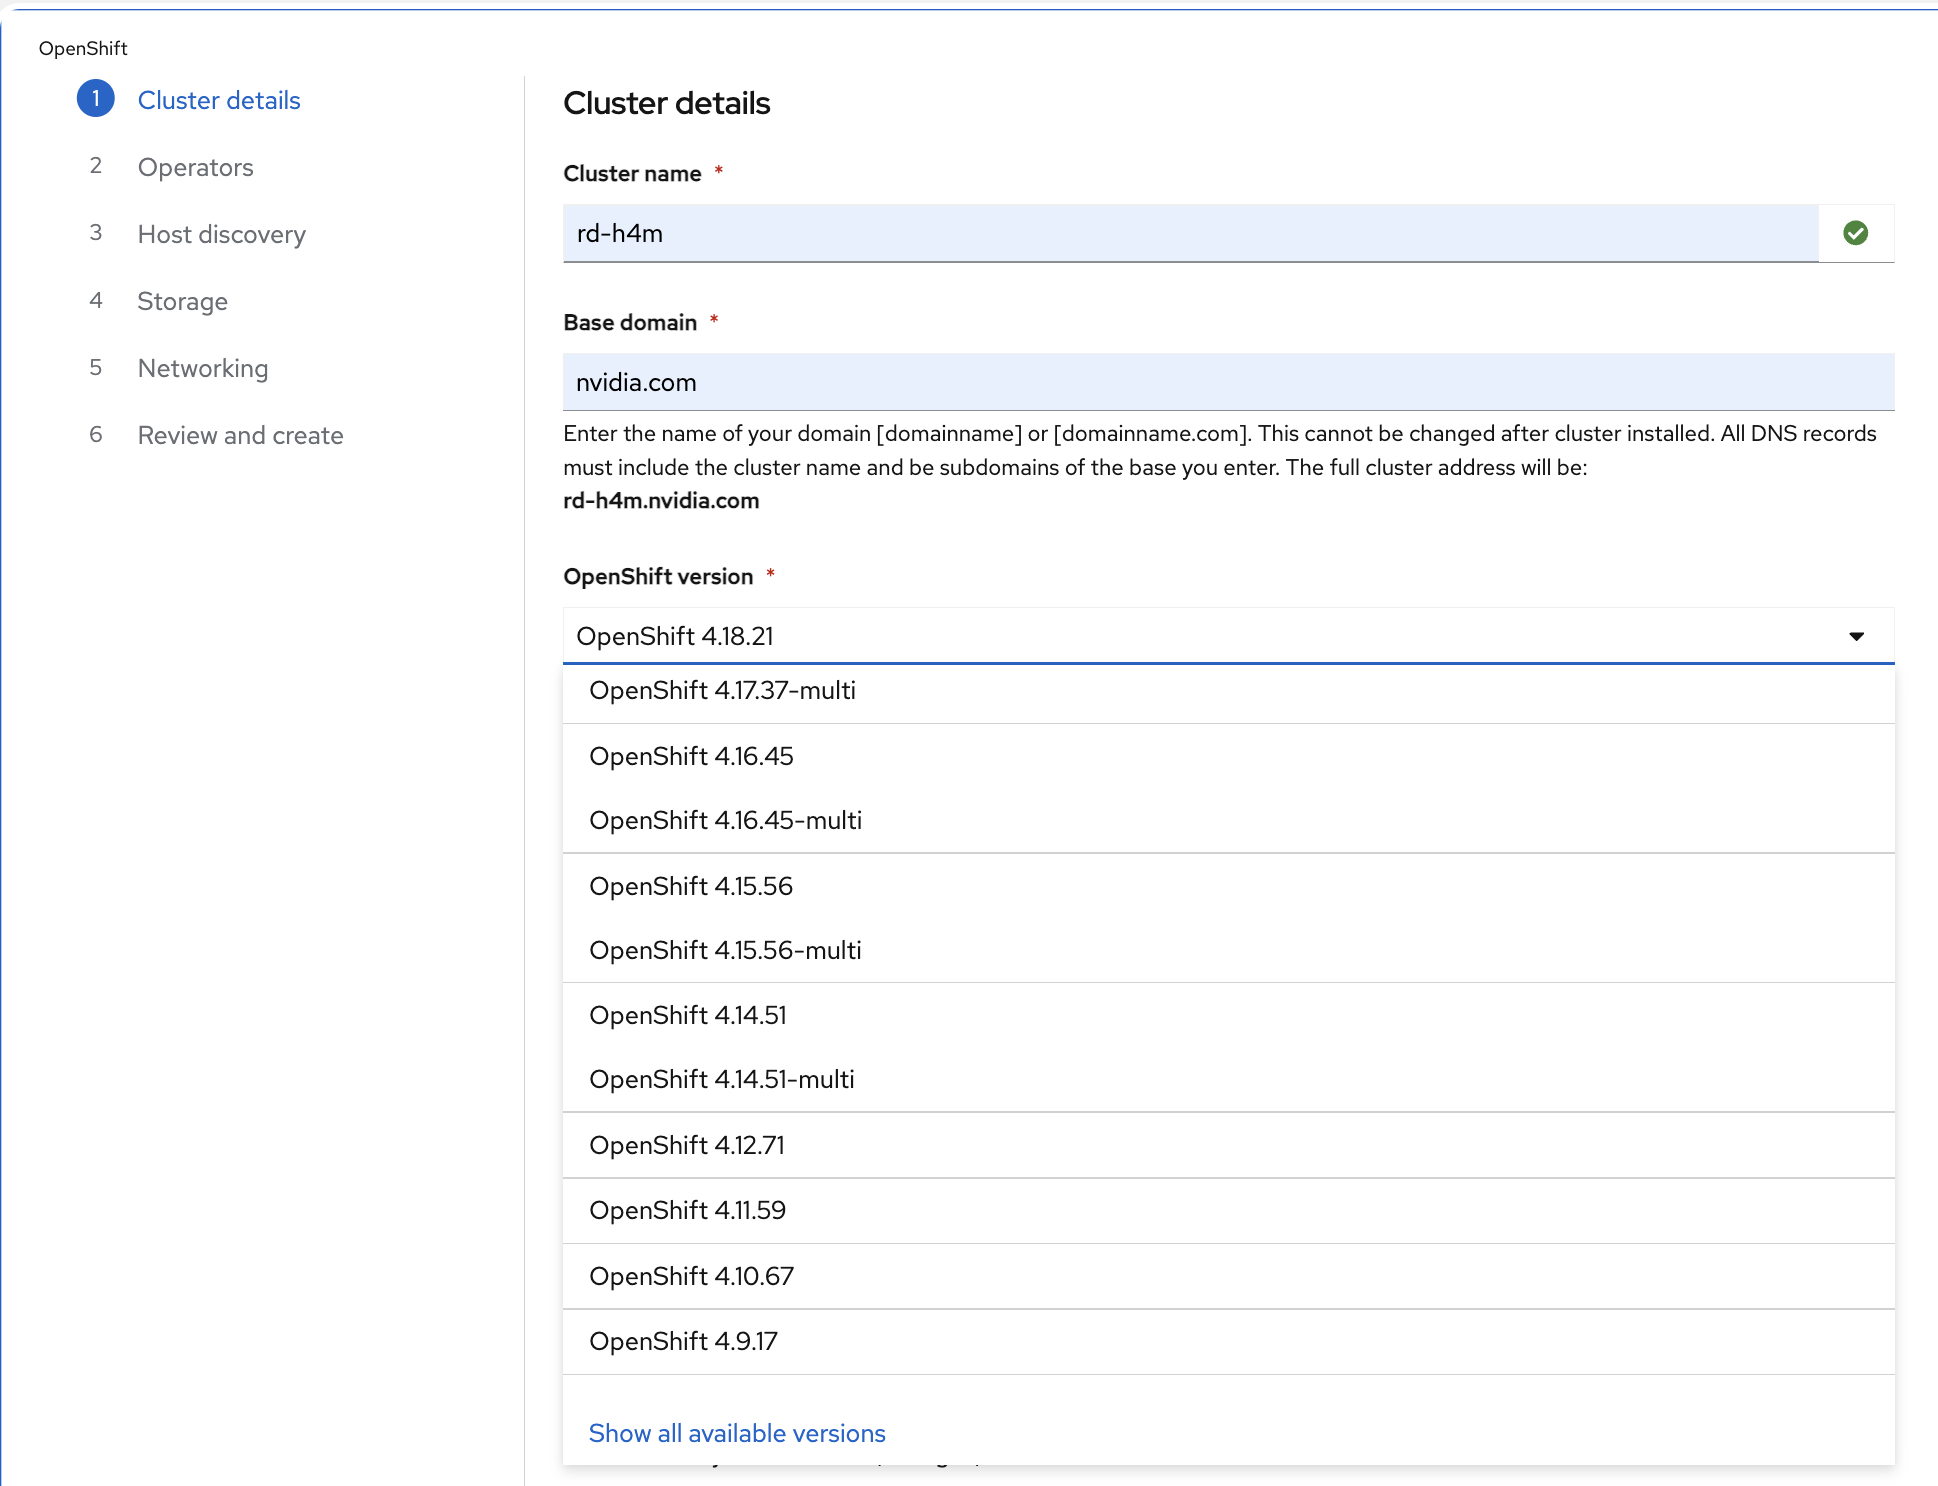
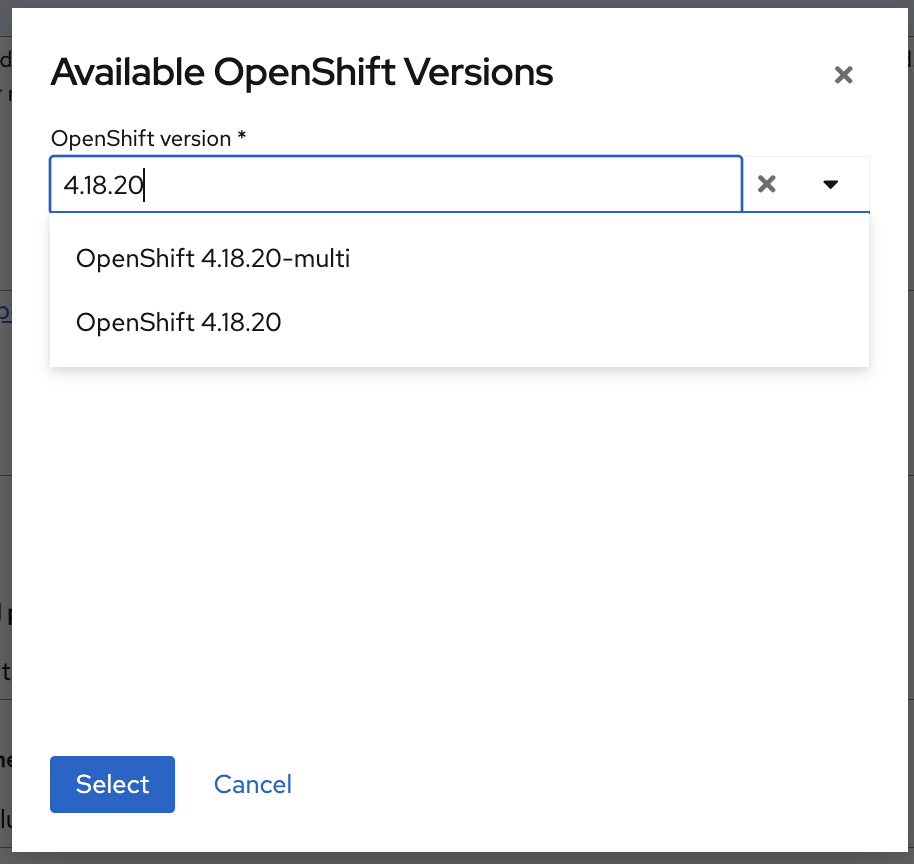
In Cluster Details window, enter Cluster Name and Base Domain. Click the OpenShift version selector, scroll down to the end, and click Show all available versions. Select OpenShift 4.18.20 from the Available OpenShift Versions dialog box and click Next.
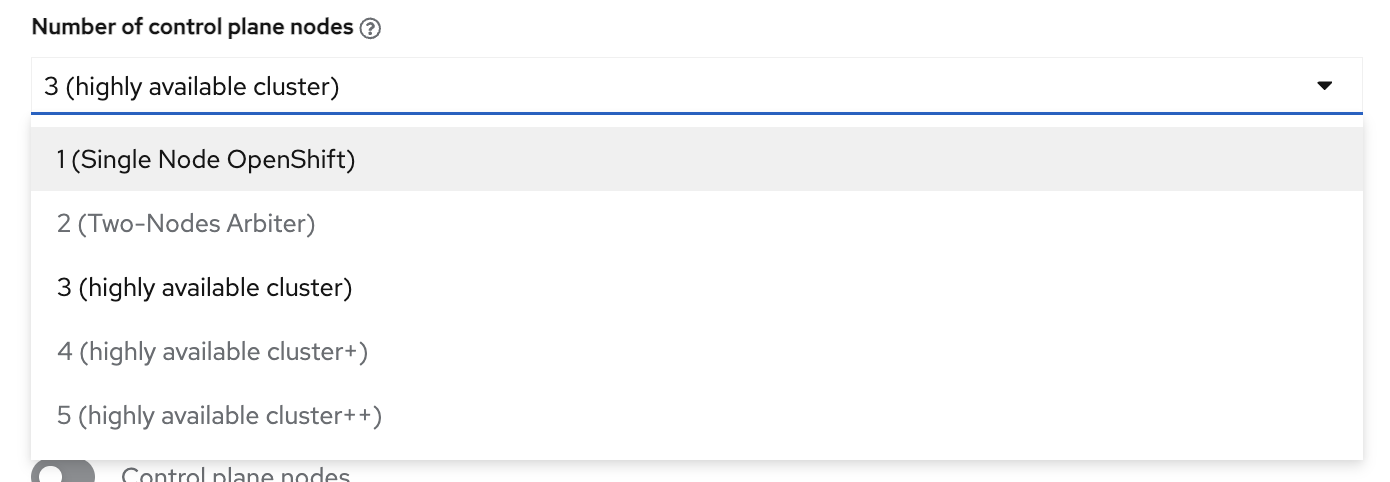
For Standard cluster or Compact (3-node) cluster, select 3 (highly available cluster). For SNO, select 1 (Single Node OpenShift) from Number of control plane nodes dropdown.
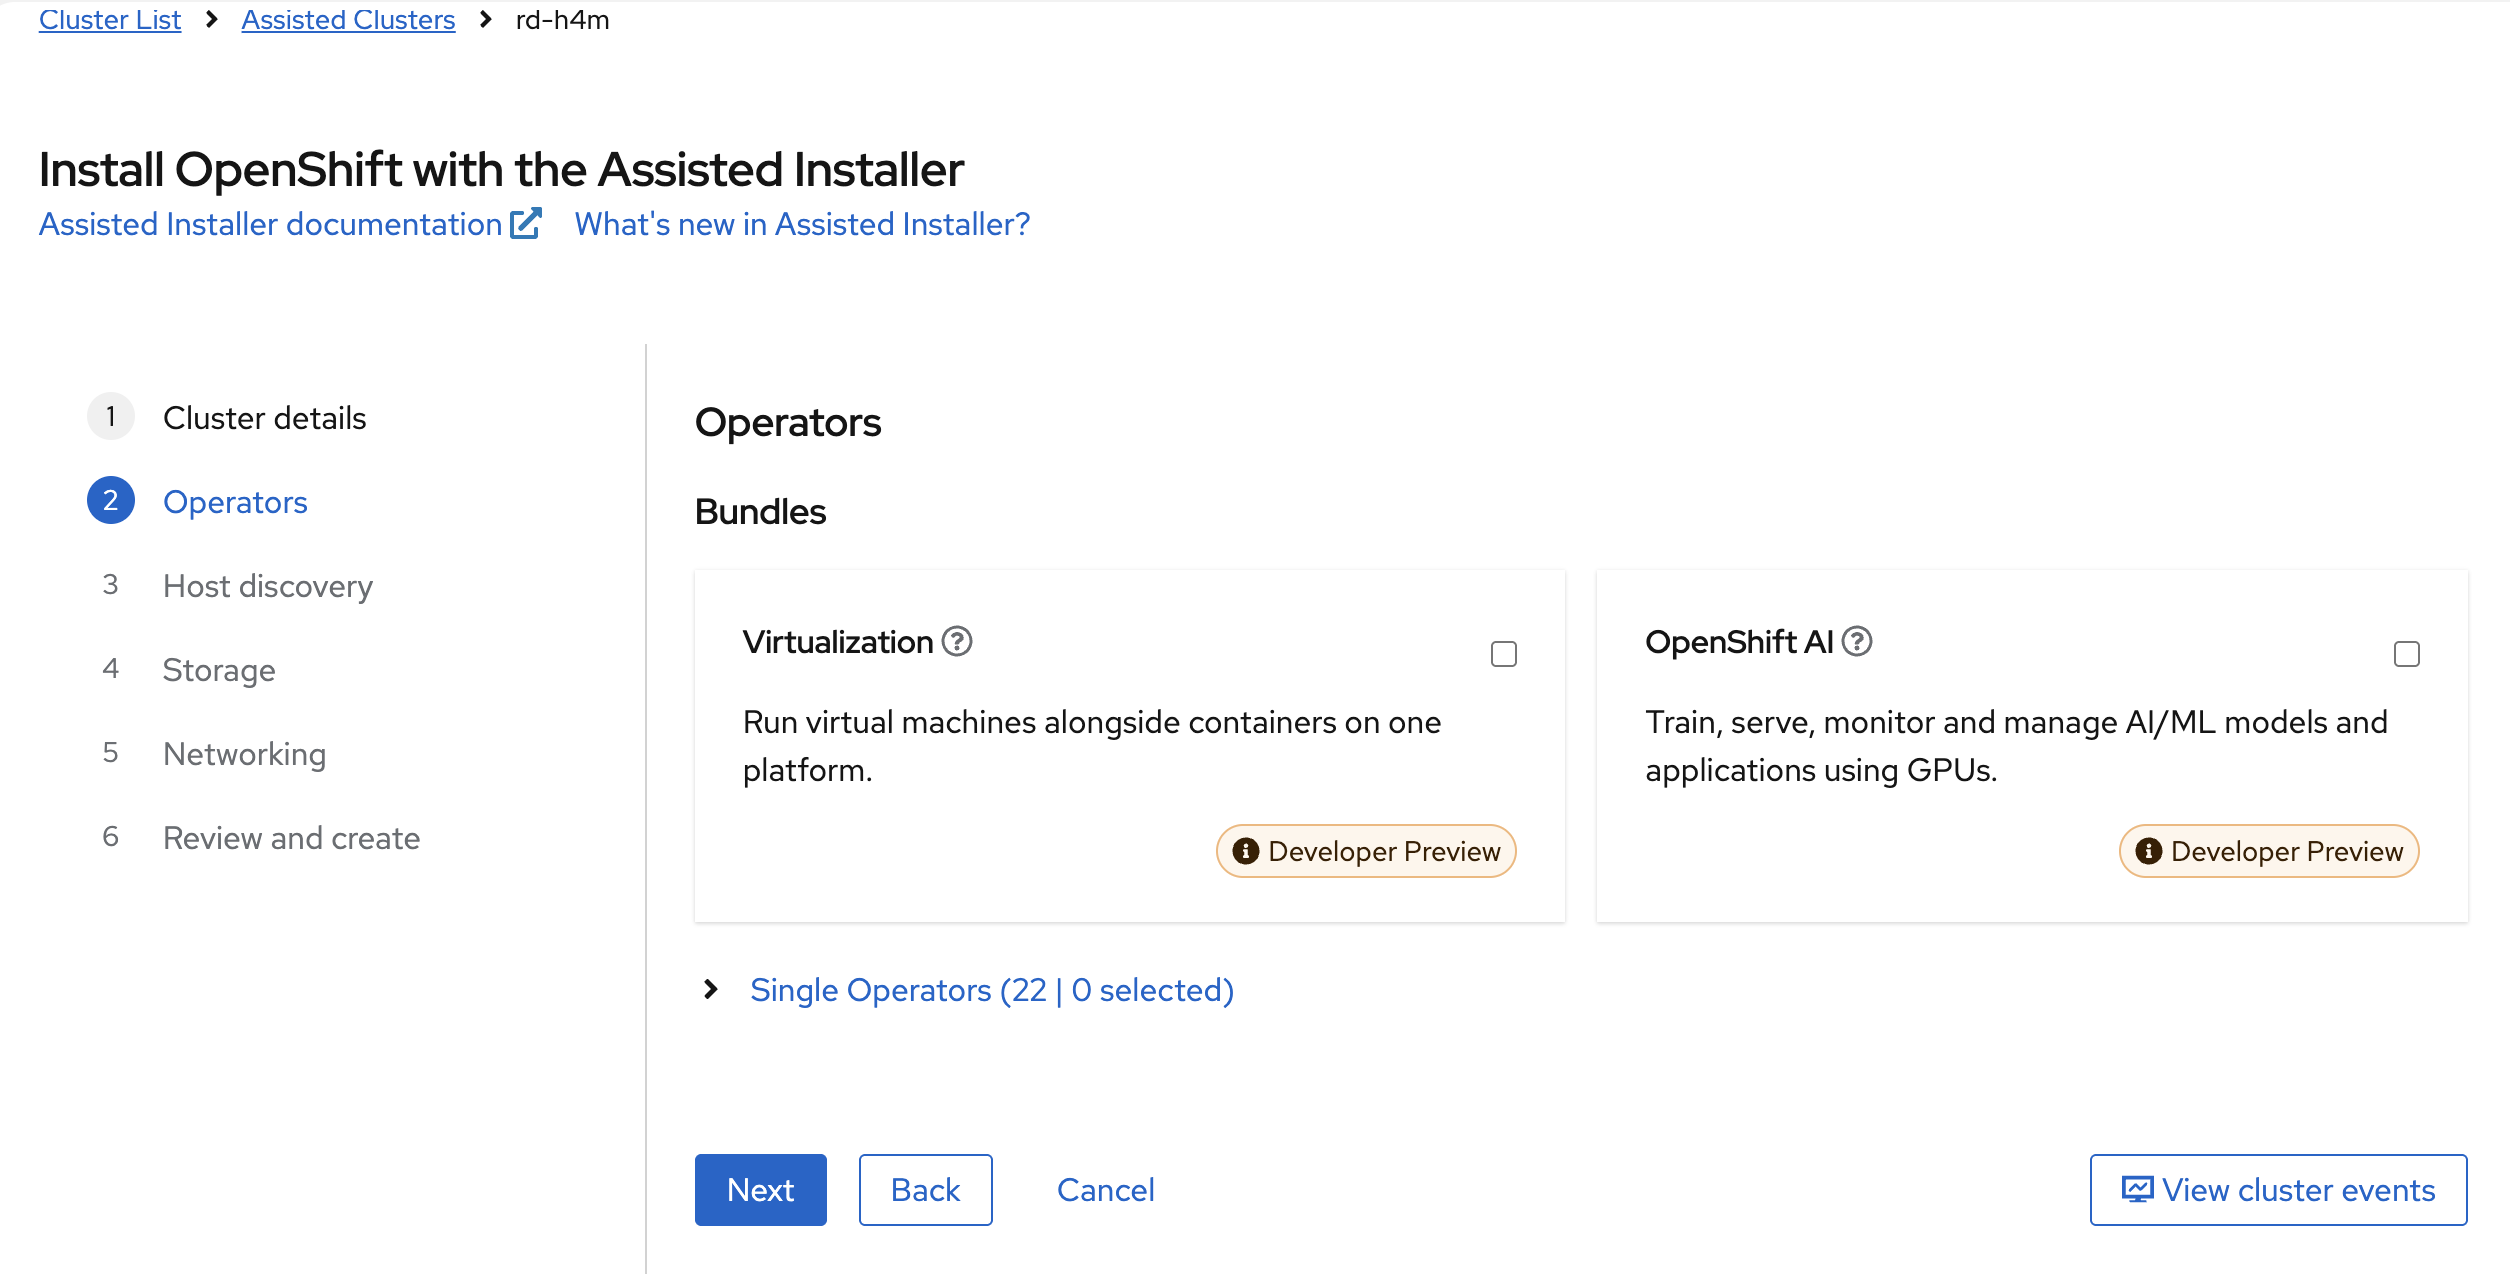
Click Next without selecting any Operator checkboxes.
Click Add hosts.
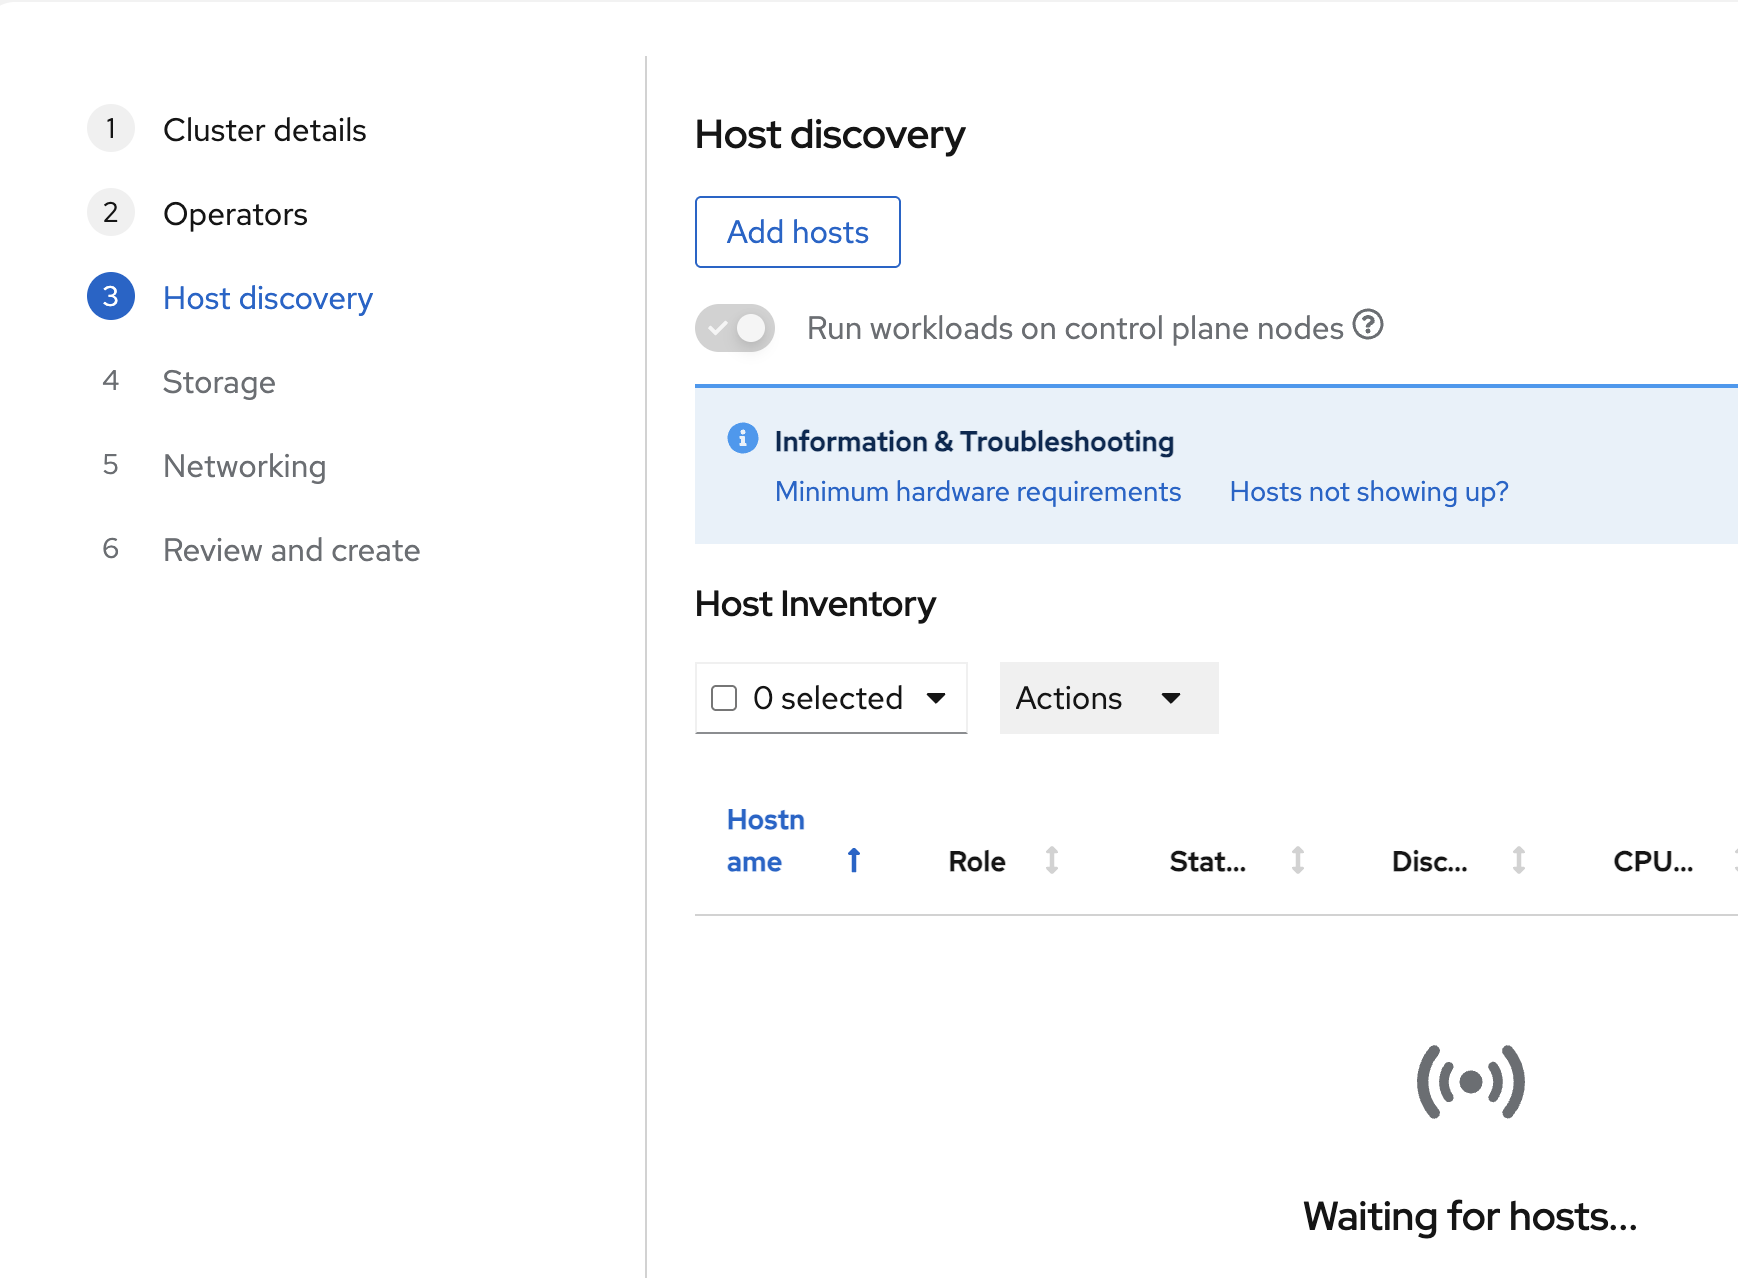
In the Add hosts pop-up, select Provisioning type as Minimal image file - Download an ISO that fetches content on boot, browse to SSH public key (in
~/.ssh/.id_rsa.pubon jump node) and click Generate Discovery ISO.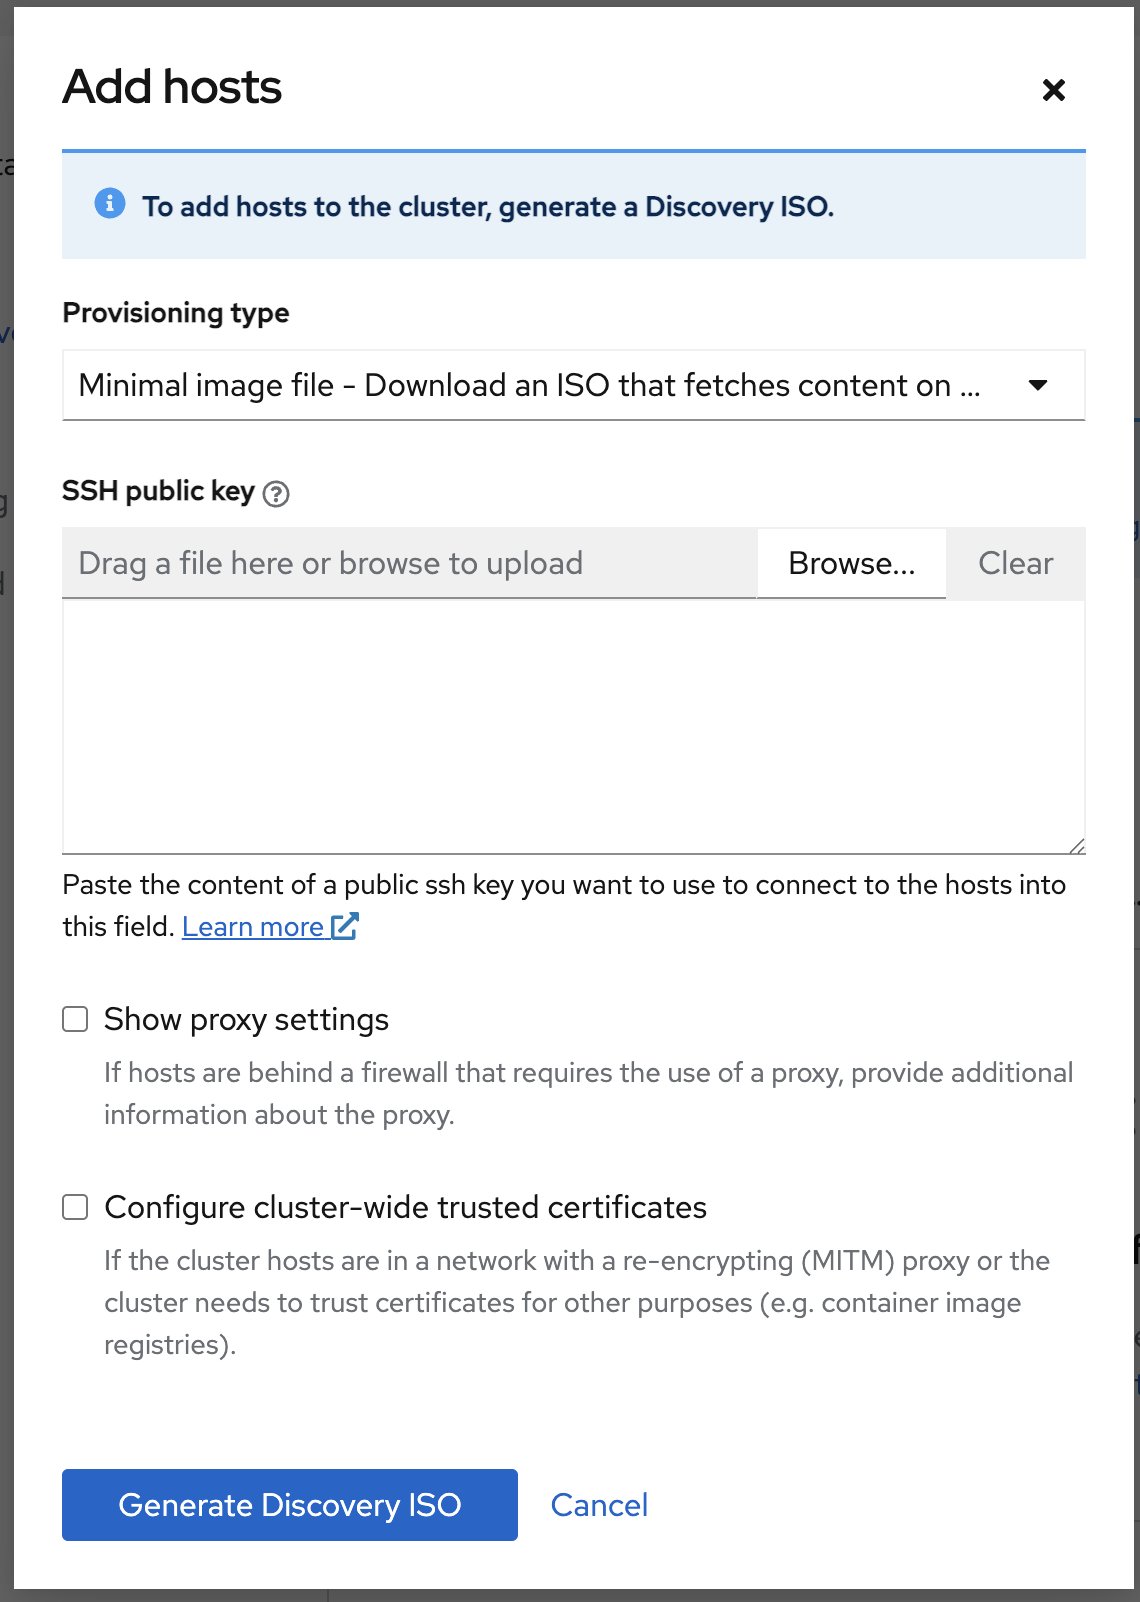
Click Download Discovery ISO.
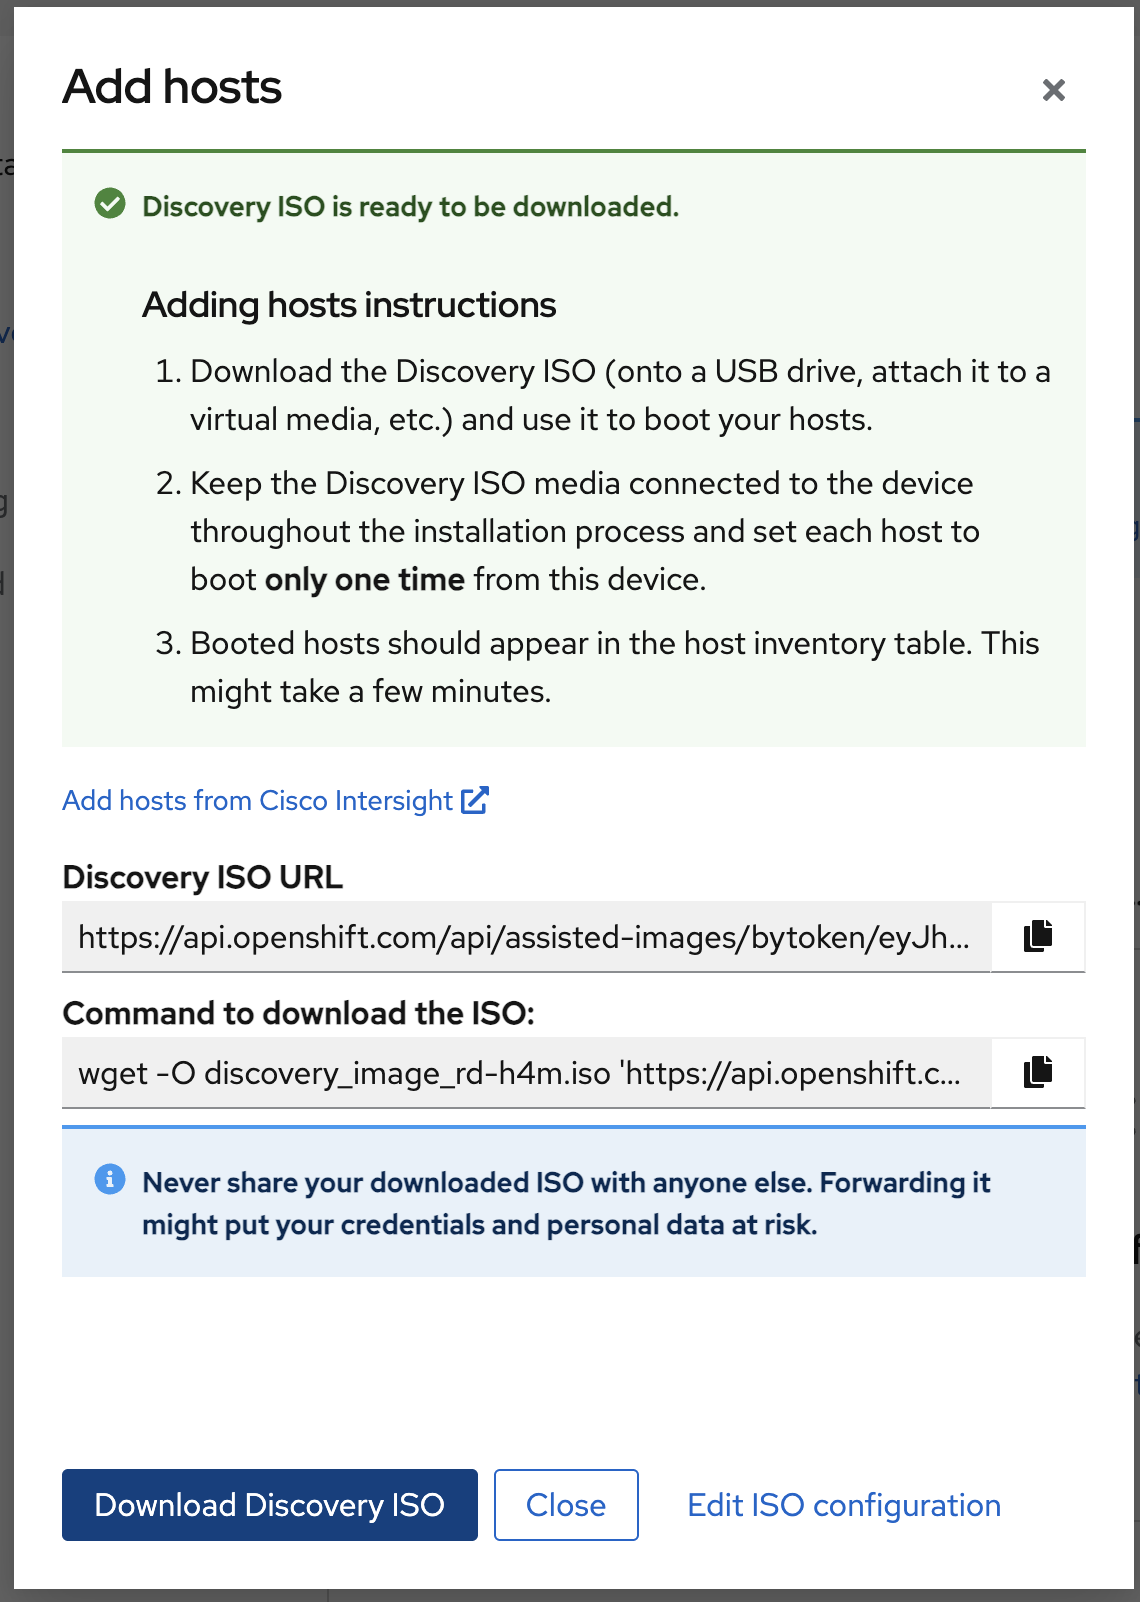
Boot all the servers in the cluster using Discovery ISO file.
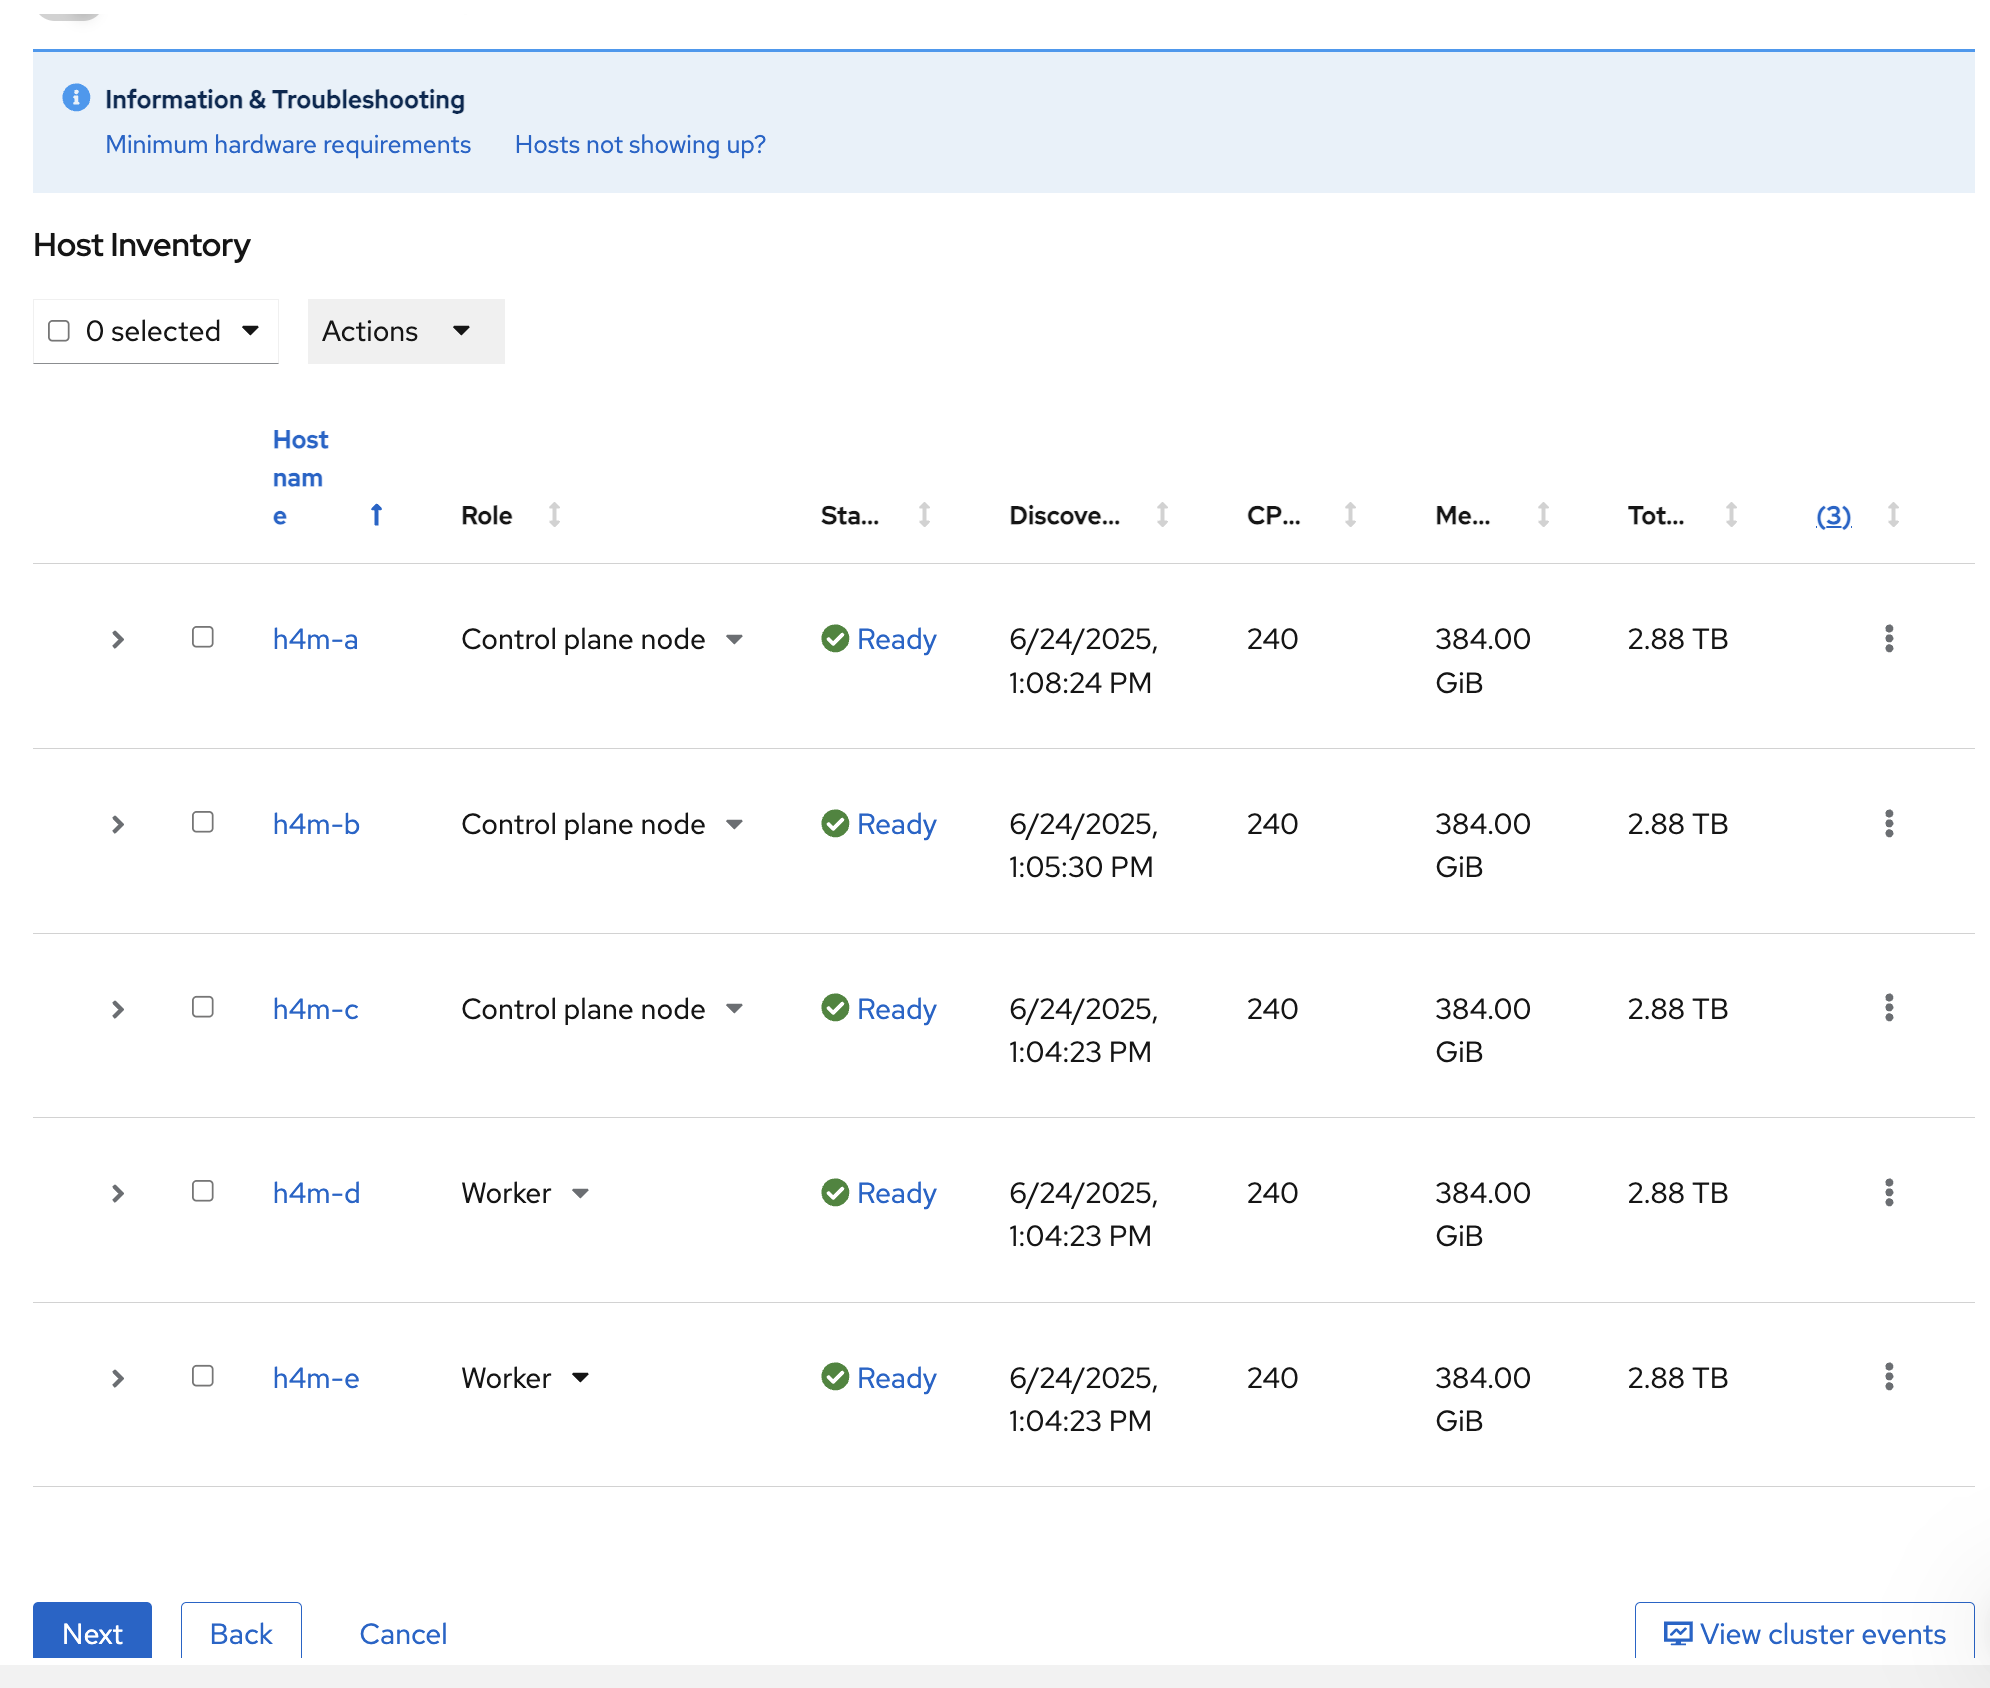
After a few minutes, all the hosts will appear on the web console. Wait for them to reach Ready status. Rename the hosts to a more identifiable name, for example, h4m-a, h4m-b, h4m-c, and so on, by clicking each host name.
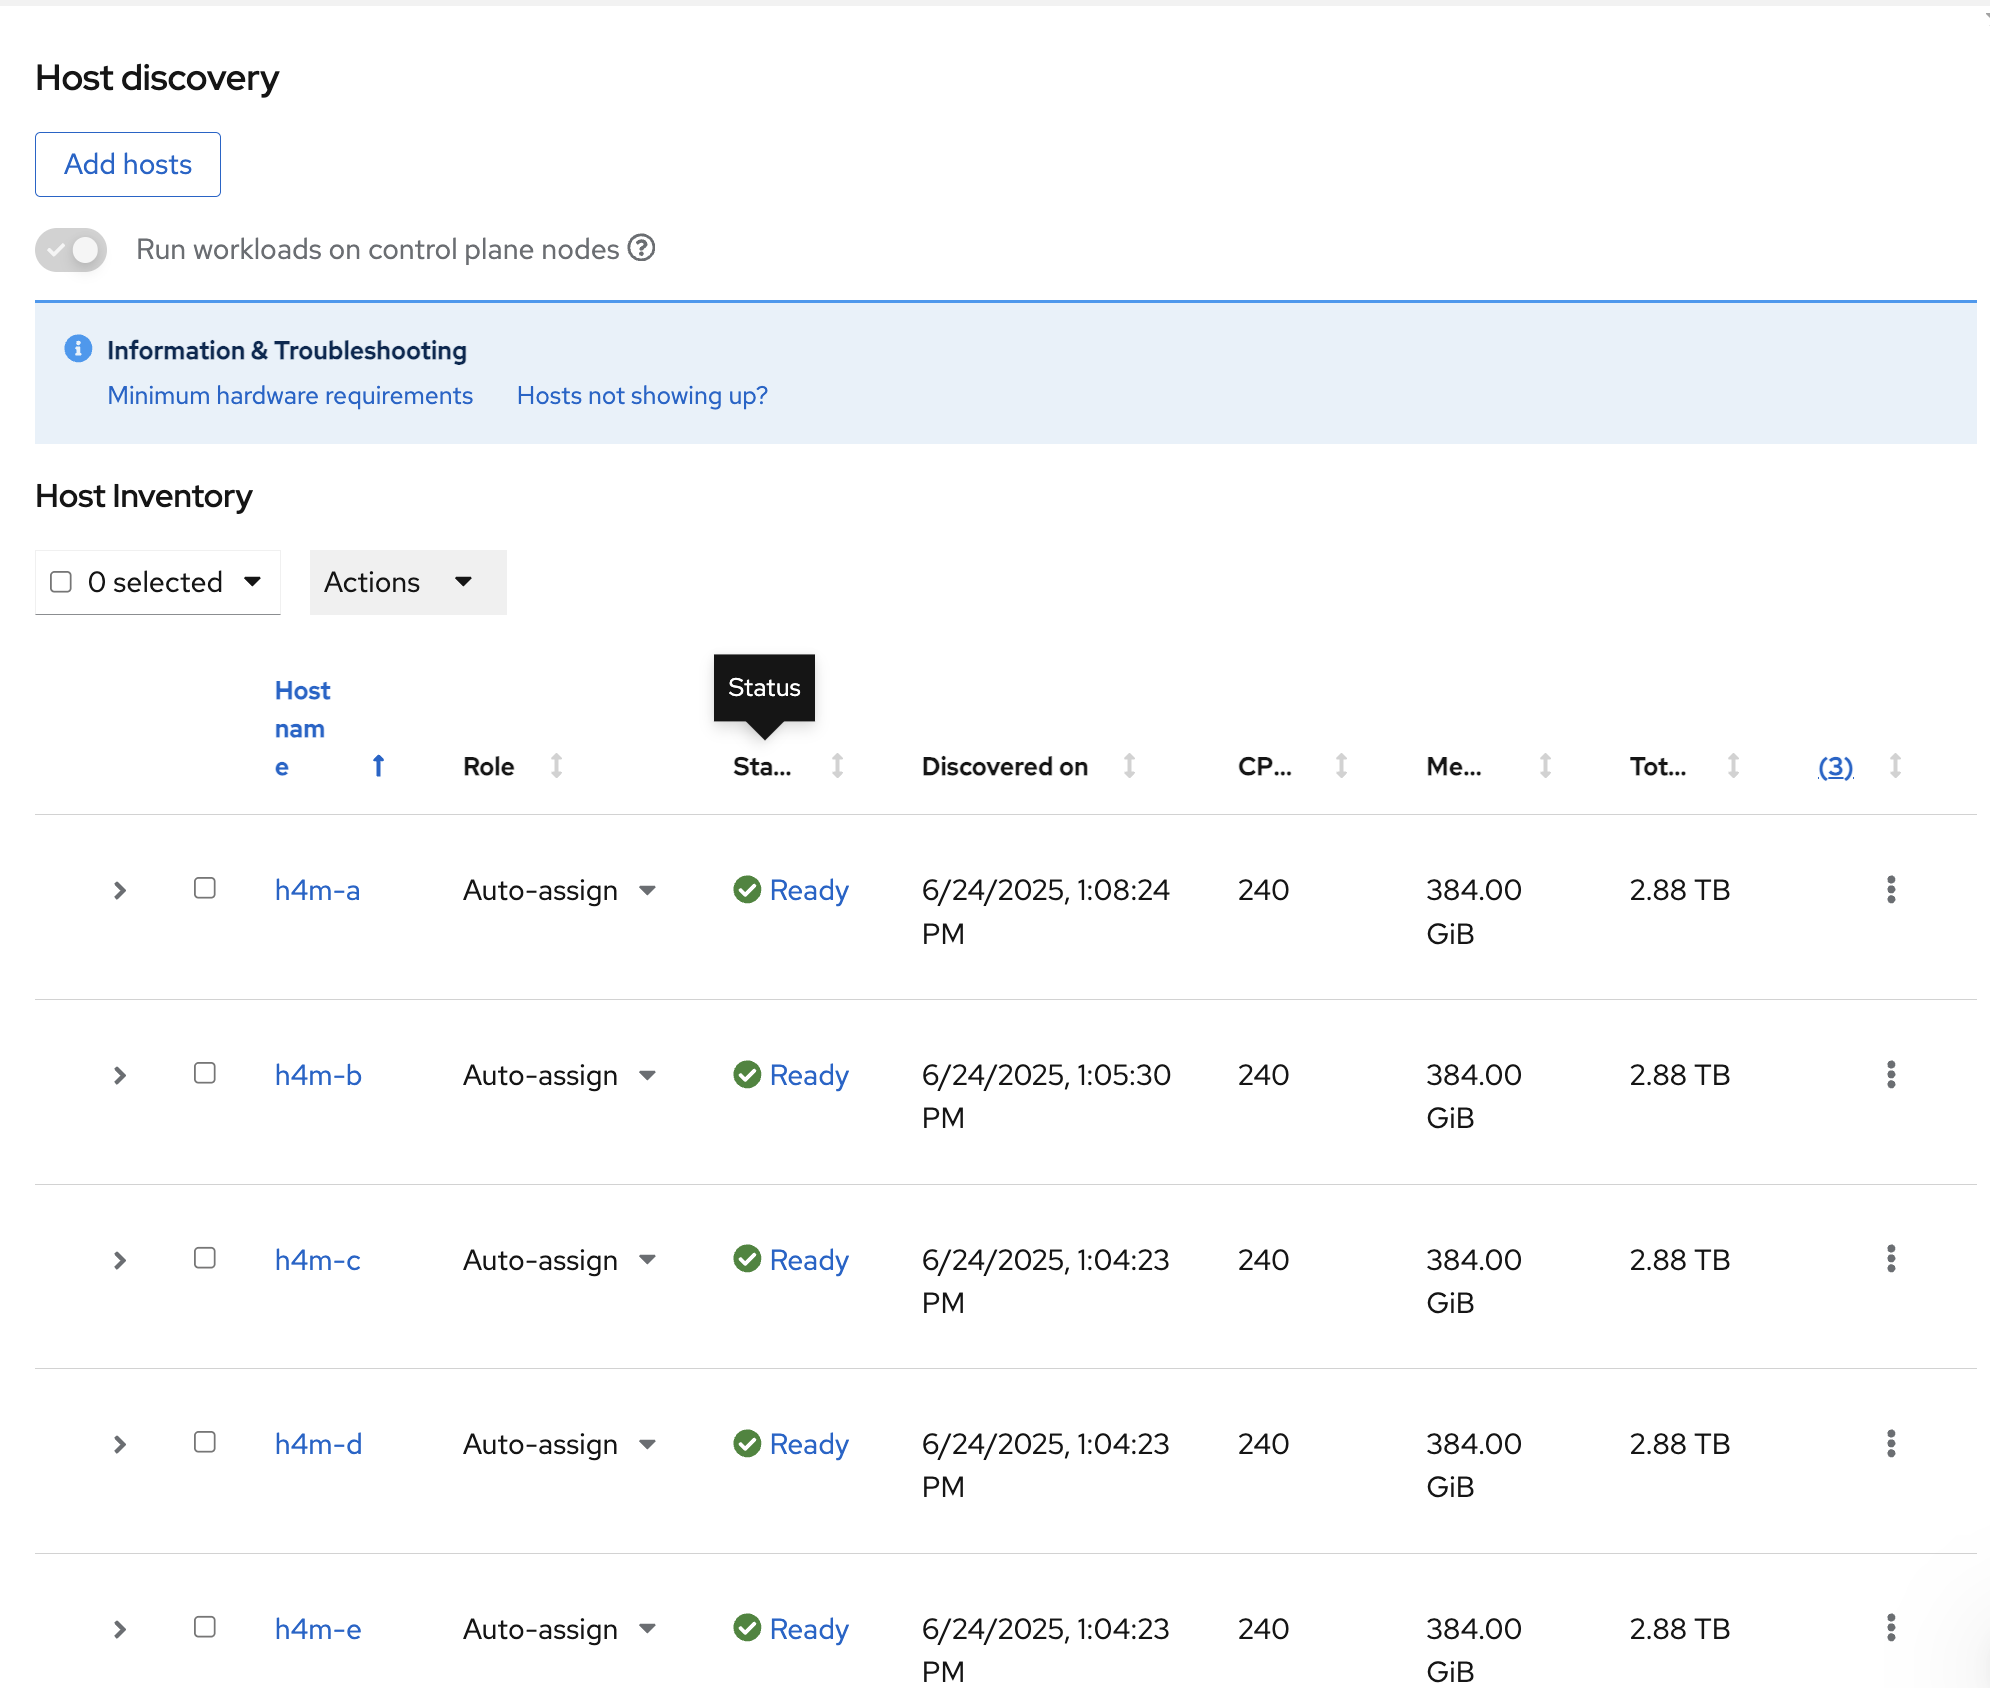
Assign roles to each host using the Role dropdown list for example, Control plane node for control planes and Worker for compute/worker nodes. Click the Next button. For a compact cluster or SNO, select Control plane, Worker as the role for all nodes.
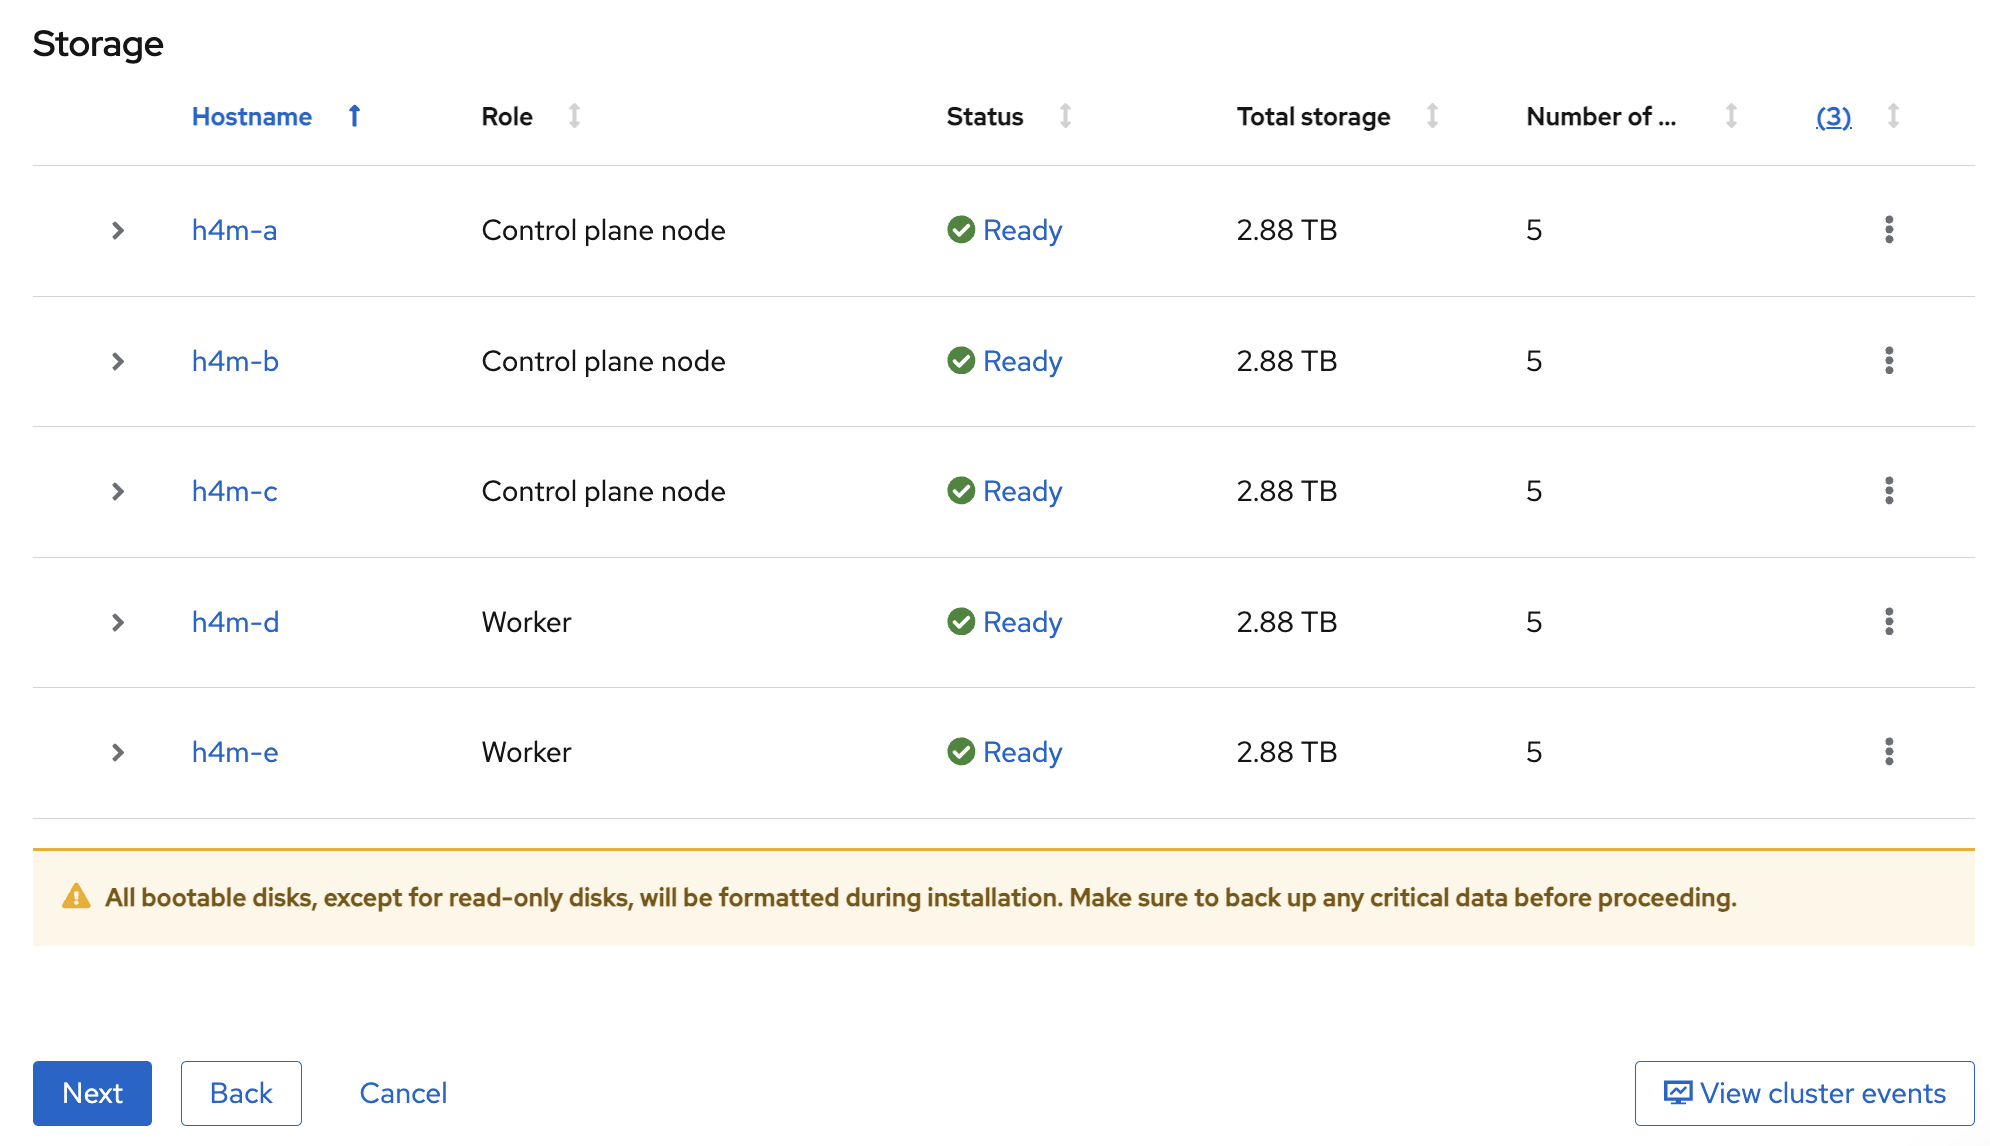
Leave default settings for storage. This will format all hard drives on each system.
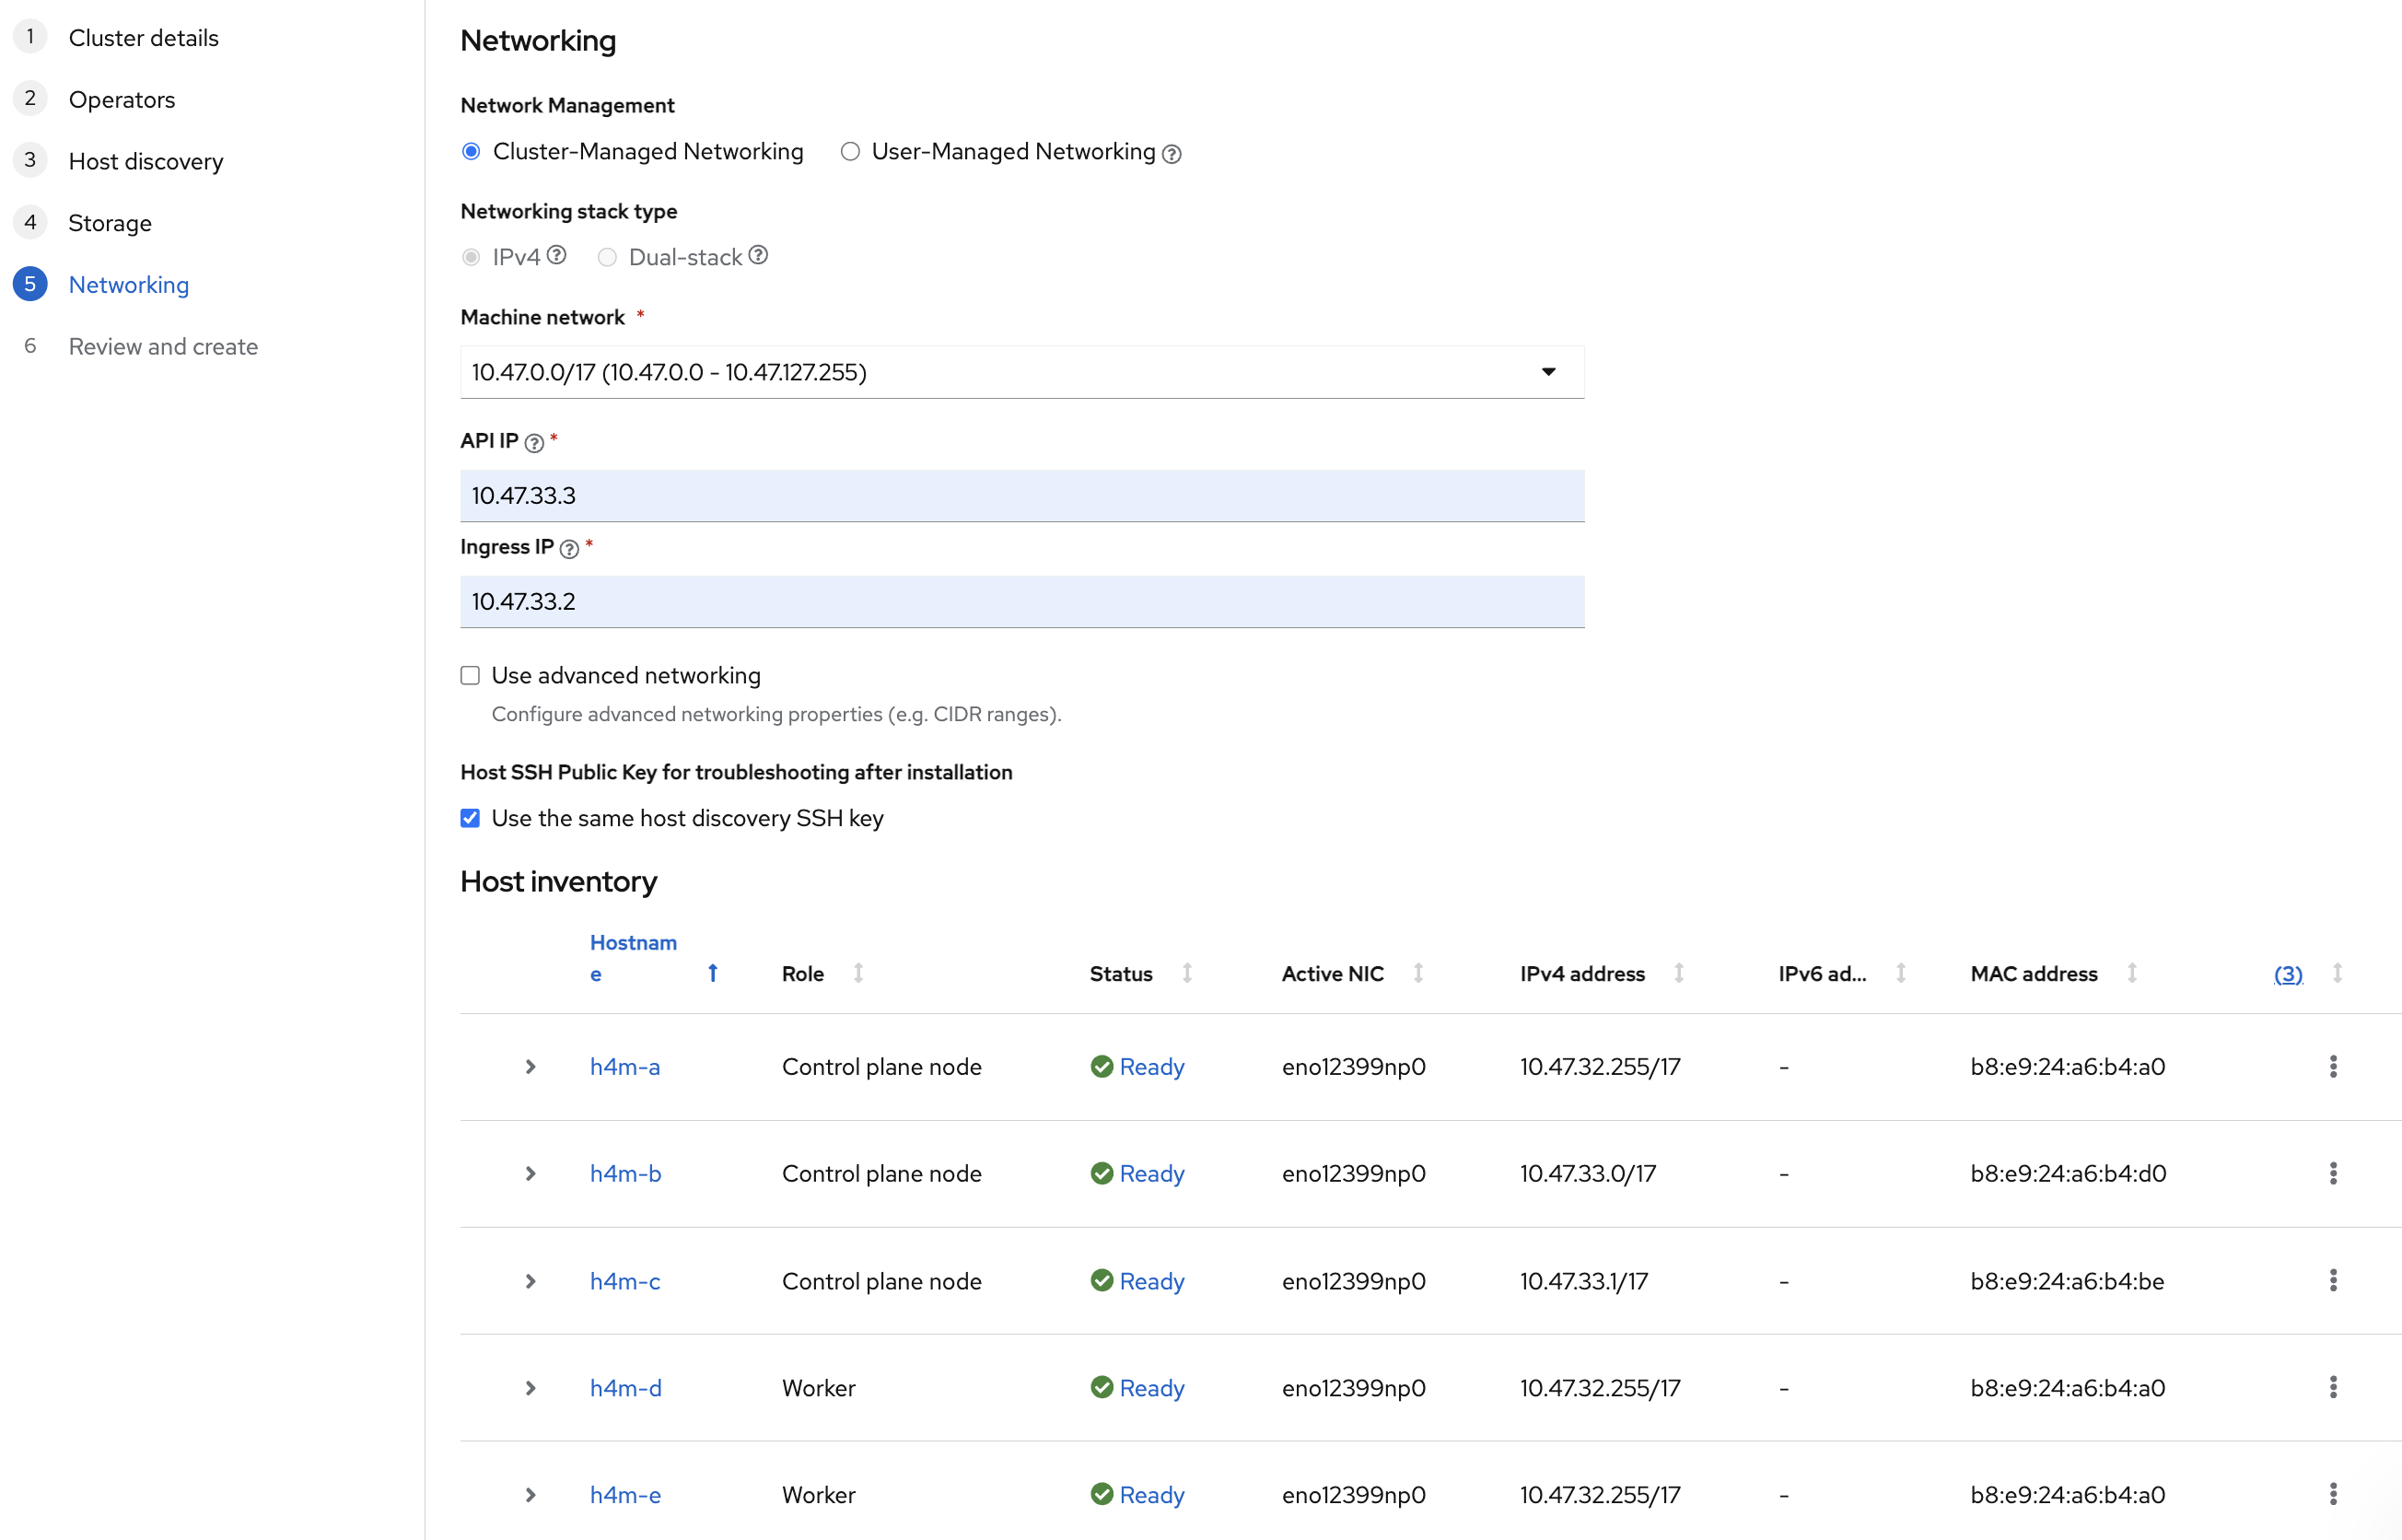
In the Networking tab, provide API IP and Ingress IP, and click Next. For SNO, there will be no option available to specify API IP and Ingress IP.
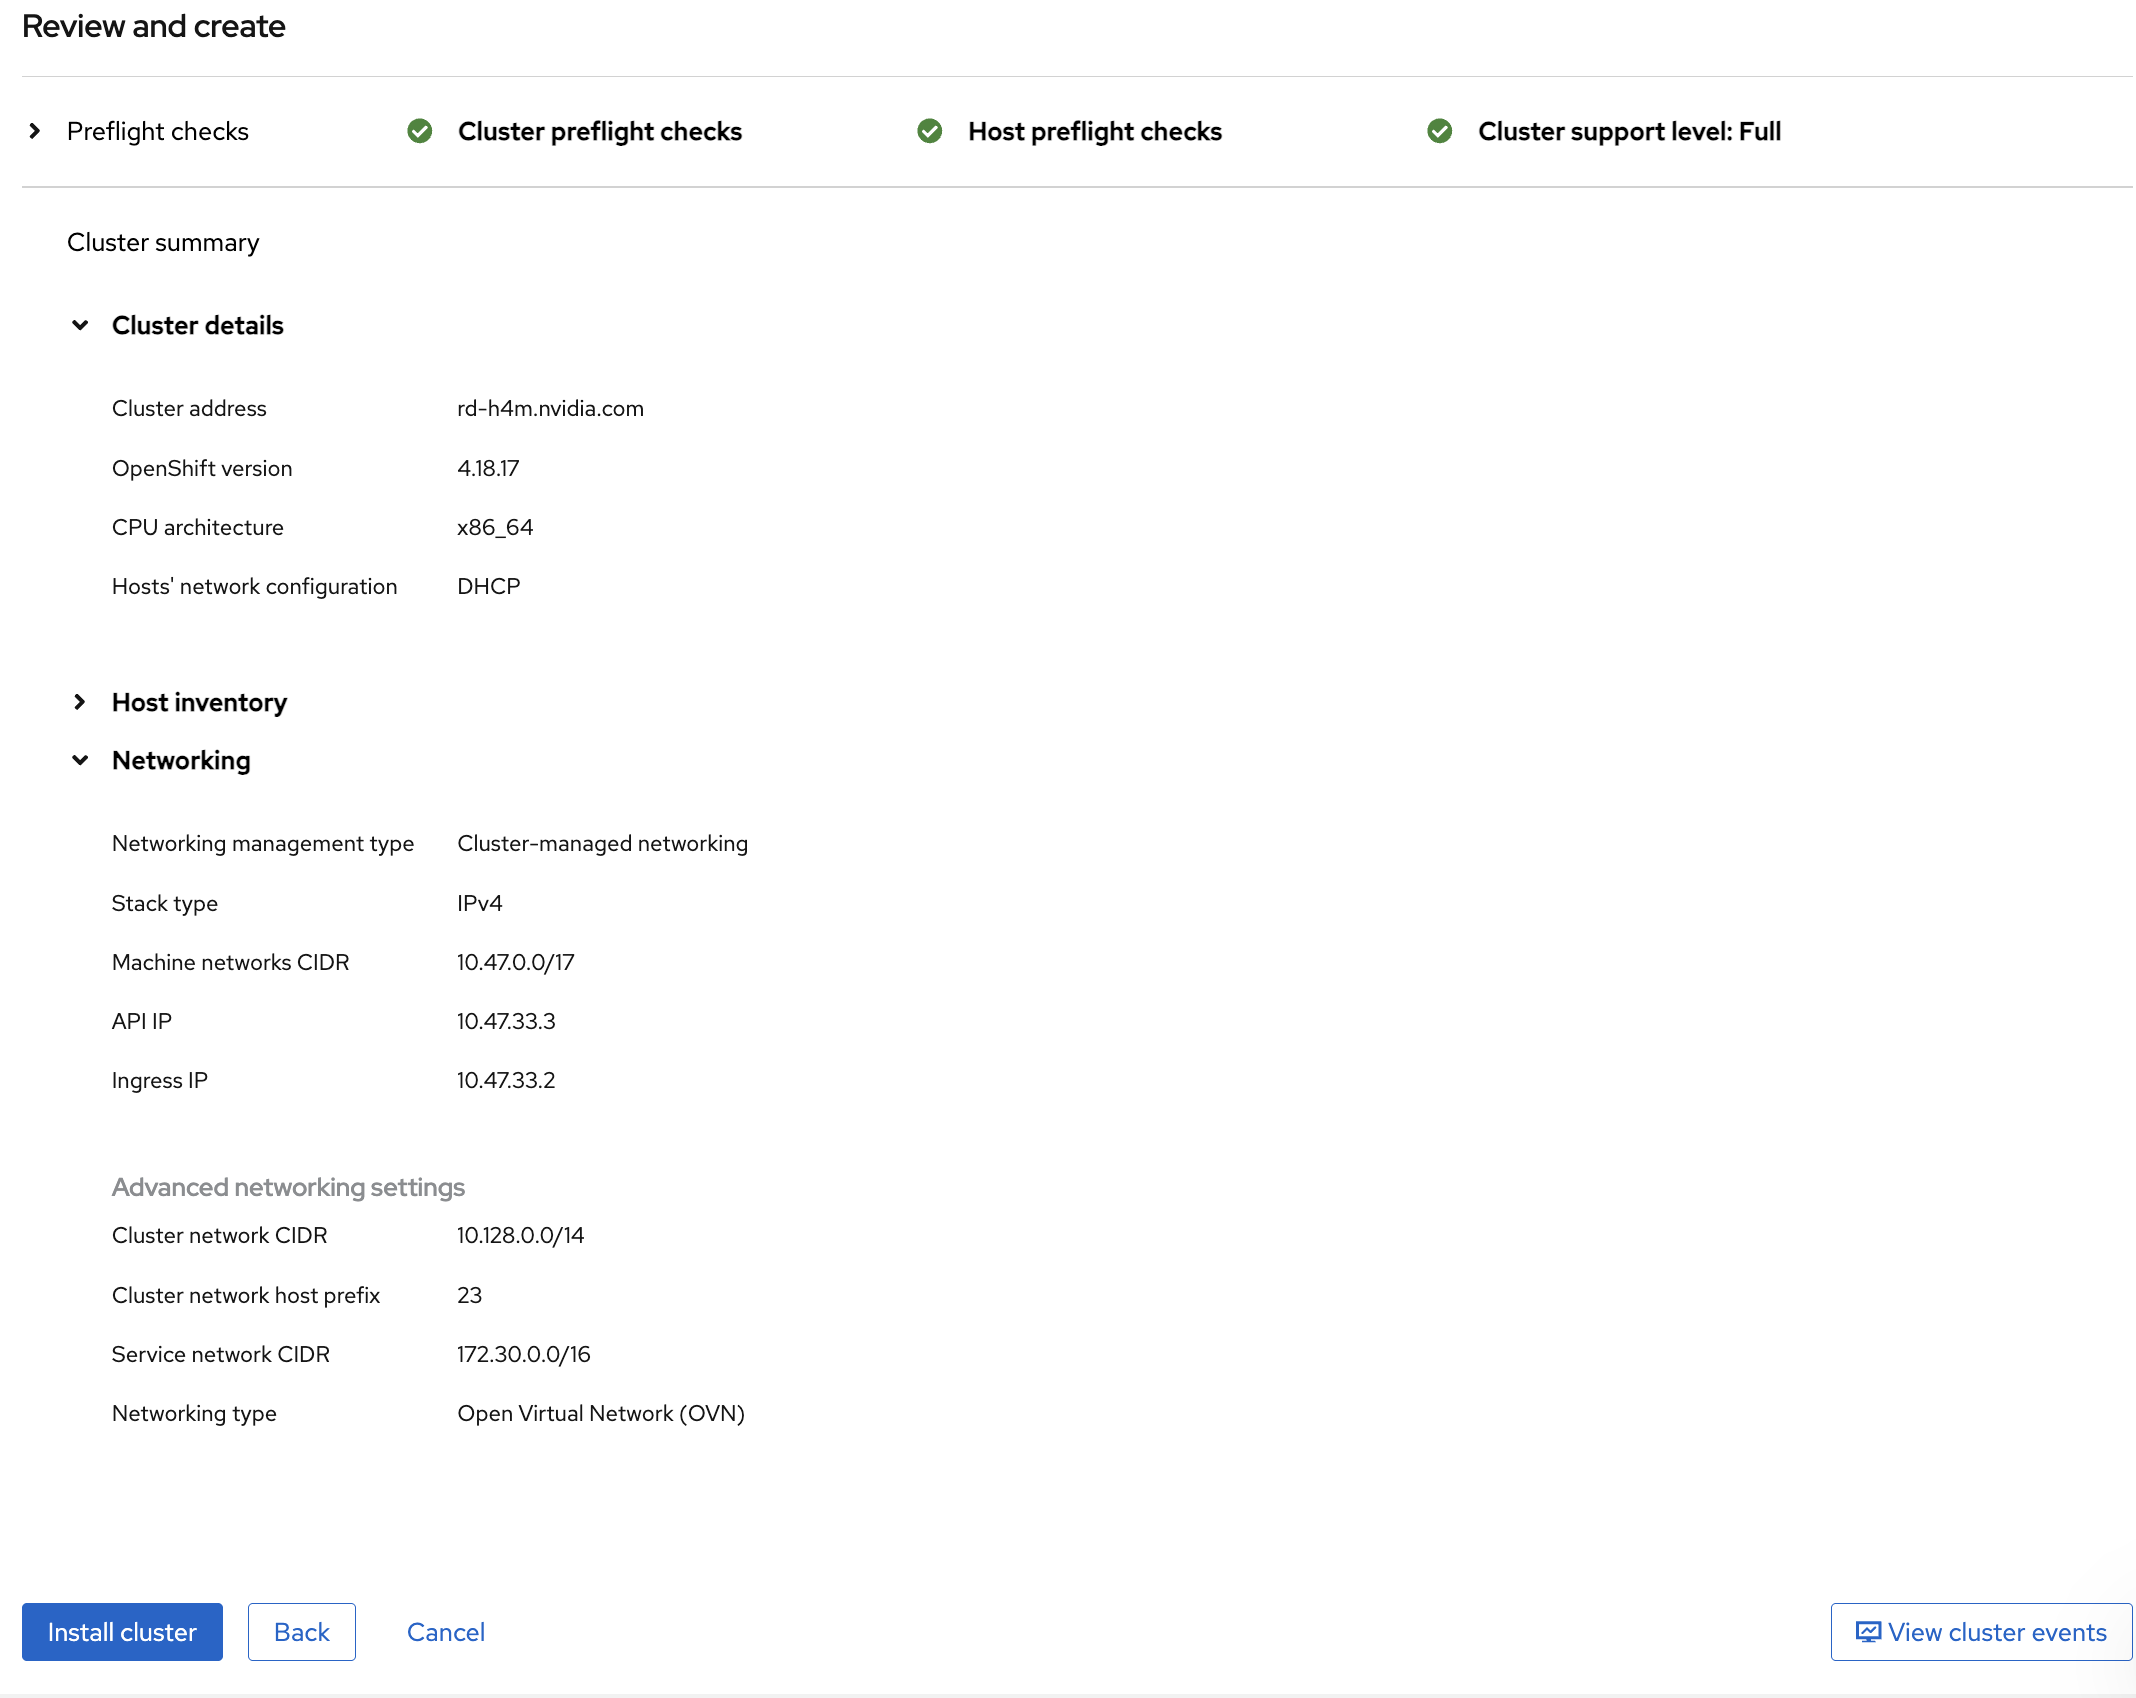
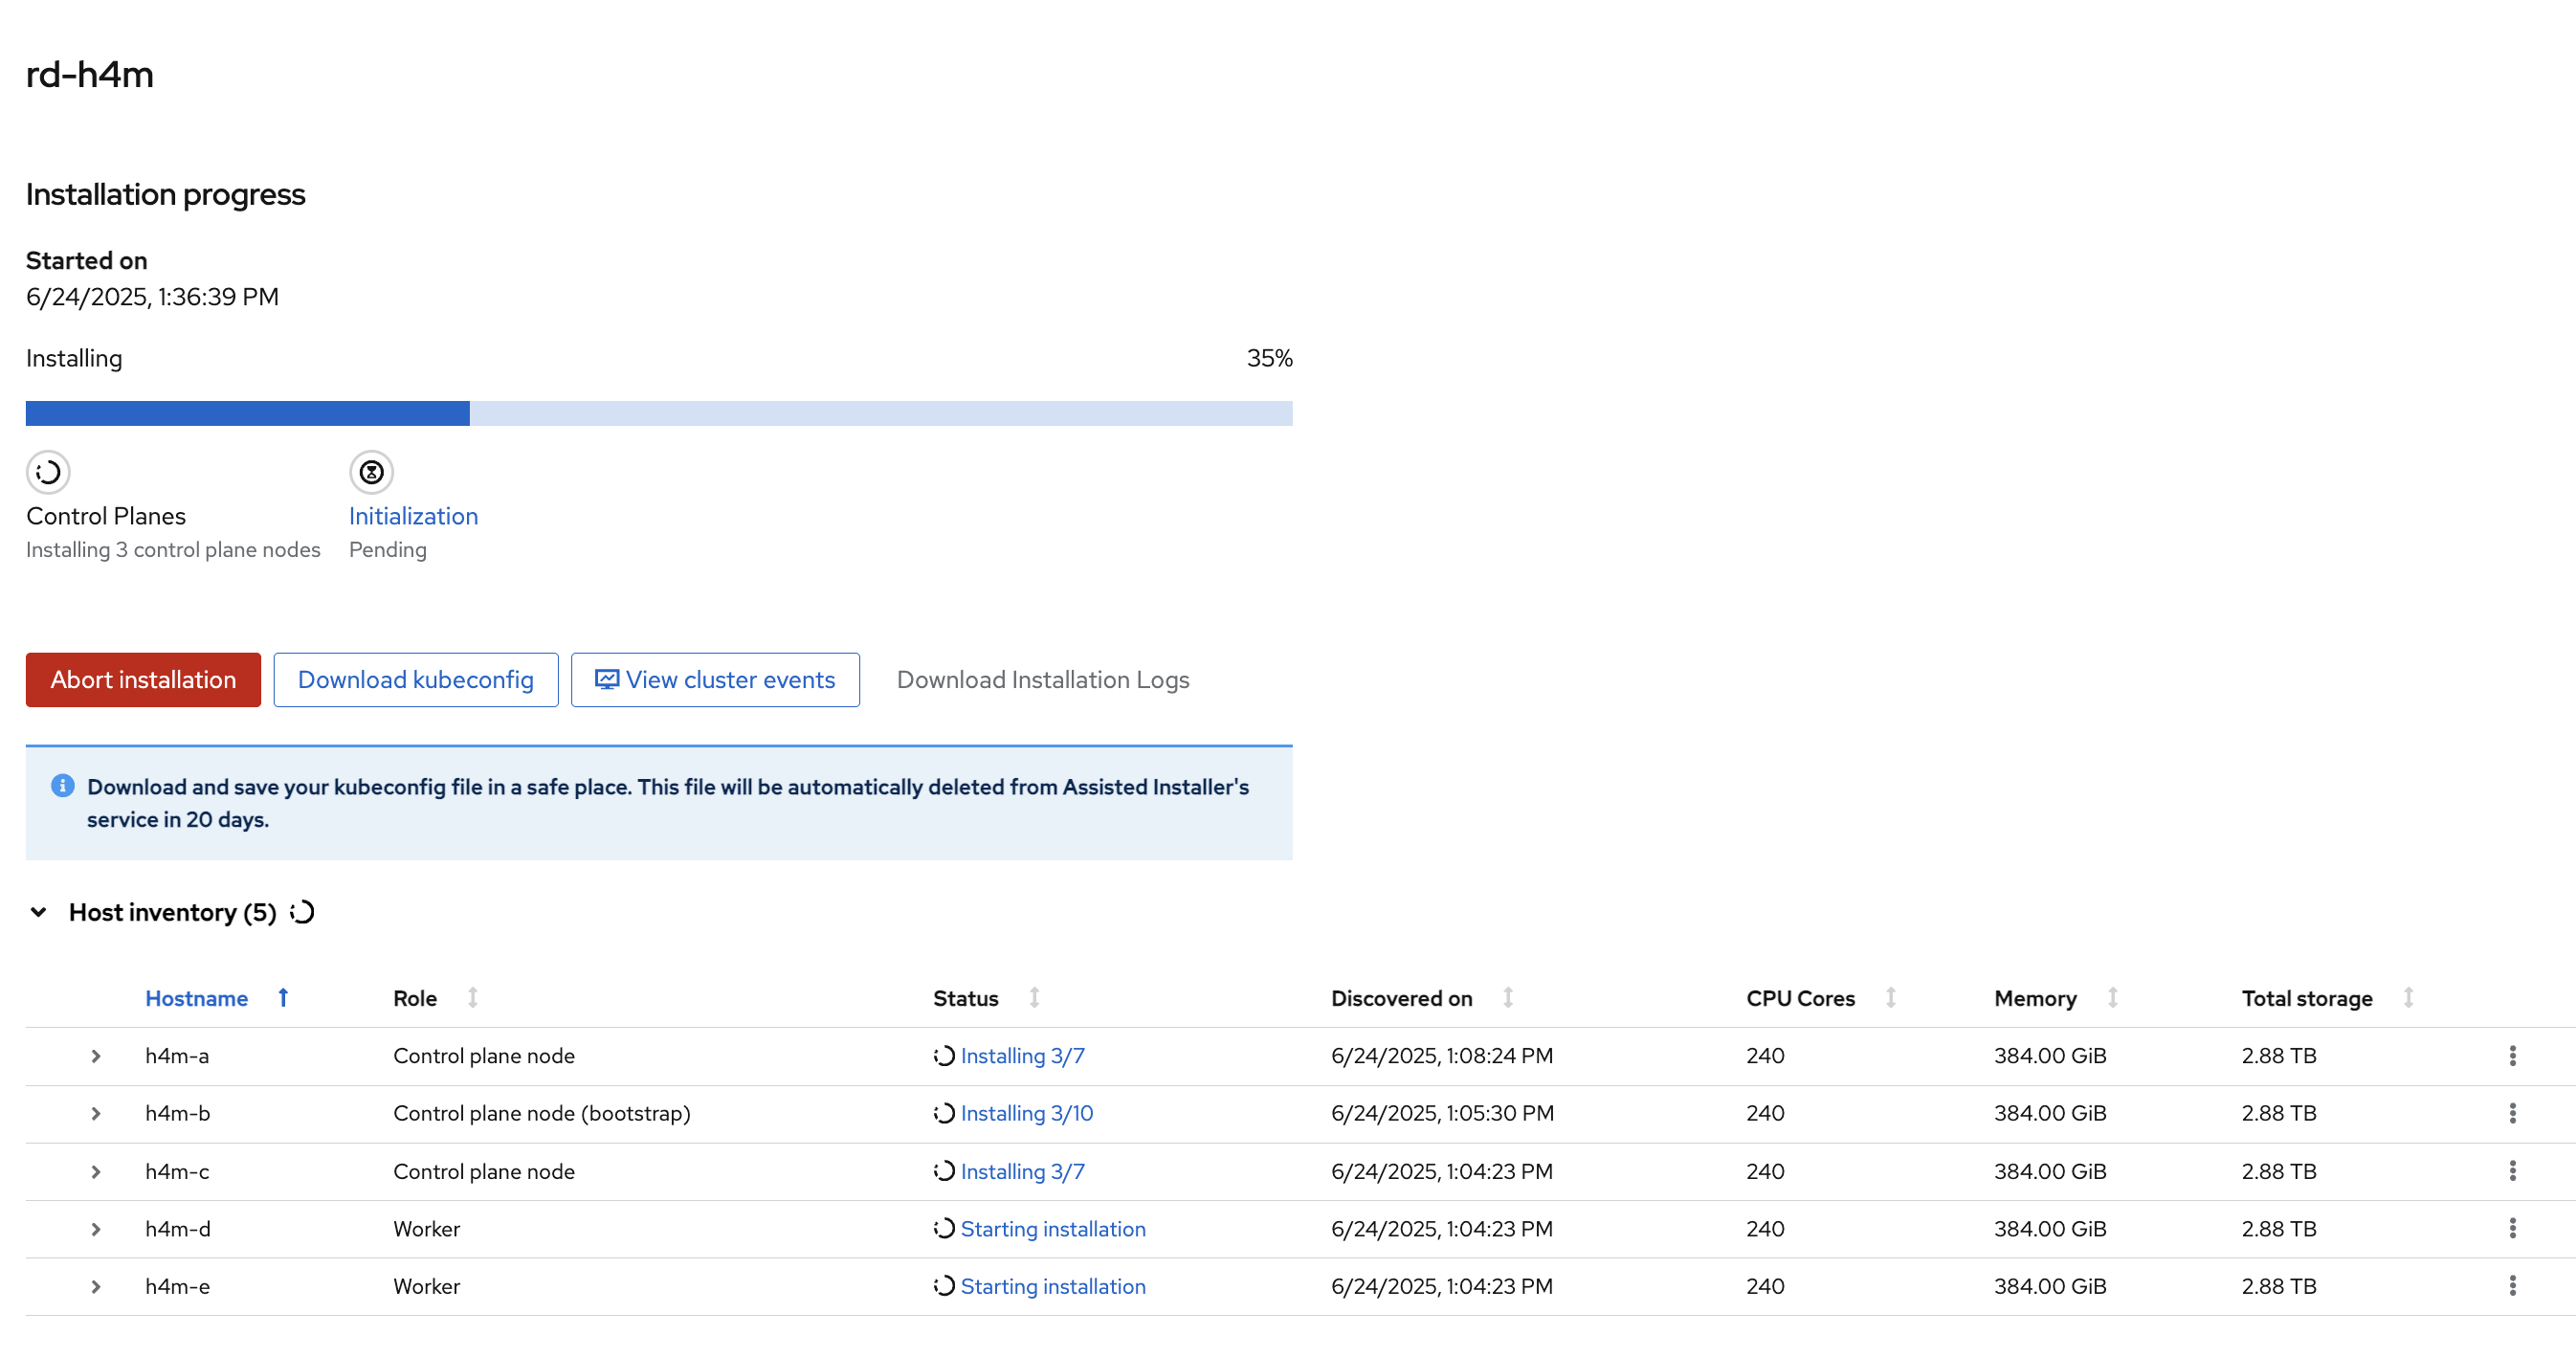
Review cluster details and click Install Cluster.
Cluster installation will take 45–60 minutes to complete.
After installation completes, save the
kubeconfigfile by clicking the Download kubeconfig button and also make a note of the Web Console URL, Username, Password.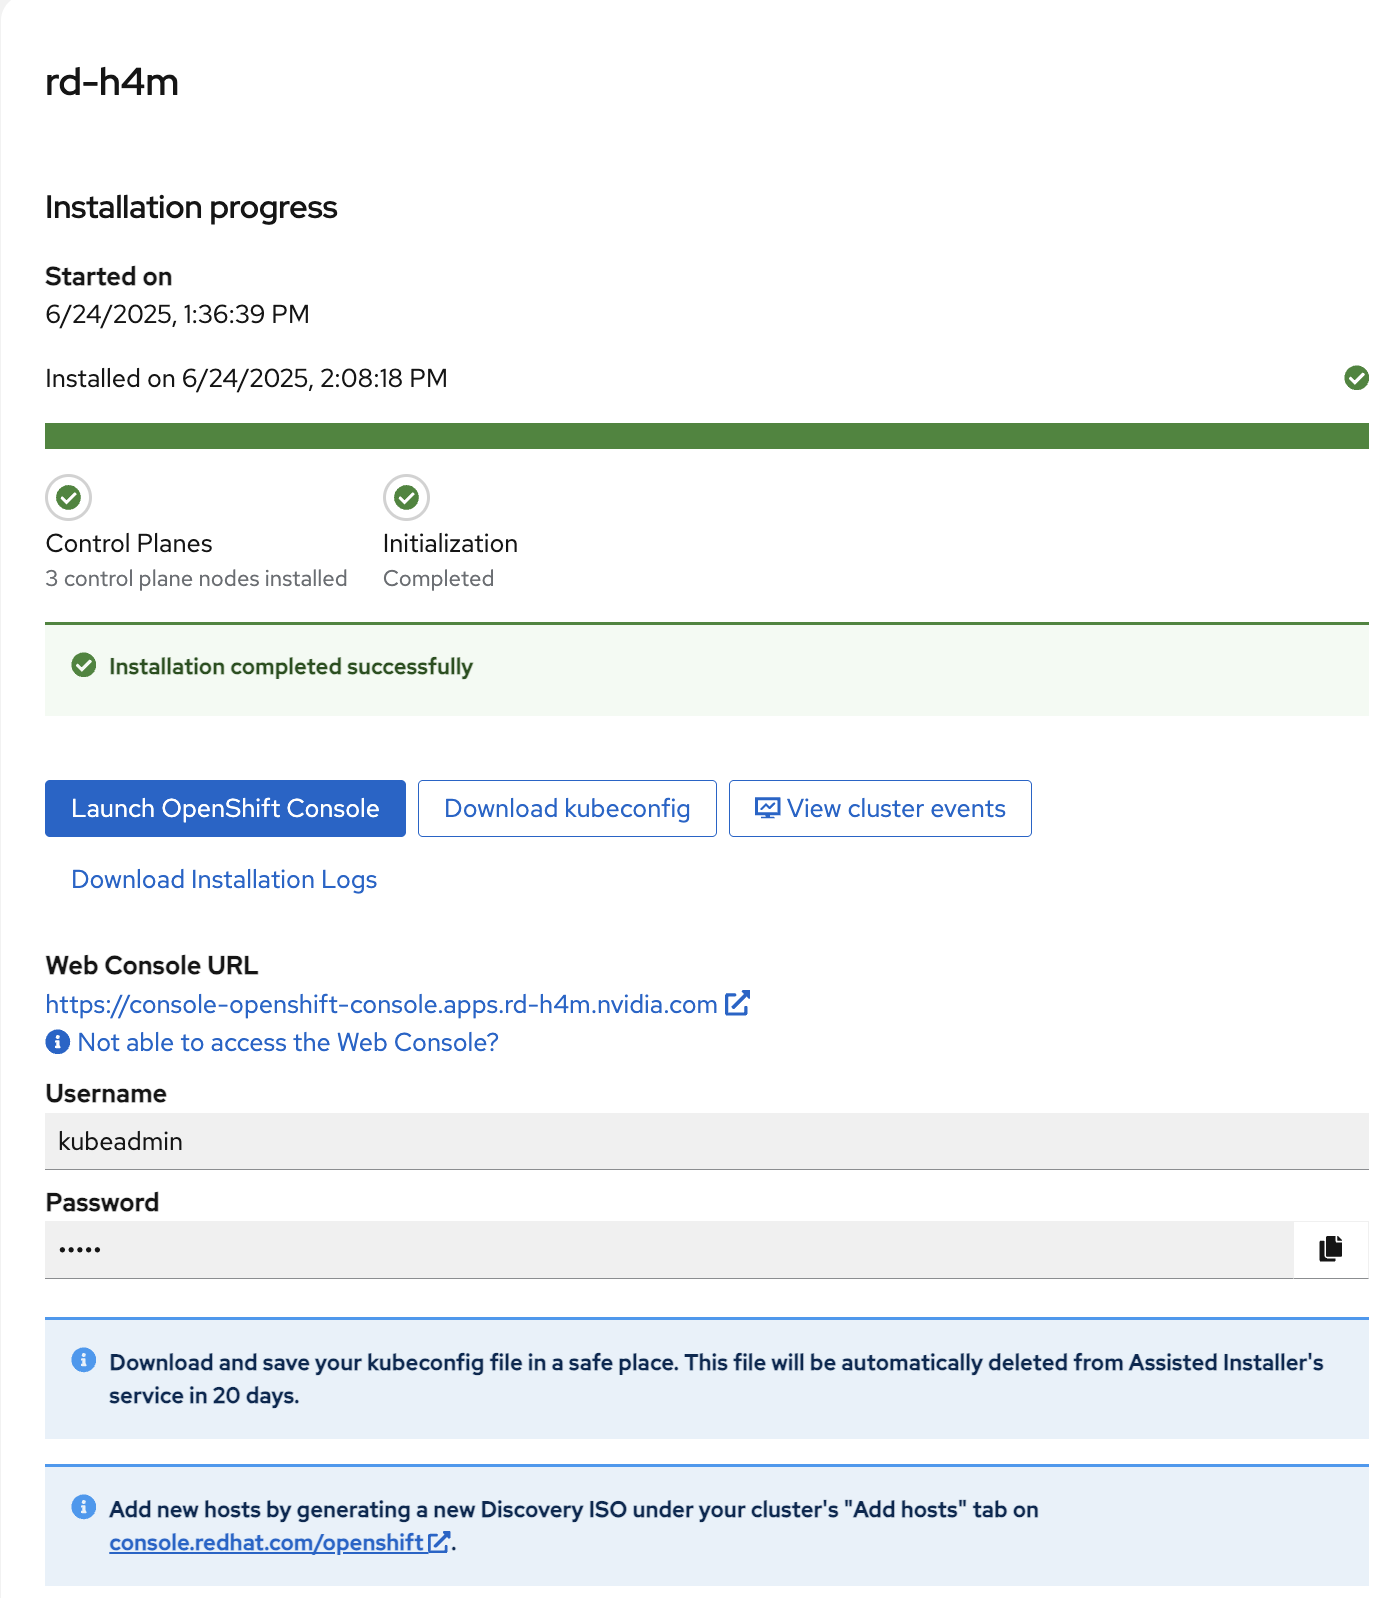
Note
If you are not able to access the web console, refer to IP Addresses and DNS Records or click Not able to access the Web Console to get a troubleshooting dialog box with information to access the cluster.

Copy the
kubeconfigfile to~/.kube/configon the jump node.Verify that the cluster is installed properly:
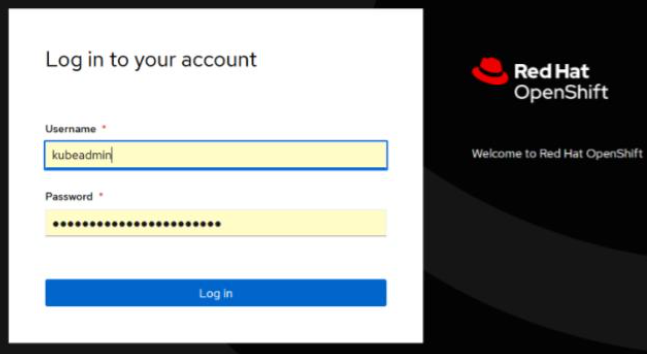
Using the Web console:
Open Web Console URL from the above step in a browser on the jump node and login using the provided username, password.
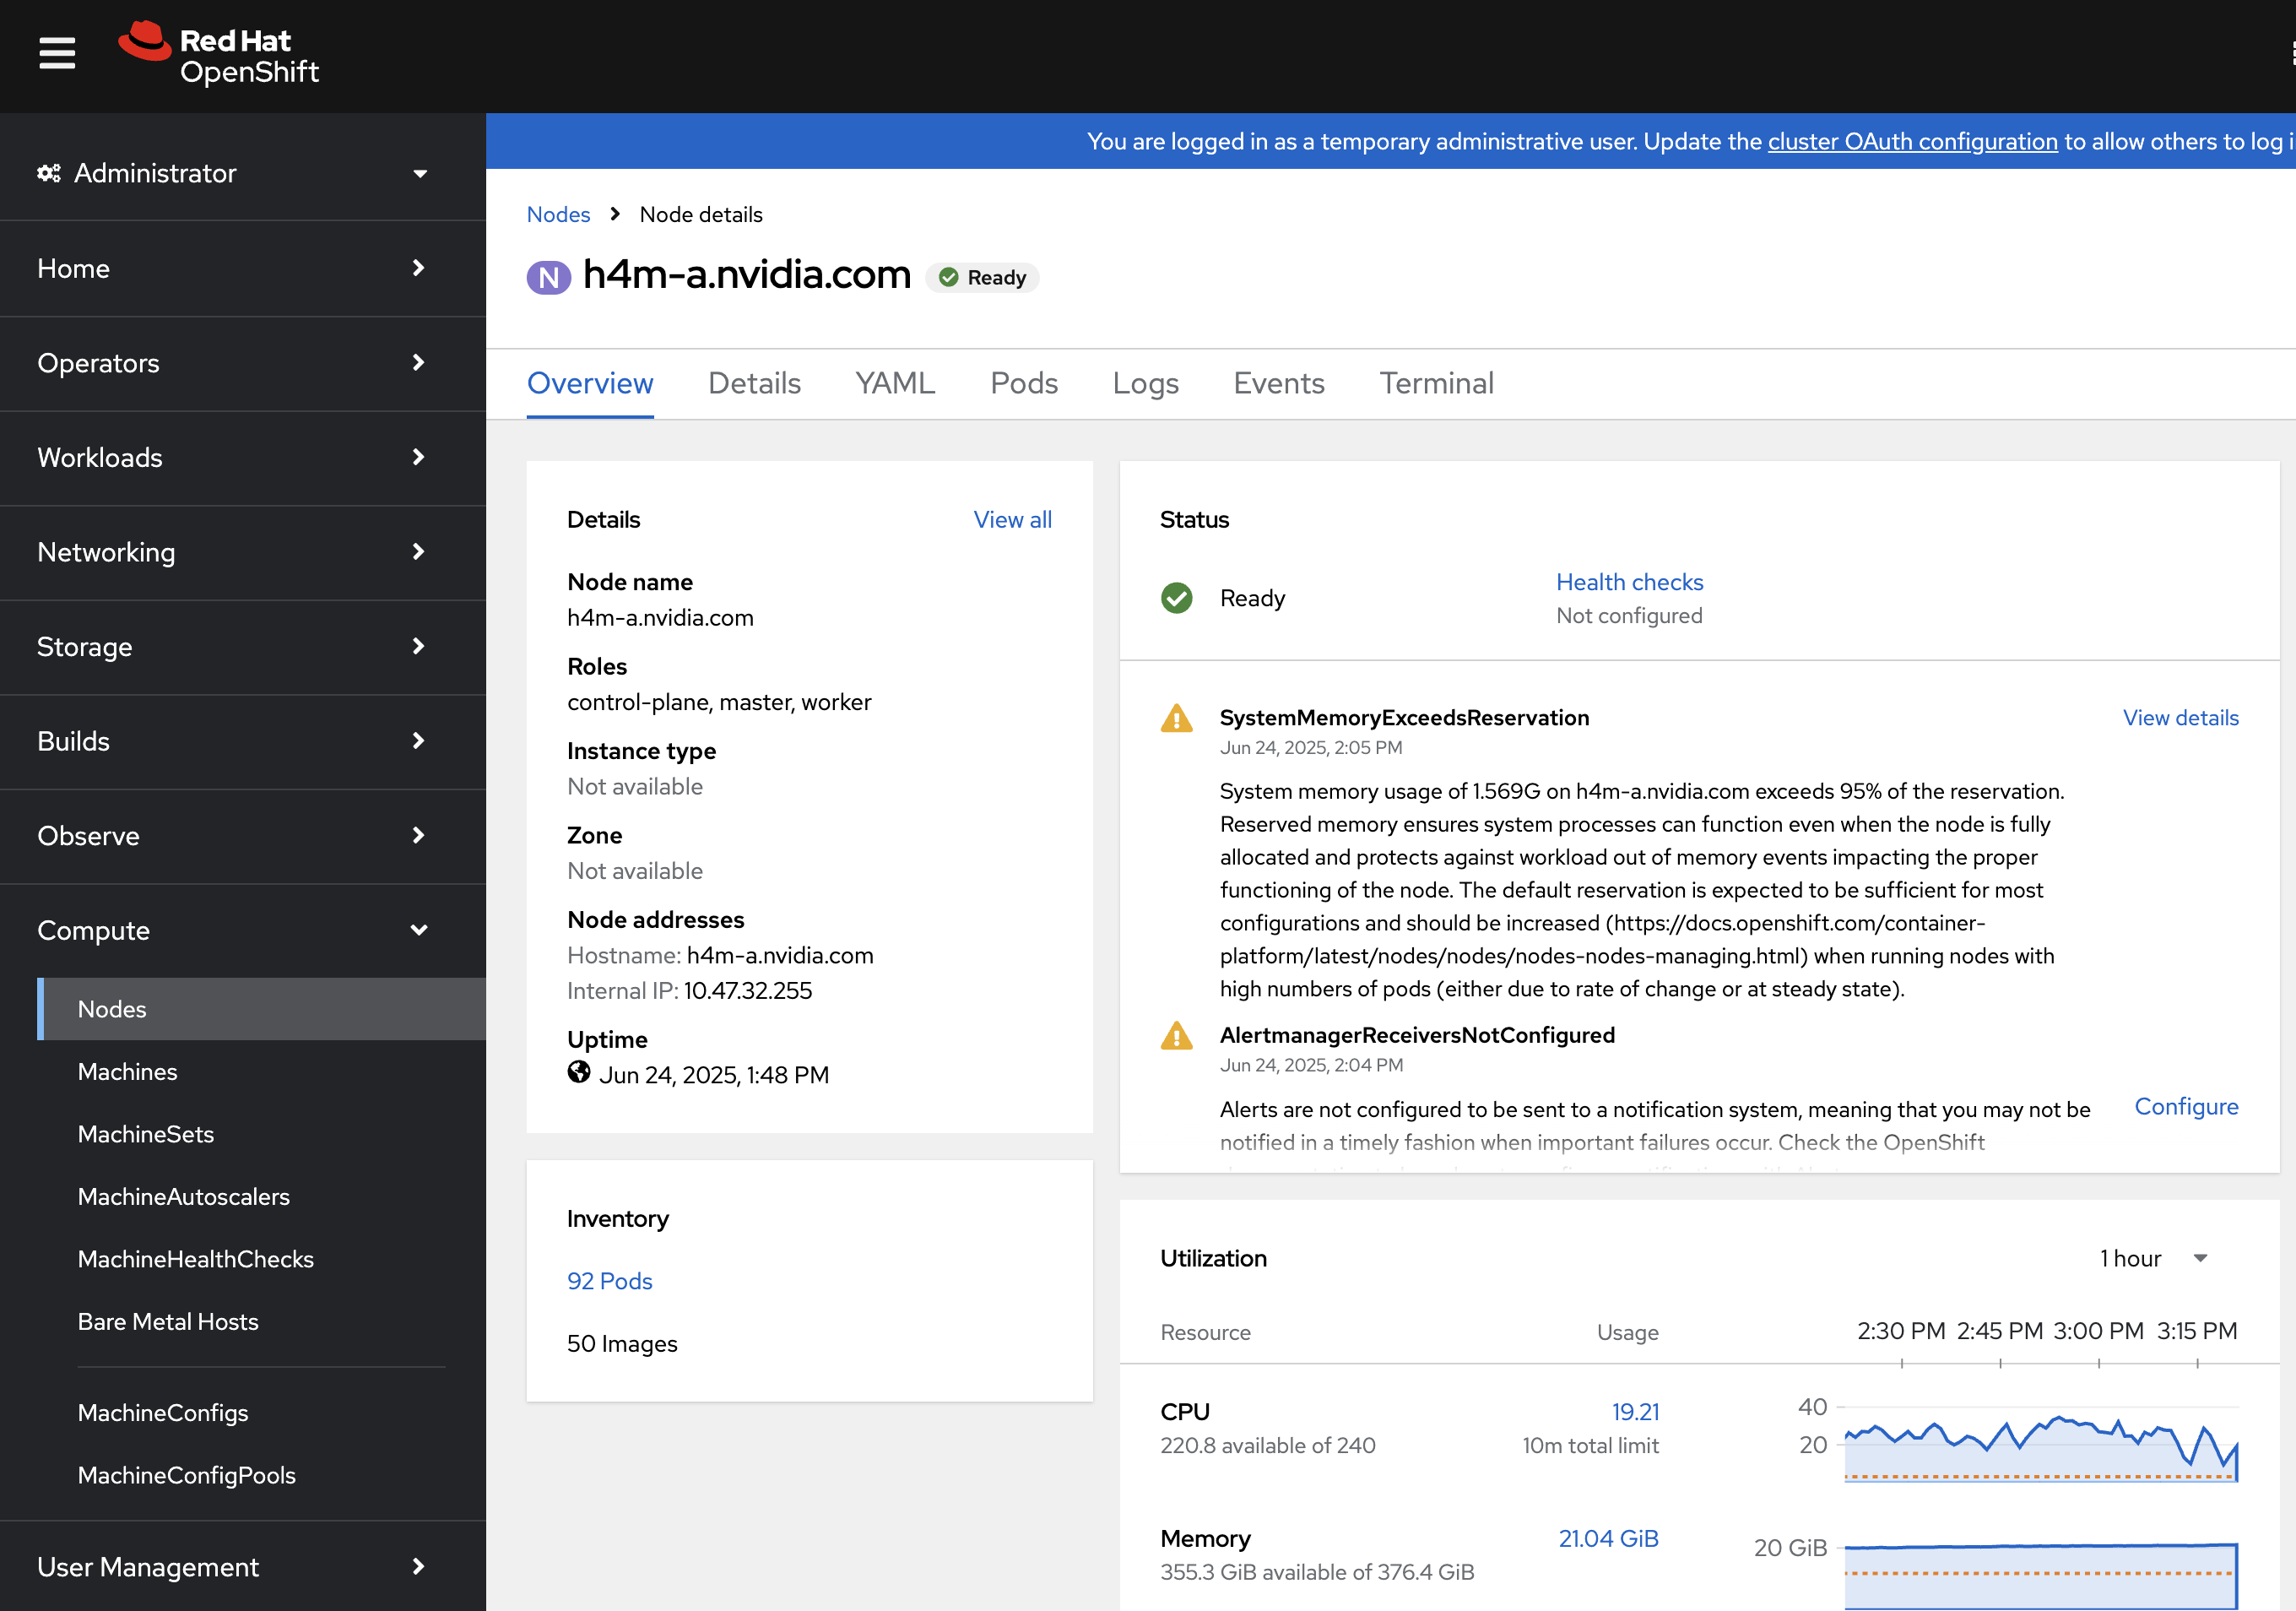
Make sure Cluster Status is OK/green.
Using the menu on the left side, navigate to Compute > Nodes. Ensure Status of each node is Ready.
Detailed information about each node is available by clicking the node name.
Using the CLI:
oc get nodes

NAME STATUS ROLES AGE VERSION
h4m-a Ready control-plane,master 11h v1.31.9
h4m-b Ready control-plane,master 11h v1.31.9
h4m-c Ready control-plane,master 11h v1.31.9
h4m-d Ready worker 11h v1.31.9
h4m-e Ready worker 11h v1.31.9
Note
To interact with an OpenShift cluster from a command-line interface, OpenShift CLI must be installed. You can install oc on Linux, Windows, or macOS. See Installing the OpenShift CLI.