DeepStream On WSL#
Windows Subsystem for Linux (WSL) is a feature of Windows that allows you to run a Linux environment on your Windows machine, without the need for a separate virtual machine or dual booting. WSL 2 is the latest version of it. This page describes the steps to run a Deepstream docker container inside WSL2.
Pre-Requisites:#
1. Windows 11 system with NVIDIA GPU:
NOTE: Tesla/Datacenter GPUs are not supported for WSL. Only GeForce and Quadro GPUs in WDDM mode are supported. Please check the link for more info: https://docs.nvidia.com/cuda/wsl-user-guide/index.html#wsl-2-support-constraints
2. NVIDIA driver (windows version) compatible for your GPU:
You can download the compatible driver based on your windows OS and GPU type from here: https://www.nvidia.com/Download/index.aspx
While installing the driver, choose Advanced->Perform Clean Installation on the GUI.
Currently validated Driver Version and GPU info: GameReady Driver version 595.79 with GeForce RTX-3050
NOTE: This is the only driver you need to install on Windows. Do not install any Linux display driver inside WSL.
3. WSL (Windows Store Version):
Download and install the latest stable version of WSL2 from microsoft/WSL. Currently validated WSL Version: wsl.2.7.3.0.x64
NOTE: In some build versions of Windows, ‘wsl –install’ command will install the WSL which comes as a part of windows image, which has limited functionality. DO NOT install that.
Install Ubuntu OS for WSL :#
Open terminal and install Ubuntu 24:
Open windows terminal with admin privilege. (Right click and run as administrator) Check what all OS images are available for wsl to install.
$ wsl --list --online
Install Ubuntu version required for Deepstream 9.1
$ wsl --install Ubuntu-24.04
The above step may first install dependencies for running WSL, prior to install Ubuntu and can ask for restart of Windows machine. In that case, restart the machine, open windows terminal with admin privilege and check if Ubuntu is installed properly using below command.
$ wsl --list
If you can’t find an installed Ubuntu version, again install it using ‘wsl –install Ubuntu-24.04’ command. Set the username and password for Ubuntu when prompted.
Install Docker Engine And Dependencies Inside Ubuntu:#
Start Ubuntu Inside WSL:
Open windows terminal with admin privilege (Right click and run as administrator).
Start Ubuntu using WSL. (This step is required only if you are not already logged into Ubuntu)
$ wsl -d Ubuntu-24.04
Verify Driver Installation from within WSL environment:
$ nvidia-smi
NOTE: If ‘nvidia-smi’ is not working as expected, then there is some issue with the driver installation in windows and we can’t go further without fixing this.
Install Docker Engine and Dependencies:
$ sudo apt-get update
$ sudo apt-get install -y apt-transport-https ca-certificates curl gnupg-agent software-properties-common
$ curl -fsSL https://download.docker.com/linux/ubuntu/gpg | sudo apt-key add -
$ sudo apt-key fingerprint 0EBFCD88
$ sudo add-apt-repository "deb [arch=amd64] https://download.docker.com/linux/ubuntu $(lsb_release -cs) stable"
$ sudo apt-get update
$ sudo apt-get install -y docker-ce docker-ce-cli containerd.io --fix-missing
Verify docker installation:
This should print a “Hello from Docker!”
$ sudo docker run hello-world
NOTE: If you are not able to run the above command because of docker service not running, start the docker service before that.
$ sudo dockerd &
Enabling the Docker Repository and Installing the NVIDIA Container Toolkit:
$ curl -fsSL https://nvidia.github.io/libnvidia-container/gpgkey | sudo gpg --dearmor -o /usr/share/keyrings/nvidia-container-toolkit-keyring.gpg
$ curl -s -L https://nvidia.github.io/libnvidia-container/stable/deb/nvidia-container-toolkit.list | sed 's#deb https://#deb [signed-by=/usr/share/keyrings/nvidia-container-toolkit-keyring.gpg] https://#g' | sudo tee /etc/apt/sources.list.d/nvidia-container-toolkit.list
$ sudo apt-get update && sudo apt-get install -y nvidia-container-toolkit
$ sudo systemctl restart docker
Run Deepstream Container:#
Pull the required deepstream docker container:
$ sudo docker pull nvcr.io/nvidia/deepstream:9.1-triton-multiarch
Start the docker container:
$ sudo apt install x11-xserver-utils
$ xhost +
$ sudo docker run -it --privileged --rm --name=docker --net=host --gpus all -e DISPLAY=$DISPLAY -e CUDA_CACHE_DISABLE=0  -e NVIDIA_DRIVER_CAPABILITIES=all --device /dev/snd -v /tmp/.X11-unix/:/tmp/.X11-unix -v /usr/lib/wsl/lib/libnvcuvid.so.1:/usr/lib/x86_64-linux-gnu/libnvcuvid.so.1:ro -v /usr/lib/wsl/lib/libnvidia-encode.so.1:/usr/lib/x86_64-linux-gnu/libnvidia-encode.so.1:ro nvcr.io/nvidia/deepstream:9.1-triton-multiarch
NOTE: The ‘-v’ bind-mount destinations (‘/usr/lib/x86_64-linux-gnu/’) are for an x86_64 WSL2 host.
Verify deepstream functionality:
$ deepstream-app --version-all
Expected Output: It should print the deepstream version currently installed on docker.
$ cd /opt/nvidia/deepstream/deepstream/samples/streams
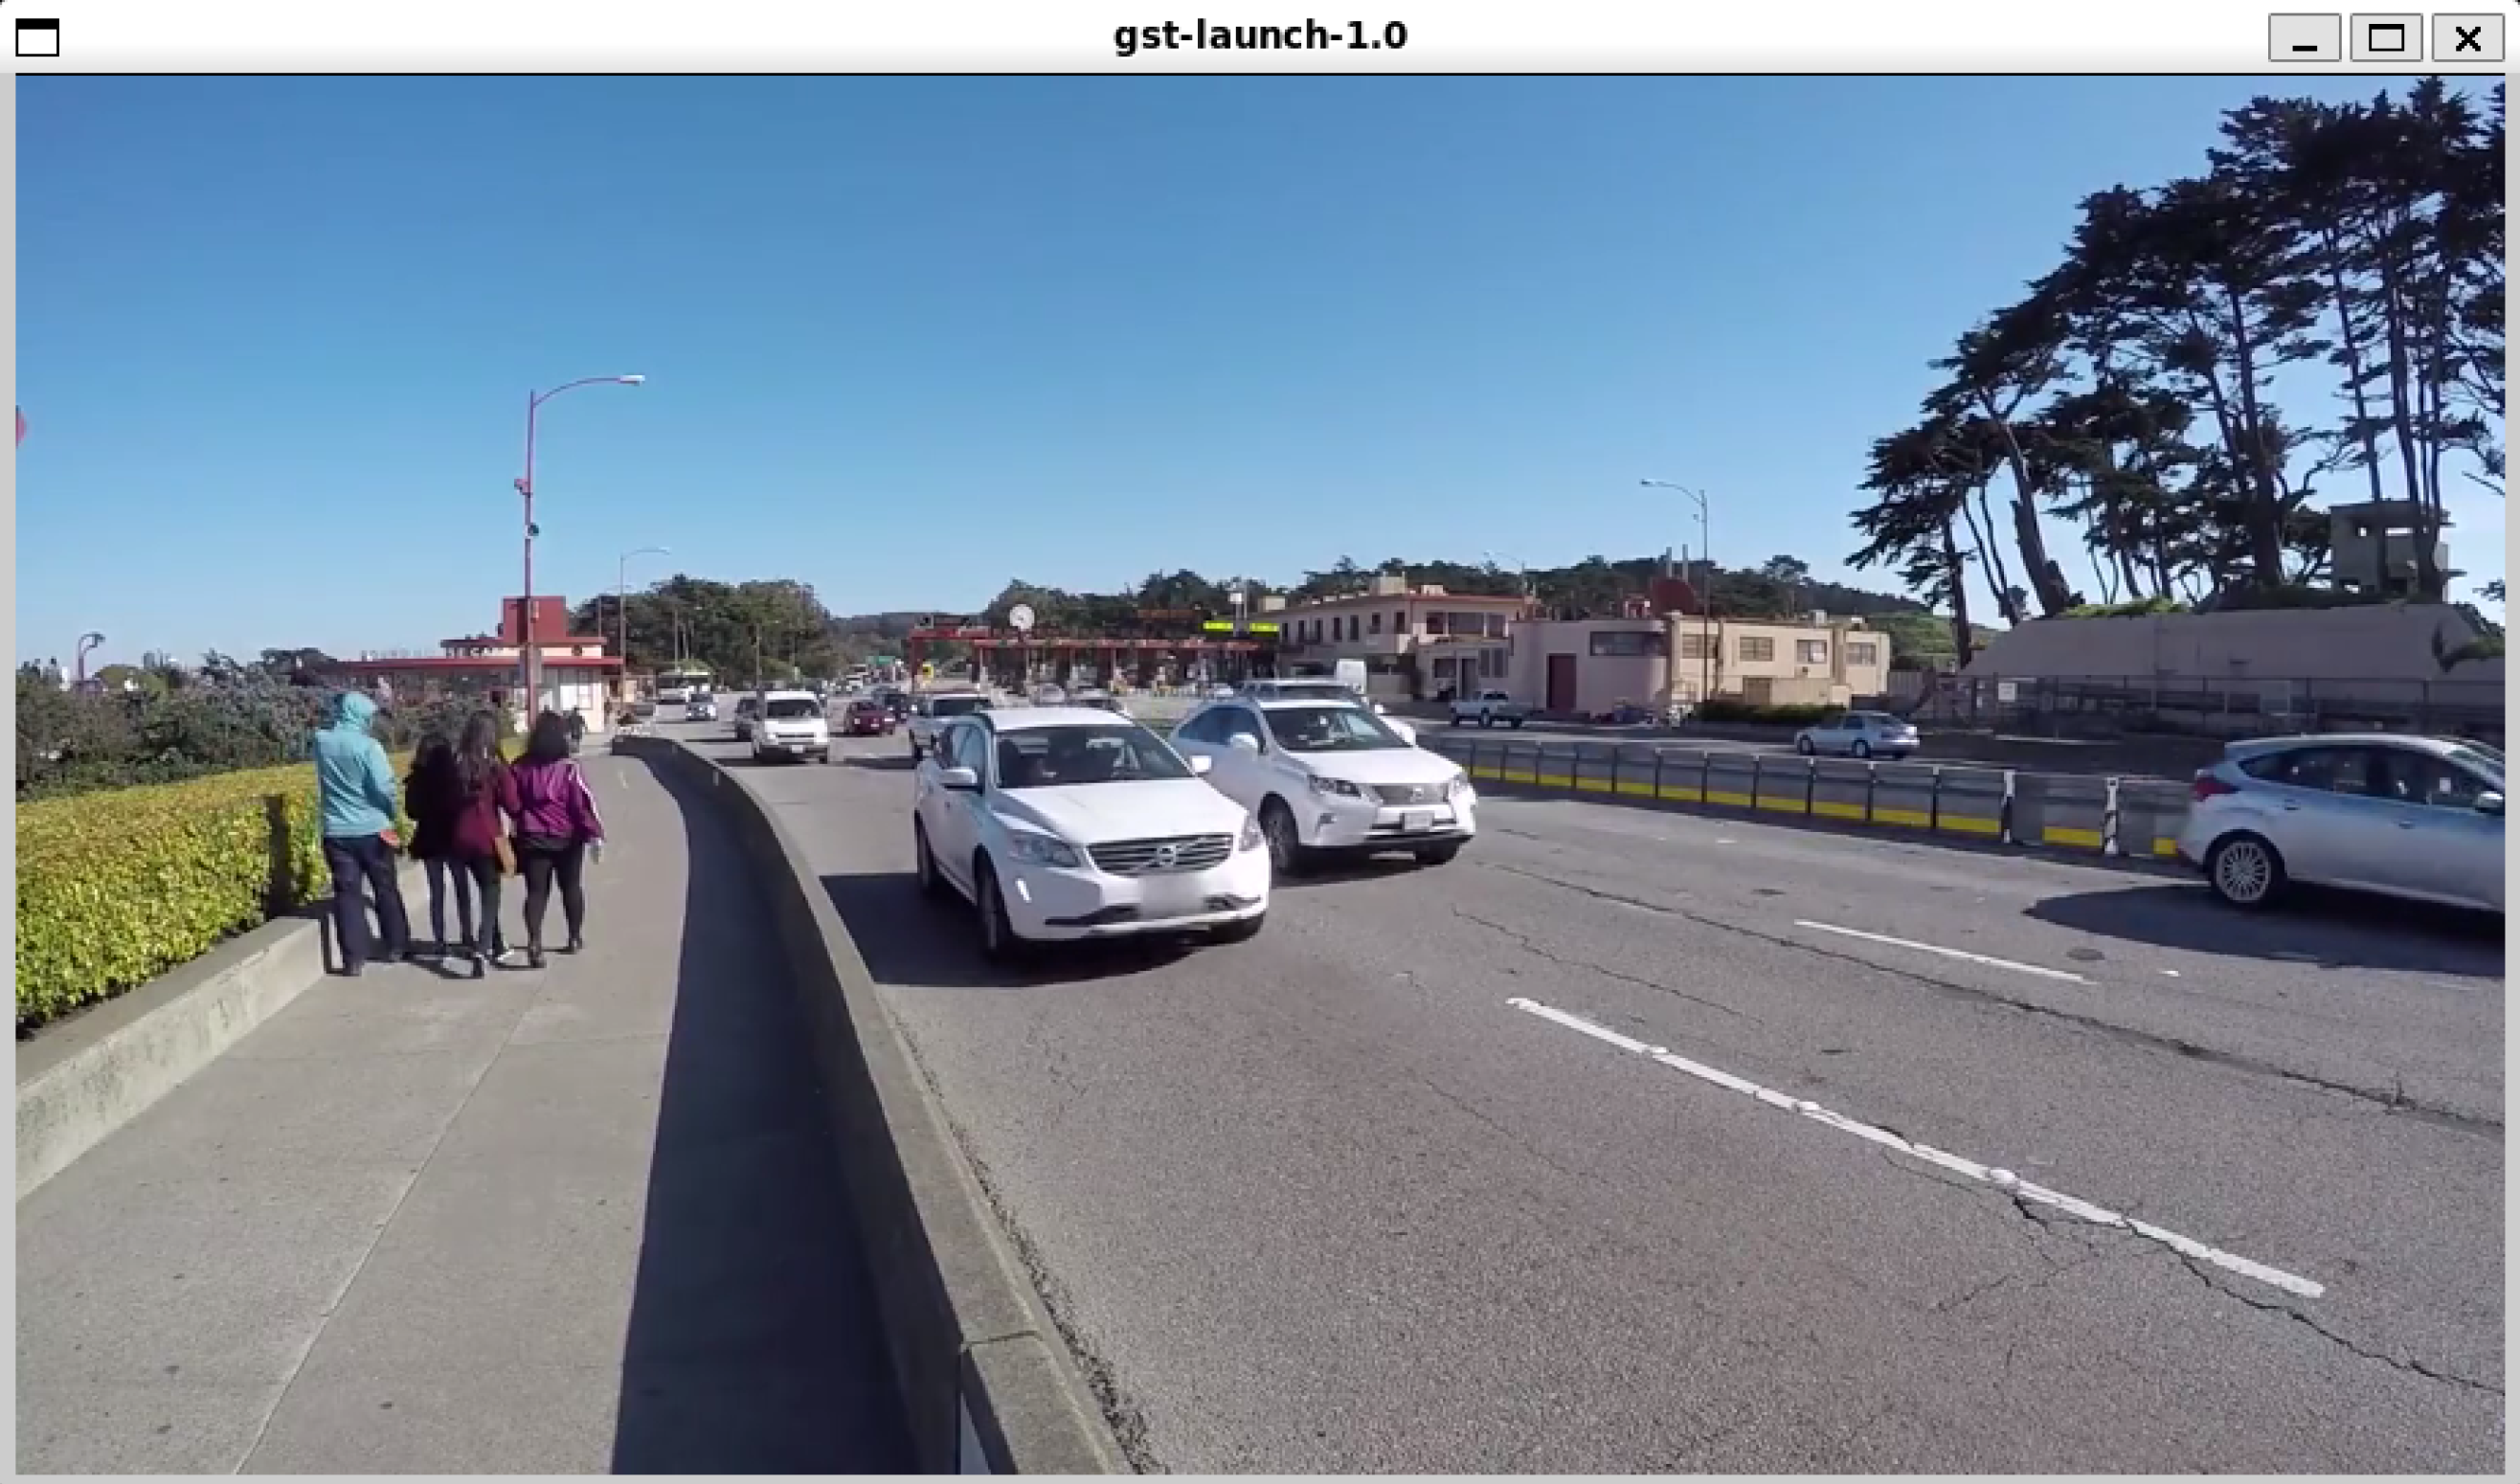
$ gst-launch-1.0 filesrc location= sample_720p.mp4 ! qtdemux ! h264parse ! nvv4l2decoder ! nvv4l2h264enc ! h264parse ! qtmux ! filesink location=filedump.mp4 -v
Expected Output: The filedump.mp4 should be created in the current directory. Playback of the filedump.mp4 should happen fine using any compatible media player. Sample screenshot attached below:
$ cd /opt/nvidia/deepstream/deepstream/samples/configs/deepstream-app

Open source30_1080p_dec_infer-resnet_tiled_display.txt using some text editor like 'vim' and disable [sink0] section  and enable [sink1] section.

$ deepstream-app -c source30_1080p_dec_infer-resnet_tiled_display.txt
Expected Output: deepstream-app should run fine. out.mp4 will be generated in the current directory. Playback of the out.mp4 should happen fine using any compatible media player. Sample screenshot attached below:

Note
For ubuntu 24.04 based docker, there is a known issue with rendering using ‘nveglglessink’ or similar plugin. So please use filesink to dump the output to a file and verify it using any compatible media player.