

Set Up SSO with OpenID Connect
Single Sign-On (SSO) is an authentication scheme, allowing users to log-in with a single pair of credentials to multiple, independent software systems.
This guide explains the procedure to configure SSO to NVIDIA Run:ai using the OpenID Connect protocol.
Prerequisites
Before you start, make sure you have the following available from your identity provider:
- Discovery URL - The OpenID server where the content discovery information is published.
- ClientID - The ID used to identify the client with the Authorization Server.
- Client Secret - A secret password that only the Client and Authorization server know.
- Optional: Scopes - A set of user attributes to be used during authentication to authorize access to a user’s details.
Setup
Adding the Identity Provider
- Go to General settings
- Open the Security section and click +IDENTITY PROVIDER
- Select Custom OpenID Connect
- Enter the Discovery URL, Client ID, and Client Secret
- Copy the Redirect URL to be used in your identity provider
- Optional: Add the OIDC scopes
- Optional: Enter the user attributes and their value in the identity provider as shown in the below table
- Click SAVE
- Optional: Enable Auto-Redirect to SSO to automatically redirect users to your configured identity provider’s login page when accessing the platform.
Testing the Setup
- Log in to the NVIDIA Run:ai platform as an admin
- Add access rules to an SSO user defined in the IDP
- Open the NVIDIA Run:ai platform in an incognito browser tab
- On the sign-in page click CONTINUE WITH SSO
You are redirected to the identity provider sign in page - In the identity provider sign-in page, log in with the SSO user who you granted with access rules
- If you are unsuccessful signing-in to the identity provider, follow the Troubleshooting section below
Editing the Identity Provider
You can view the identity provider details and edit its configuration:
- Go to General settings
- Open the Security section
- On the identity provider box, click Edit identity provider
- You can edit either the Discovery URL, Client ID, Client Secret, OIDC scopes, or the User attributes
Removing the Identity Provider
You can remove the identity provider configuration:
- Go to General settings
- Open the Security section
- On the identity provider card, click Remove identity provider
- In the dialog, click REMOVE to confirm the action
Note
To avoid losing access, removing the identity provider must be carried out by a local user.
Troubleshooting
If testing the setup was unsuccessful, try the different troubleshooting scenarios according to the error you received.
Troubleshooting Scenarios
Error: '403 - Sorry, we can’t let you see this page. Something about permissions…'
Error: ‘403 - Sorry, we can’t let you see this page. Something about permissions…’
Description: The authenticated user is missing permissions
Mitigation:
- Validate either the user or its related group/s are assigned with access rules
- Validate groups attribute is available in the configured OIDC Scopes
- Validate the user’s groups attribute is mapped correctly
Advanced:
- Open the Chrome DevTools: Right-click on page → Inspect → Console tab
- Run the following command to retrieve and paste the user’s token:
localStorage.token; - Paste in https://jwt.io
- Under the Payload section validate the values of the user’s attribute
Error: '401 - We’re having trouble identifying your account because your email is incorrect or can’t be found.'
Error: ‘401 - We’re having trouble identifying your account because your email is incorrect or can’t be found.’
Description: Authentication failed because email attribute was not found.
Mitigation:
- Validate email attribute is available in the configured OIDC Scopes
- Validate the user’s email attribute is mapped correctly
Error: 'Unexpected error when authenticating with identity provider'
Error: ‘Unexpected error when authenticating with identity provider’
Description: User authentication failed
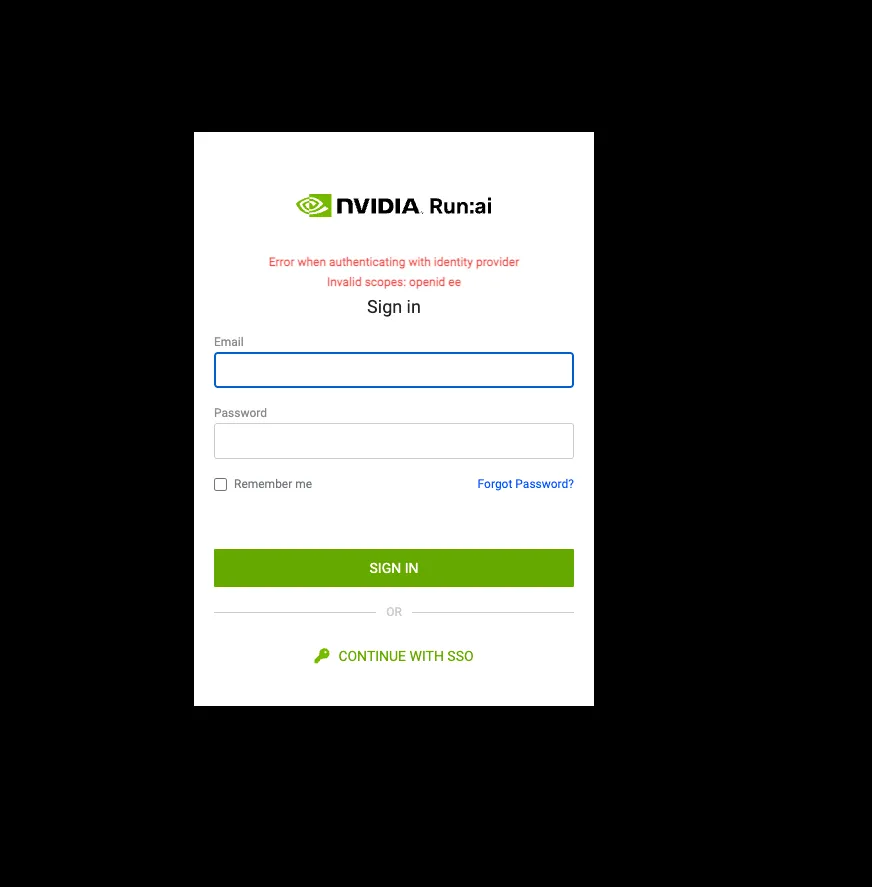
Mitigation: Validate the configured OIDC Scopes exist and match the Identity Provider’s available scopes
Advanced: Look for the specific error message in the URL address
Error: 'Unexpected error when authenticating with identity provider (SSO sign-in is not available)'
Error: ‘Unexpected error when authenticating with identity provider (SSO sign-in is not available)’
Description: User authentication failed

Mitigation:
- Validate the configured OIDC scope exists in the Identity Provider
- Validate the configured Client Secret match the Client Secret in the Identity Provider
Advanced: Look for the specific error message in the URL address
Error: 'Client not found'
Error: ‘Client not found’
Description: OIDC Client ID was not found in the Identity Provider
Mitigation: Validate the configured Client ID matches the Identity Provider Client ID