

EM Simulations
This guide walks through running a simulation in Batched EM mode, where AODT generates channel impulse responses (CIRs) without running the 5G RAN transmit/receive chain.
Complete Installation for the client, worker, and viewer before starting this quickstart.
1. Start the AODT Worker
Colocated deployment
Non-colocated deployment
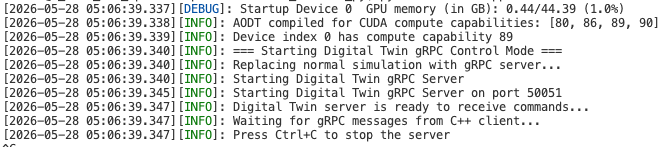
On the worker host, start the worker:
When startup completes, the backend is ready to accept client requests.
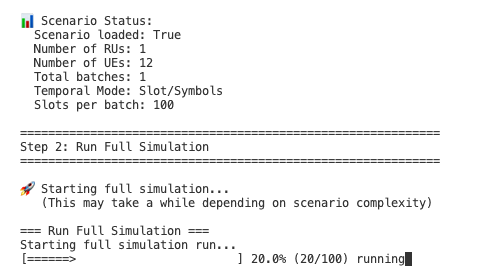
2. Run the simulation
From the client machine, activate the virtual environment and run the batched EM example:
Note: If you installed the client with cmake --install, omit the PYTHONPATH line.
For non-colocated deployment, pass additional connection parameters to example_full_sim.py. See Verify Installation.
3. Visualize the scenario in the viewer
The simulation run in the previous step creates the channel impulse responses (CIRs) in the database. The rays (power of the CIRs) can be visualized in the UI.
The following steps set up the viewer in a browser. The viewer can be run on any system with a browser, as long as it has network access to the database.
On the system where the viewer is running, run the following commands:
Open the URL printed in the console. In Settings, configure the catalog and S3 endpoints:
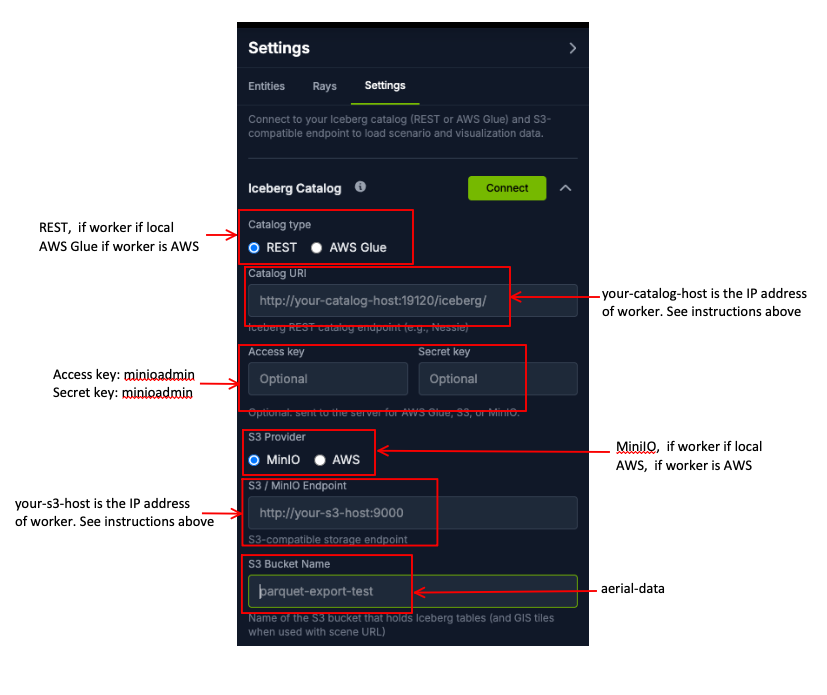
- Click Connect.
- Select the
batched_emdatabase. - Click Load to import the data into the viewer.
Radio units (RUs), user equipment (UEs), and rays appear on the map. Entity properties are listed in the settings panel. Use the time slider at the bottom of the page to step through simulation time.
4. Read data from the database
Extract a CIR sample for a specific RU, UE, and time step:
This writes sample-cir-000003.dat containing CIR data for RU 1, UE 1 at time sample 3.
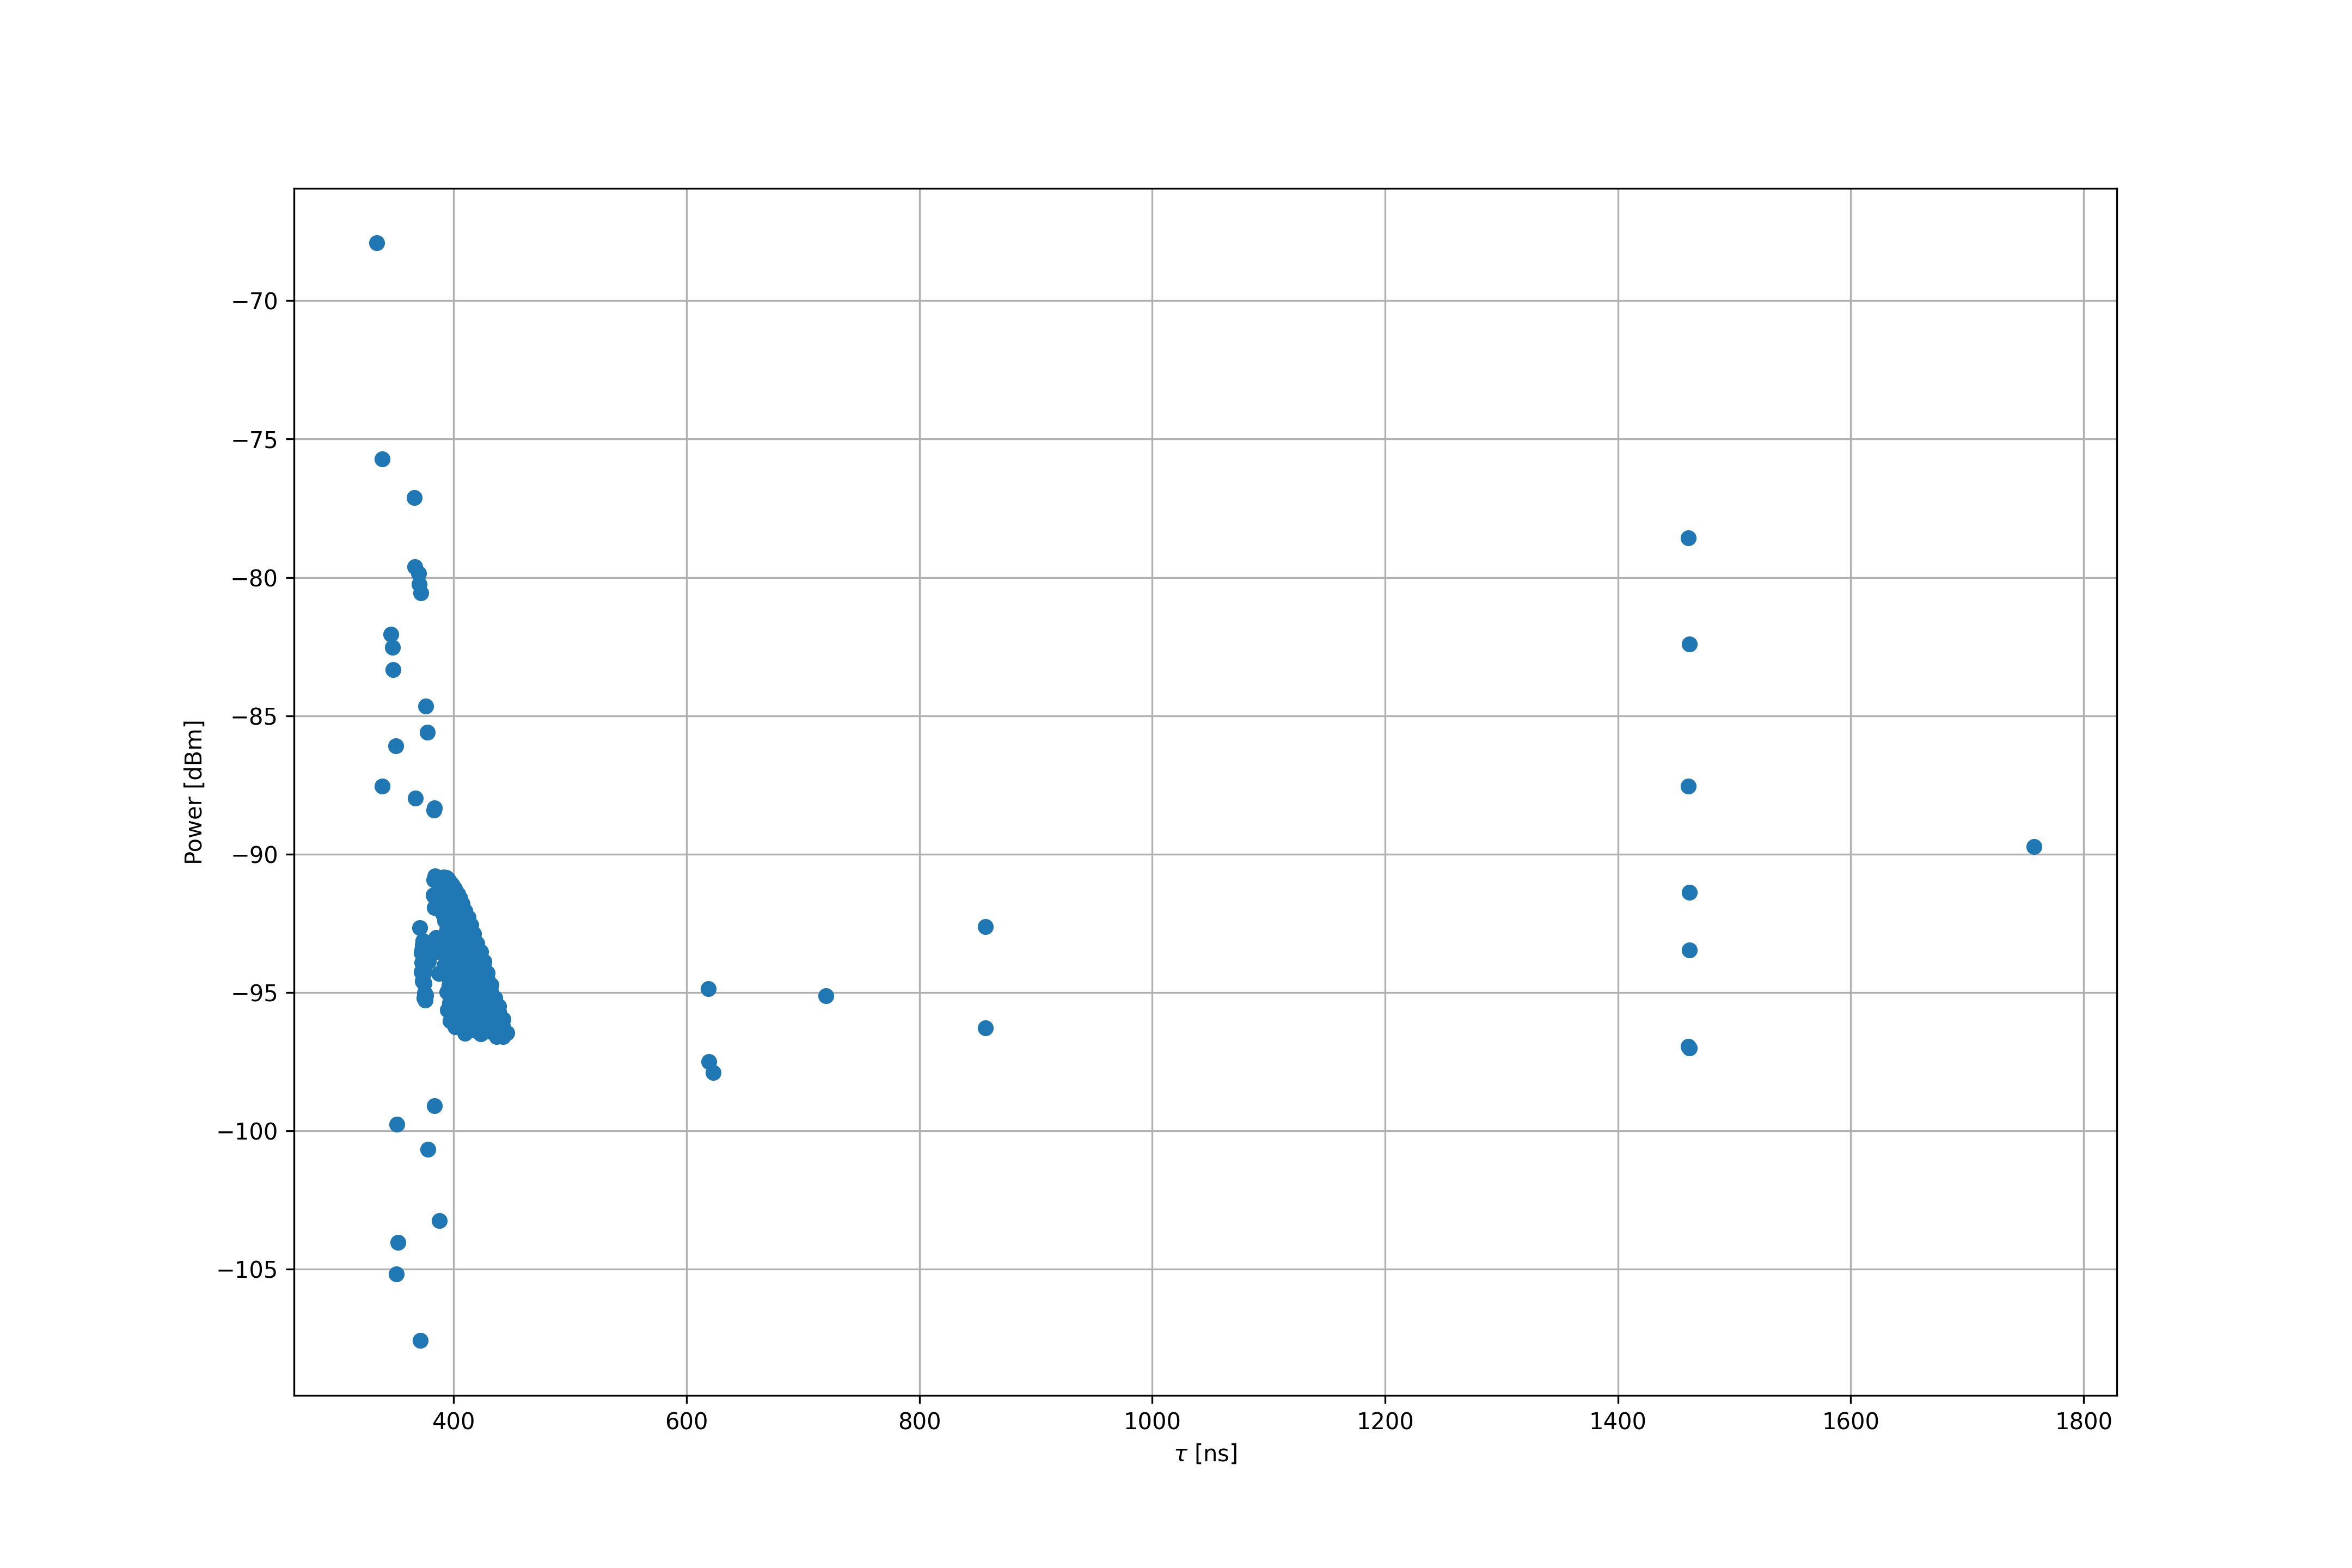
Plot the power delay profile (PDP) from the extracted file:
This produces pdp-cir-000003.png.
To plot the channel frequency response (CFR), run:
5. Interactive simulation
The batched workflow above runs the full configured duration before results are consumed. In Interactive mode, the client requests CIRs at individual time steps during the run.
See Interactive Mode for a full description of this workflow.
The template script examples/example_multi_timesteps.py demonstrates the interactive API:
The worker console reports CIR sizes and angle-of-arrival/departure (AoA/AoD) array dimensions.
Use the configuration builder tools to create the YAML file instead of manually editing an existing YAML file. See Configuring Sim YAML.
Next steps
Continue to RAN Simulations to run a simulation with the 5G RAN stack enabled.