Front Console Board Replacement
Front Console Board Replacement Overview
This is a high-level overview of the procedure to replace the front console board
on the DGX-2 System.
- Unpack the new front console board.
- Shut down the system.
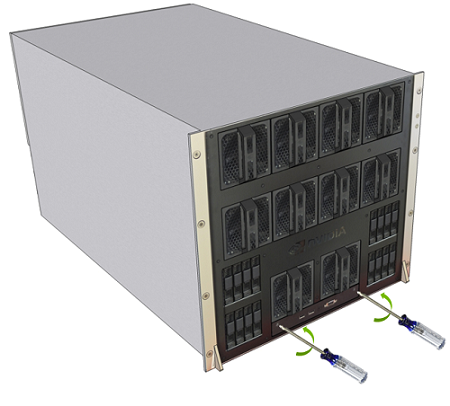
- Using a Phillips #2 screwdriver, release the captive screws.
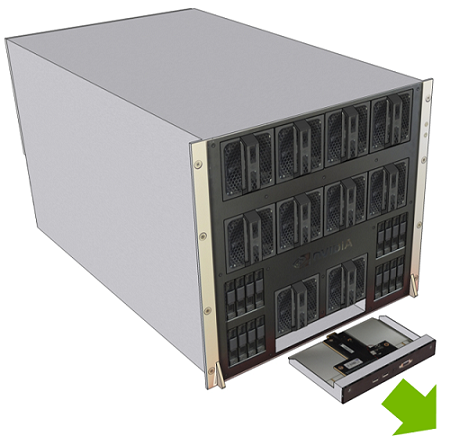
- Pull the front console board out of the system.
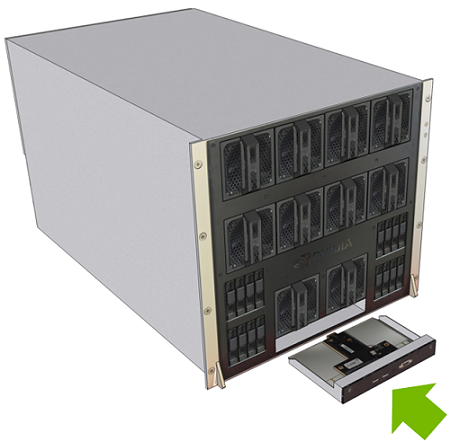
- Insert the new front console board.
- Tighten the screws.
- Power on the system
Replacing the Front Console Board
A front console board malfunction can be determined by either
- No display or connectivity occuring after plugging in a keyboard and monitor to the front of the system, or
- The BMC system event log indicating a front temperature sensor failure.
When the new board arrives, unpack it and keep the packaging to use for sending back the old board.

- Power down the system.
- Remove the front console board.
- Install the new front console board.
- Confirm functionality.
- Power on the system.
- Confirm from the BMC that the outside temperature sensor reading is available.
- Confirm that the VGA output and USB ports work, using a KVM or crash cart.
- Return the old module to NVIDIA Enterprise Services.