Motherboard Tray Removal and Installation
You will need to remove the motherboard tray in order to service the following components.
- M.2 NVMe drives
- M.2 module riser card
- Motherboard tray battery
- Dual port CX5 PCI network adapter card
- DIMMs
Removing the Motherboard Tray
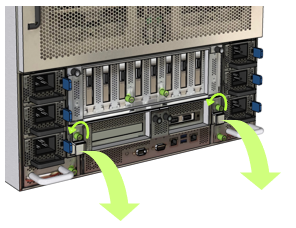
- Loosen the two motherboard screws with a Philips #2 screwdriver and pull out and down on the levers to release the tray.
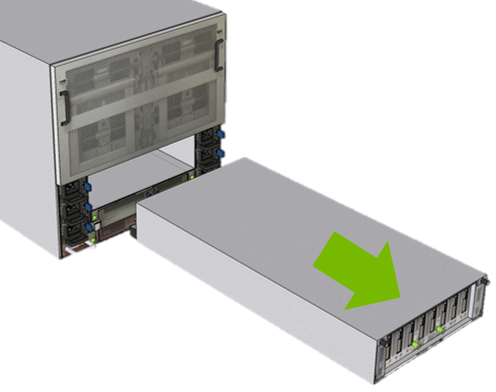
- Pull motherboard tray out of the system and place on a work surface. CAUTION:The motherboard tray is heavy. At least two people are required to move the motherboard tray.
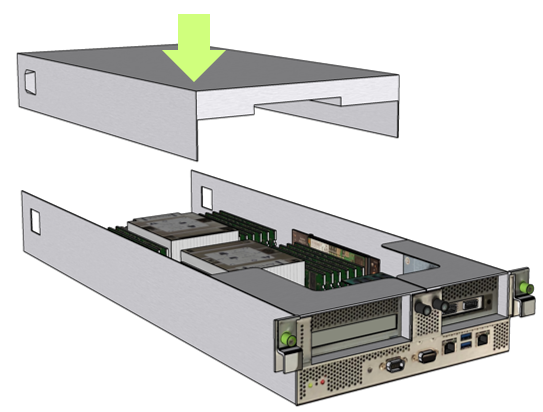
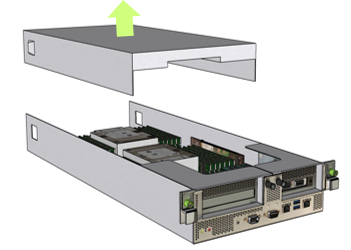
- Press on both clips at the sides of the tray and then push the lid back.
- Lift the lid off of the motherboard tray.
Installing the Motherboard Tray
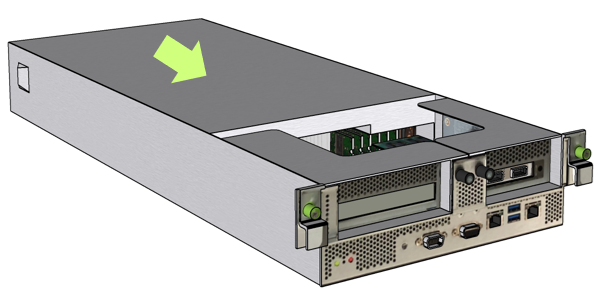
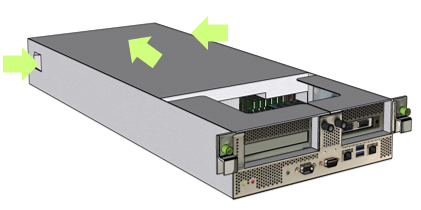
- Align the guiding pins on the lid to the grooves on the motherboard tray chassis while lowering the tray lid to the chassis.
- Push the lid towards the PCI cards to lock the lid in place. Make sure you hear the click from the clips to indicate that the lid is locked in place.
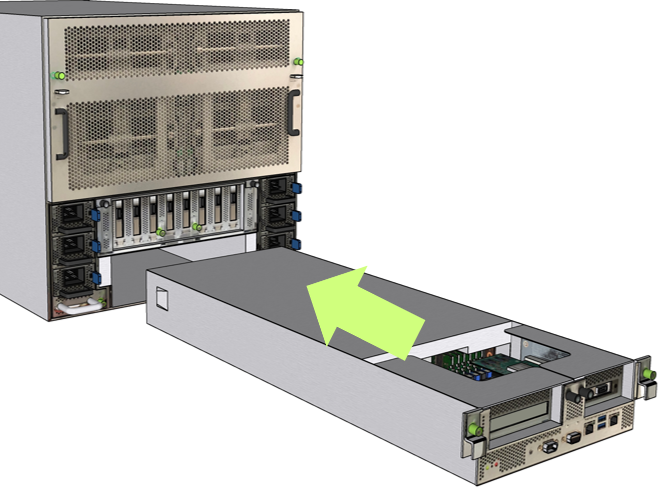
- Push the motherboard tray into its slot on the DGX-2 System
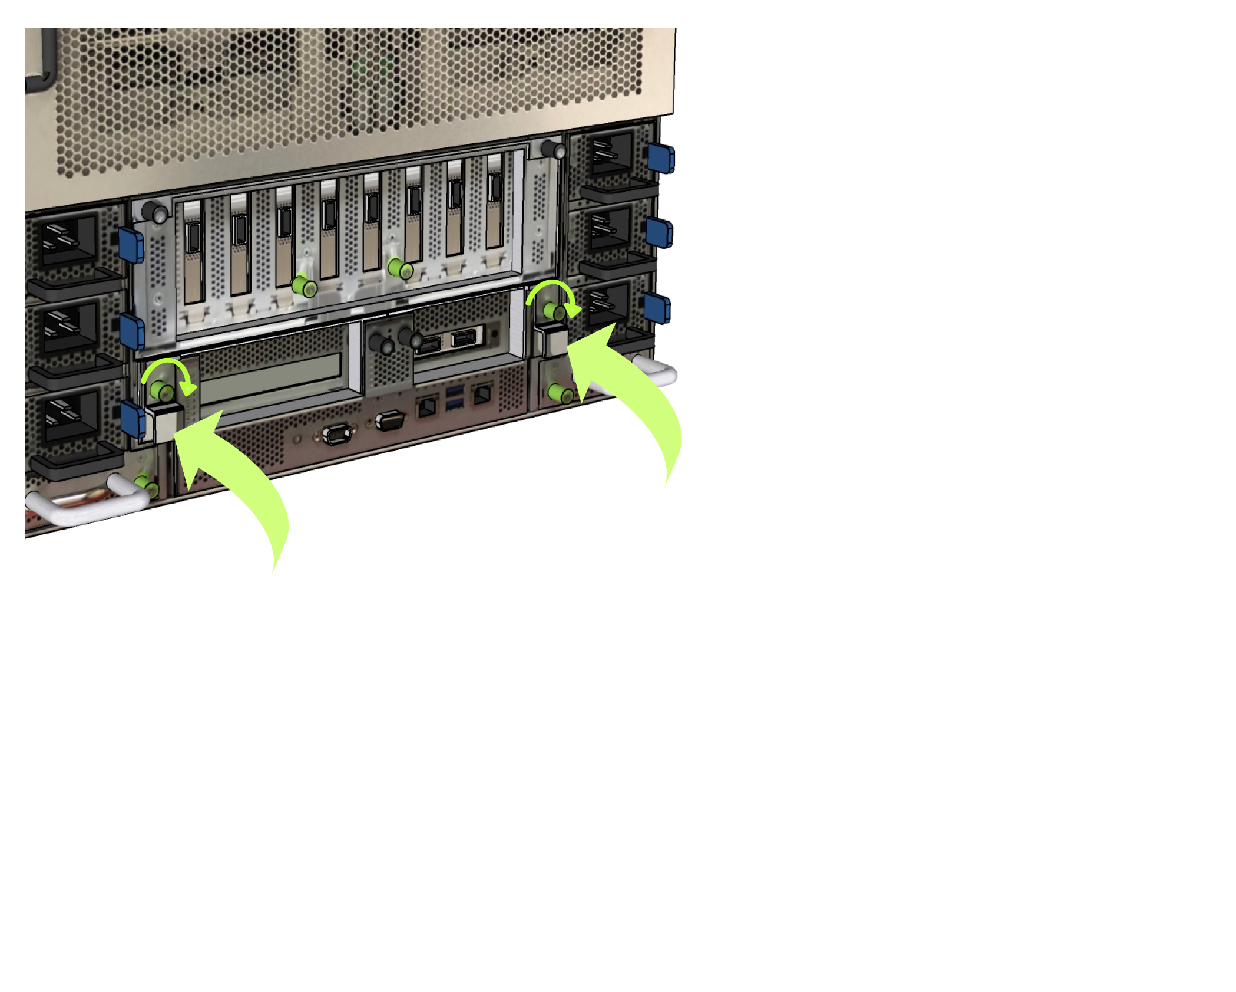
- Once the tray is pushed in all the way, push up on the levers to complete the engagement with the chassis and finalize the insertion, then secure by tightening the thumbscrews.