I/O Tray Removal and Installation
I/O Tray Replacement Overview
This is a high-level overview of the procedure to replace the I/O tray on the
DGX-2 System.
- Get a replacement I/O tray from NVIDIA Enterprise Support.
- Shut down the system.
- Label all I/O tray cables and unplug them.
- Remove the I/O tray, place on a solid, flat surface, and then open the lid.
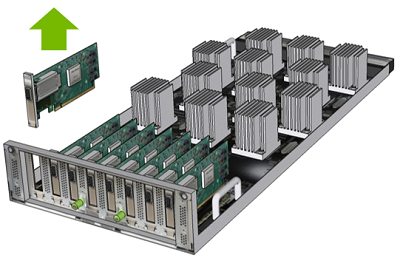
- Remove all ConnectX-5 cards by removing the screw that attaches the card and then removing the card.
- Install all the ConnectX-5 cards into the new I/O tray.
- Close the lid on the I/O tray, then insert the tray into the system.
- Plug in all cables using the labels as a reference.
- Power on the system.
- Verify that all ConnectX-5 cards are healthy and accessible using nvsm health.
Replacing the I/O Tray

- Power down the system.
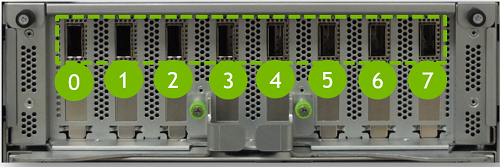
- Label all the network ports (0-7) connected to the I/O tray for easy identification when reconnecting.
- Remove the cables.
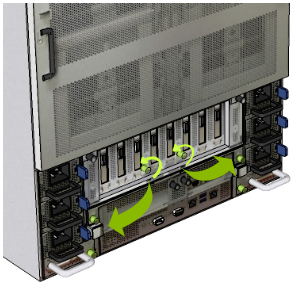
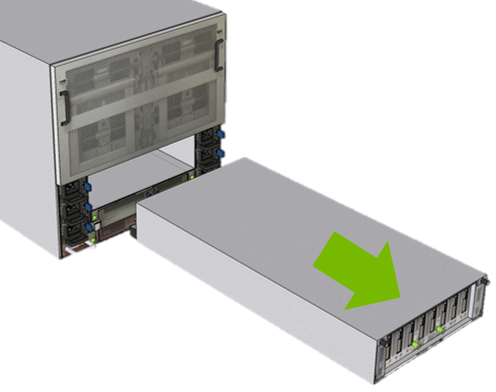
- Remove the I/O tray.
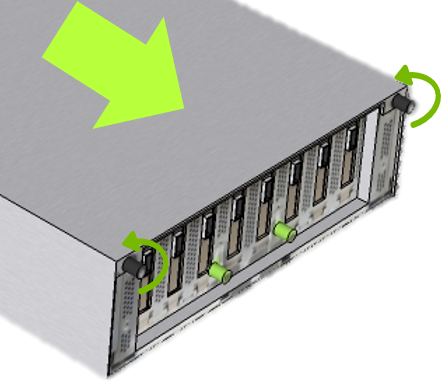
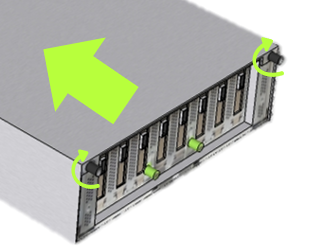
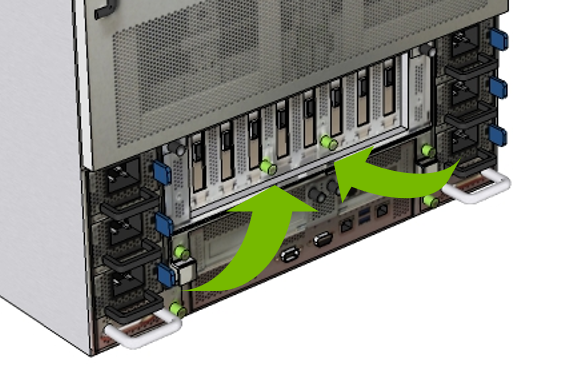
- Loosen the two green I/O tray screws with a Philips #2 screwdriver and pull the levers outward to release the tray.
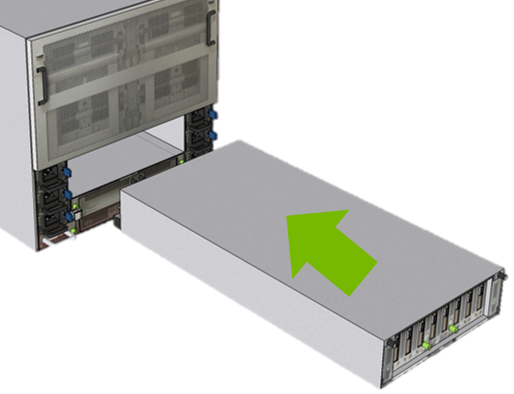
- Pull the I/O tray out of the system and place it on a solid, flat work
surface.CAUTION:Exercise care when removing the tray as it is long and heavy, and do not handle the module from the rear connectors.
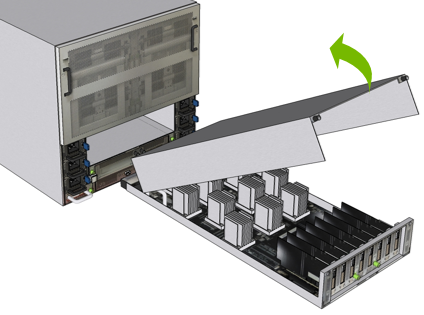
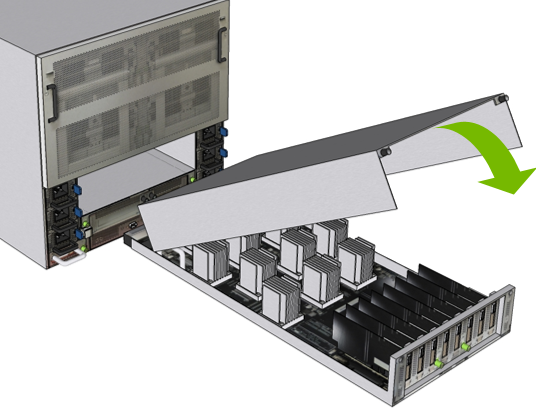
- Remove the I/O tray lid.
- Move all the ConnectX-5 cards from the old tray to the new tray. Perform the following for each card.
- Install the I/O tray.
- Replace the I/O tray lid by placing it over the module using the guiding pins and grooves.
- Slide the lid back so that the black screws enage with the tray, then tighten the black screws to secure the lid.
- Push the I/O tray back into the system.
- Close the levers toward the center, making sure the connectors engage with the midplane, then tighten the thumbscrews by hand or with a Phillips #2 screwdriver.
- Confirm the I/O tray replacement.
- Connect all cables back into the ConnectX-5 card ports.
- Power on the system and log in.
- Confirm that the system is healthy.
$ sudo nvsm show health
There should be no new alerts listed.
- Return the old I/O tray using the packaging from the new tray.