Step #5: Workspace Creation
Workspace creation is a bit different from dataset creation, particularly via the command line. Workspaces are writable by default, so they are instantiated without a data movement process occurring (either via direct upload or some result directory conversion). We’ll explore a creation example in both the CLI and Web UI.
To create a workspace, simply issue an ngc workspace create command - no other arguments are taken, and the command output will tell you what the workspace’s ID is.
            $ ngc workspace create
Successfully created workspace with ID: 'JyrRwRmXQCuptjLaCFumkQ'
Workspace Information
    ID: JyrRwRmXQCuptjLaCFumkQ
    Name: None
    Created By: Joseph Handzik
    Size: 0 B
    ACE: nv-launchpad-bc-sjc-ace
    Org: jknmqmbjmdk8
    Description:
    Shared with: None
To give the workspace a human-readable name, use the ngc workspace set command. Workspace names can only be set once, so you will be asked to confirm the name interactively (or add the -y argument to bypass the interactive confirmation). The argument is from the ID field in the Workspace Information section shown above.
            $ ngc workspace set JyrRwRmXQCuptjLaCFumkQ -n workspace-from-cli
Workspace name can only be set once, are you sure you want to continue? [y/n]y
Workspace name for workspace with ID 'JyrRwRmXQCuptjLaCFumkQ' has been set.
An ngc workspace list --owned command will confirm the name for this new workspace.
            $ ngc workspace list --owned
+----------------+------------+-------------+---------------+----------------+--------+--------------+-------+------+
| Id             | Name       | Description | ACE           | Creator        | Shared | Created Date | Owned | Size |
|                |            |             |               | Username       |        |              |       |      |
+----------------+------------+-------------+---------------+----------------+--------+--------------+-------+------+
| JyrRwRmXQCuptj | workspace- |             | nv-launchpad- | Joseph Handzik | No     | 2022-05-02   | Yes   | 0 B  |
| LaCFumkQ       | from-cli   |             | bc-sjc-ace    |                |        | 19:34:40 UTC |       |      |
+----------------+------------+-------------+---------------+----------------+--------+--------------+-------+------+
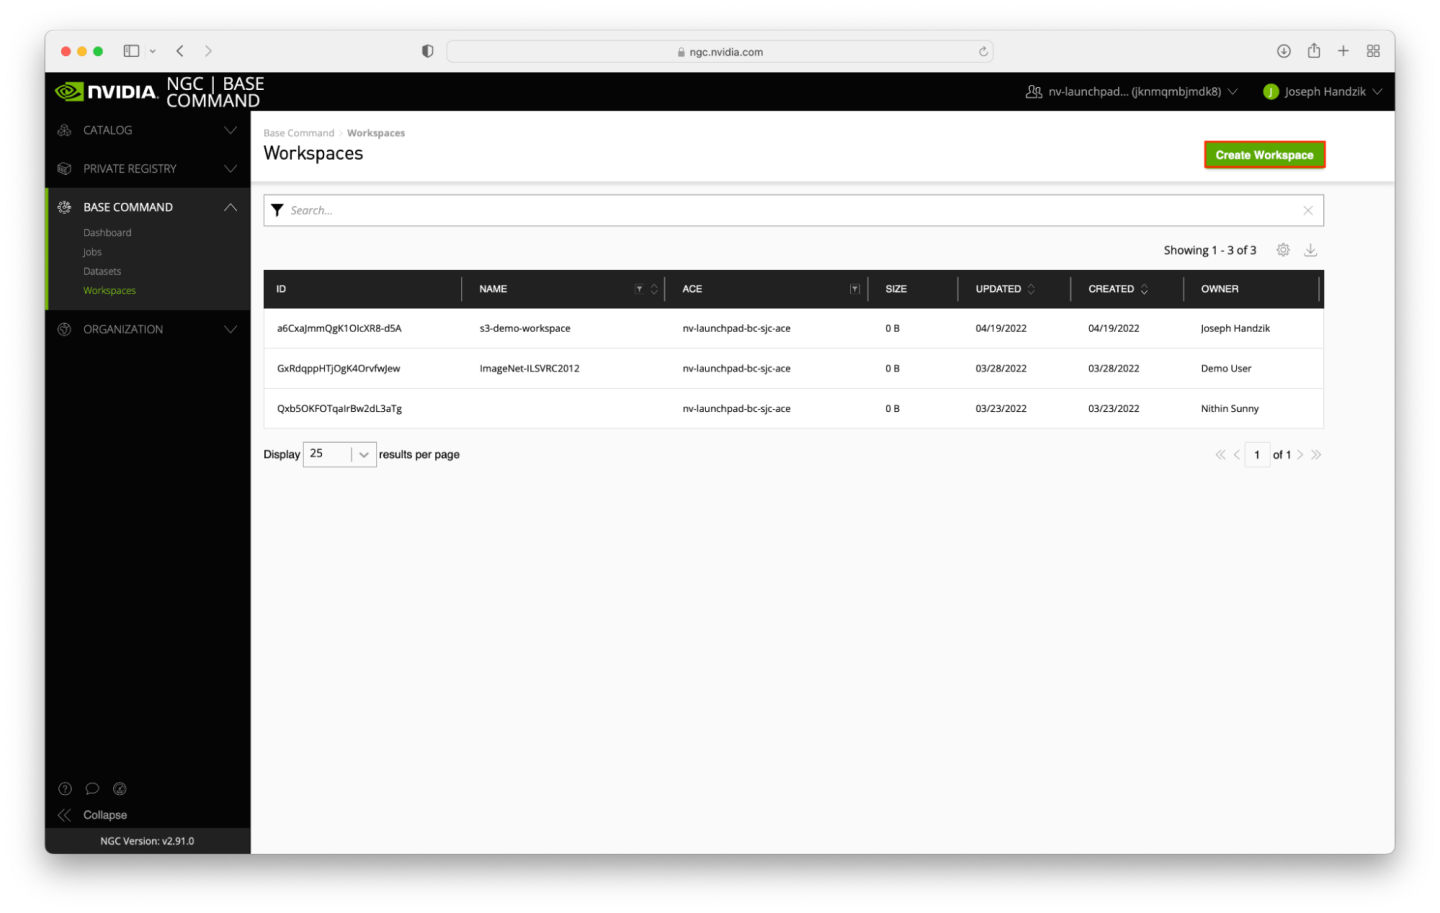
To create a workspace through the Web UI, click on the Workspaces link from the Base Command Dashboard page.

Click on the Create Workspace button near the top right corner of the Workspaces page.
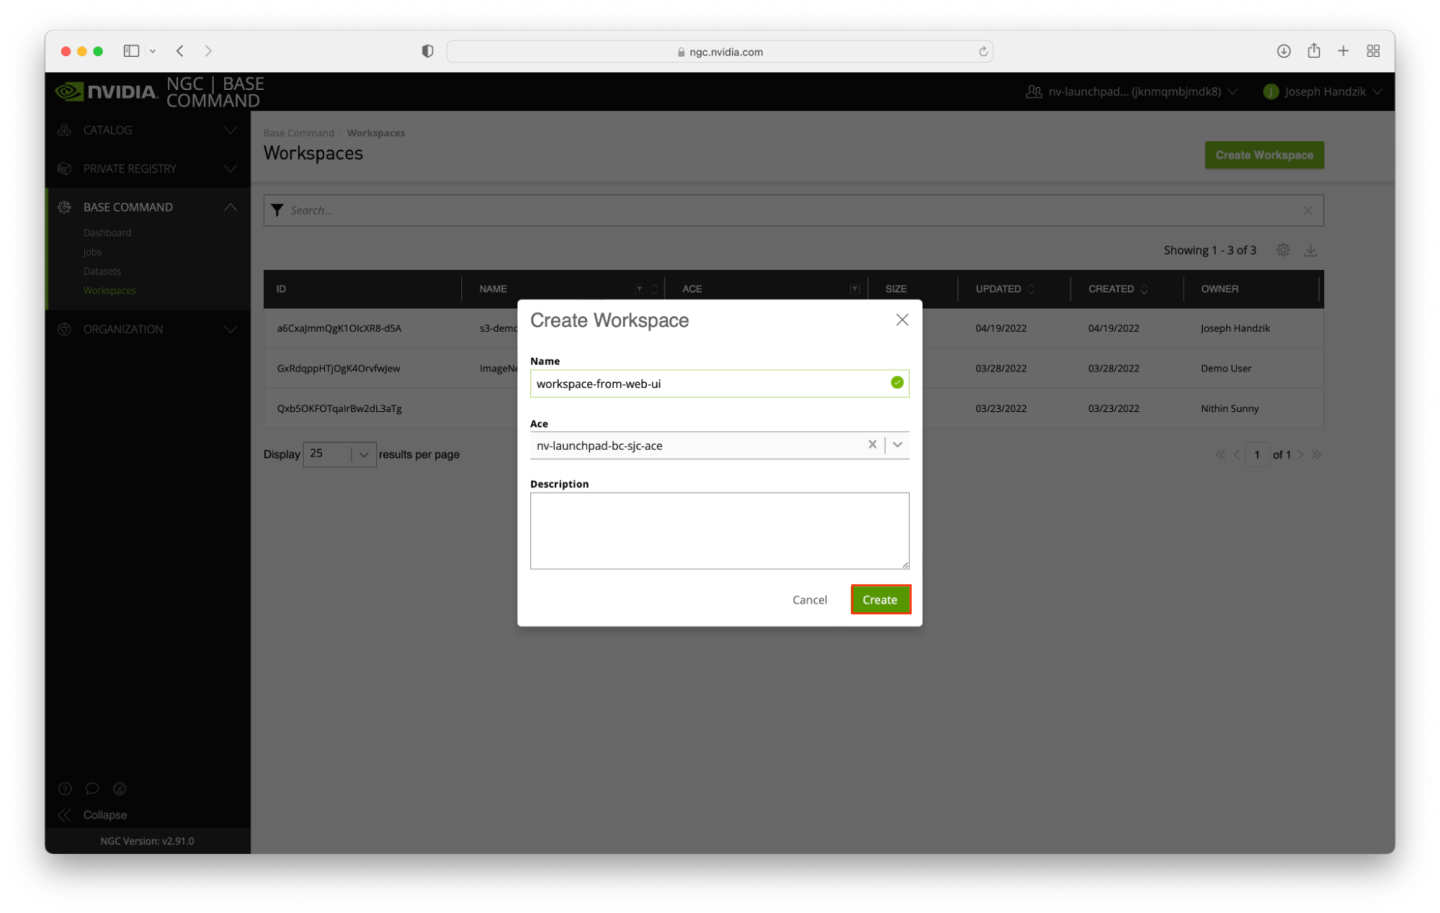
A dialog box will appear - enter workspace-form-web-ui in the Name field and select an Ace (likely the only one available). You may optionally fill in the Description field. When ready, click the Create button in the bottom right corner of the dialog.
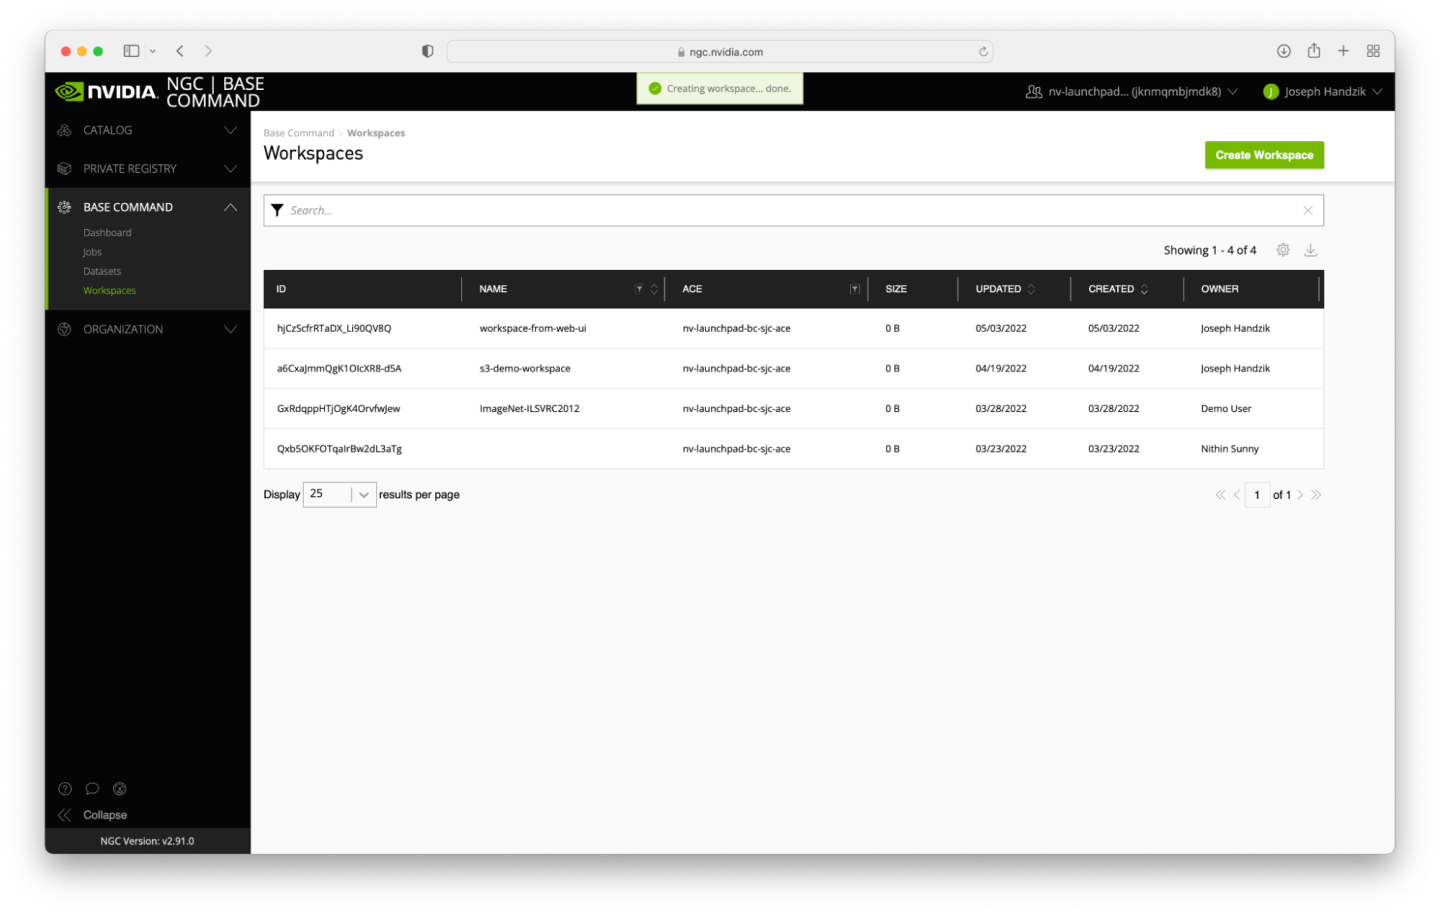
The dialog box will disappear, and a box near the top of the screen will confirm successful workspace creation. A few moments later, the workspace will appear on the top data row of the table on the Workspaces page.