Step #3: Access JupyterLab UI and Download Jupyter Notebook
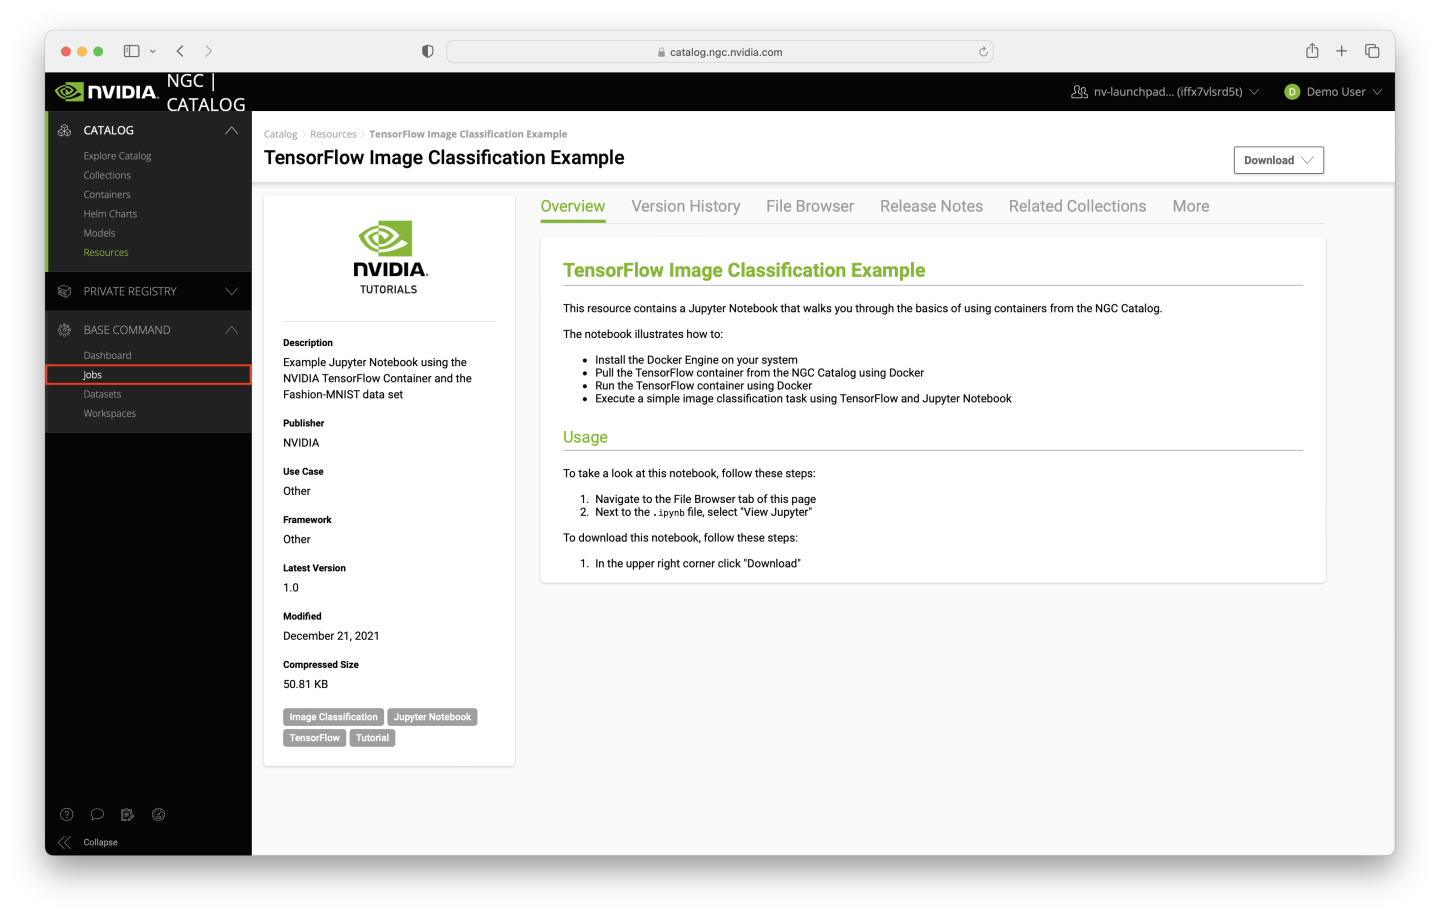
Now that we have a command copied to download our target Resource from the NGC Catalog, we will return to the job created in Step 1.
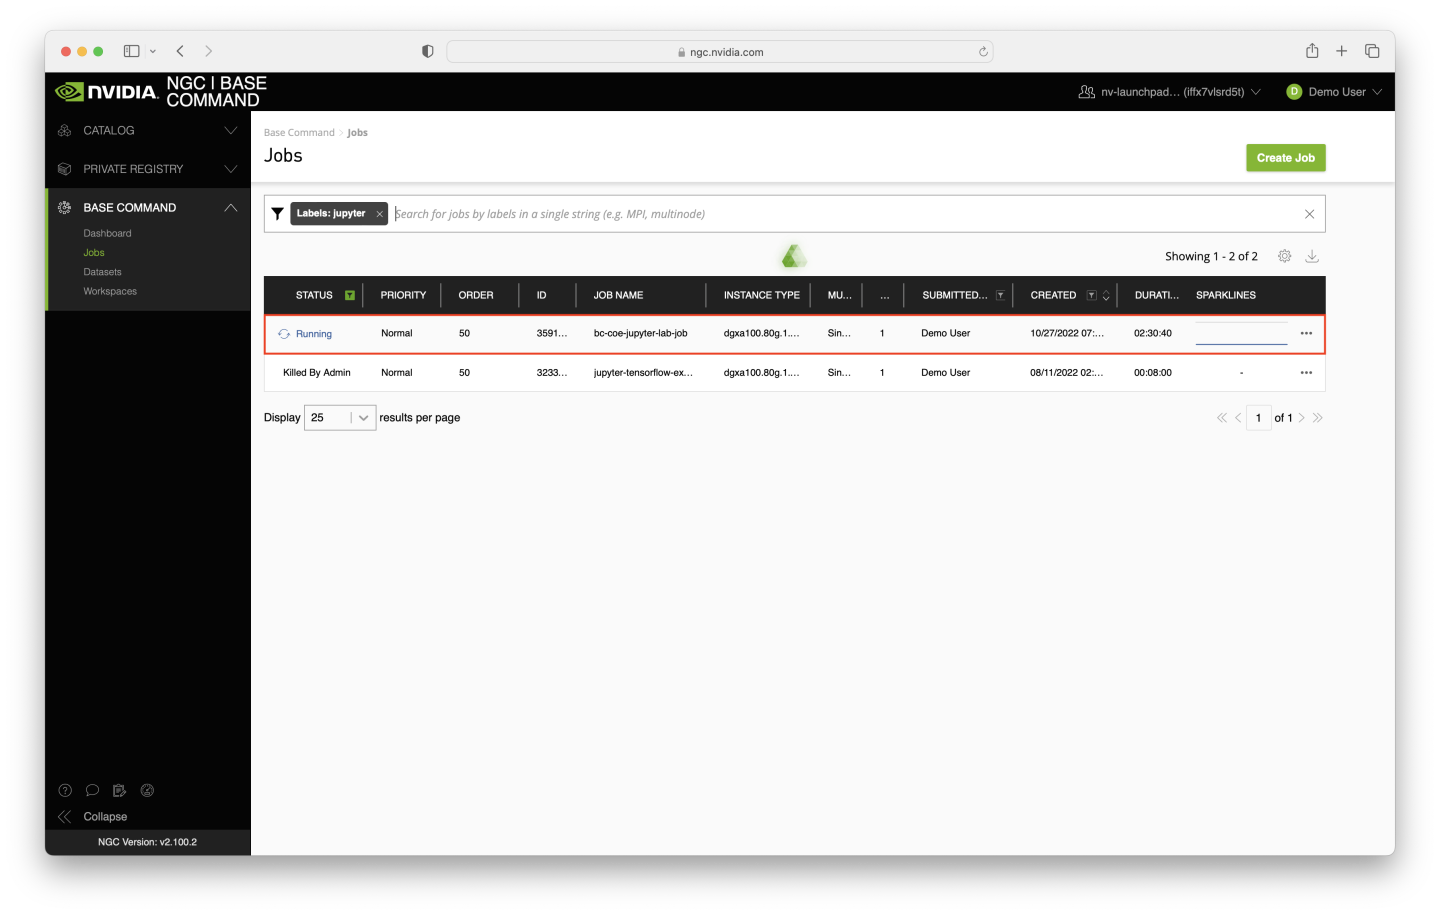
To do so, navigate to the Jobs page using the left-side navigation pane.
Once the Jobs page loads, find the job that we launched in Step 1, and select it. It is likely the job is at the top of the table - if you added a label to the job, you can search for that label to facilitate filtering. In the example below, the job was launched with the jupyter label.
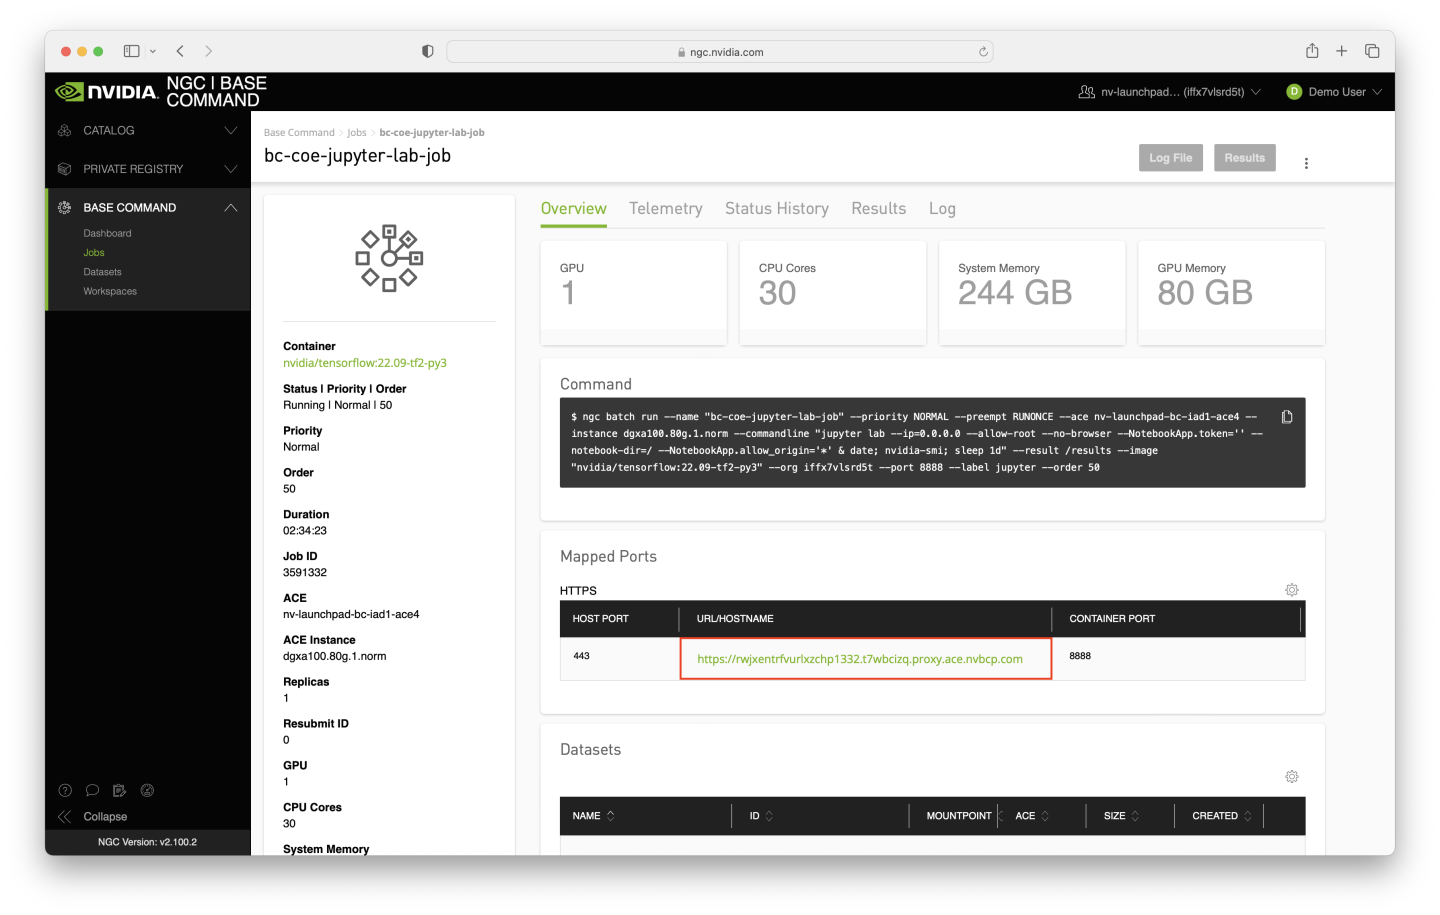
Navigate to the Overview tab in the job-specific page. You will find a Mapped Ports section on that page, which lists the ports mapped for web access at job cretion time. Click on the URL presented for the 8888 port.
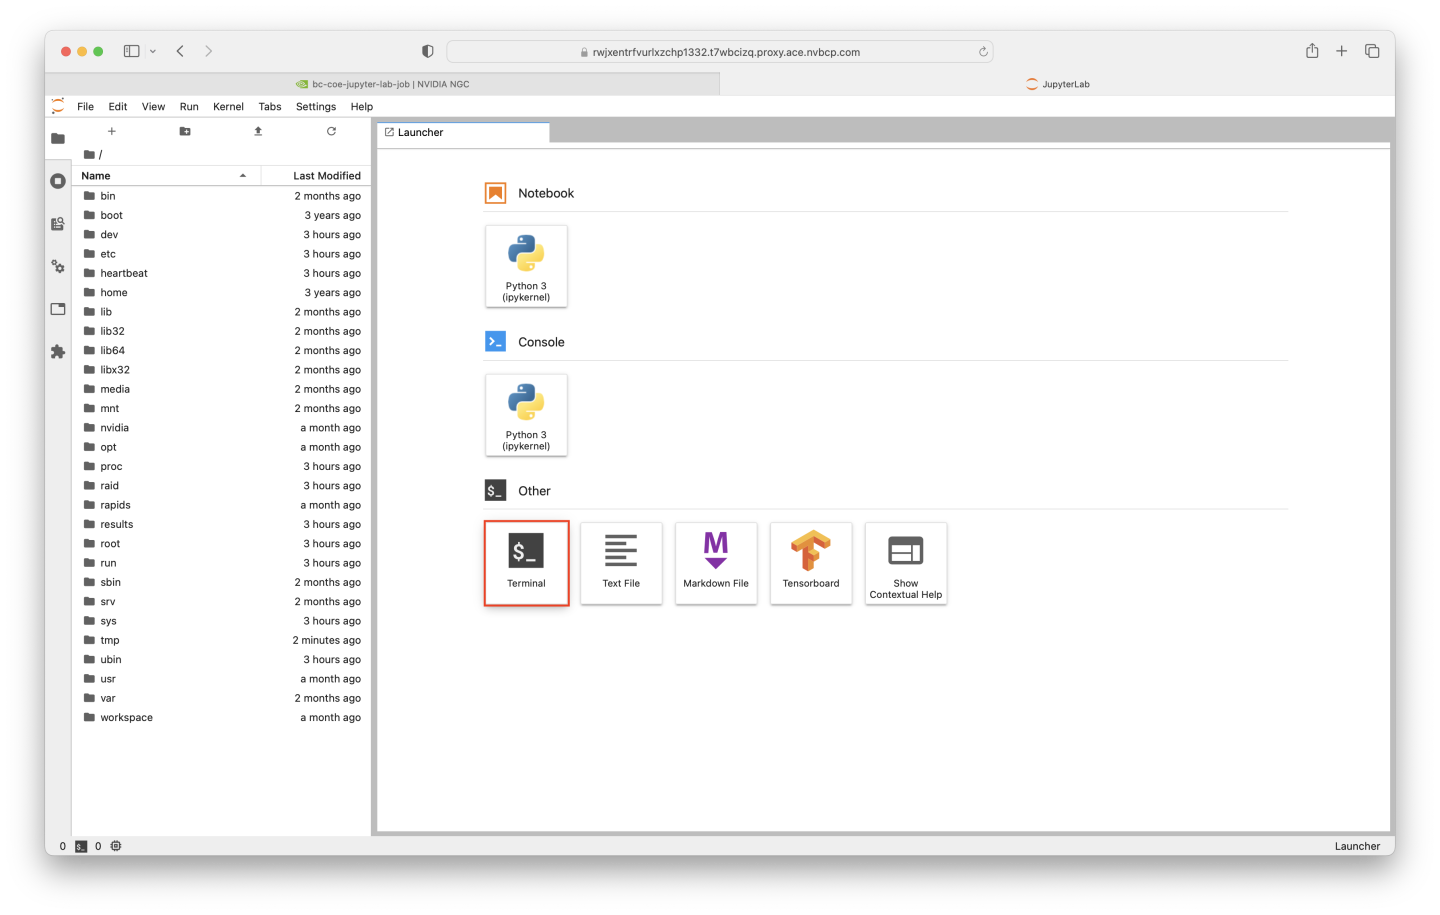
A new tab or window (depending on browser configuration) will open to the JupyterLab UI. You will see a number of options, along with the job directory structure - for now, click on the Terminal option.
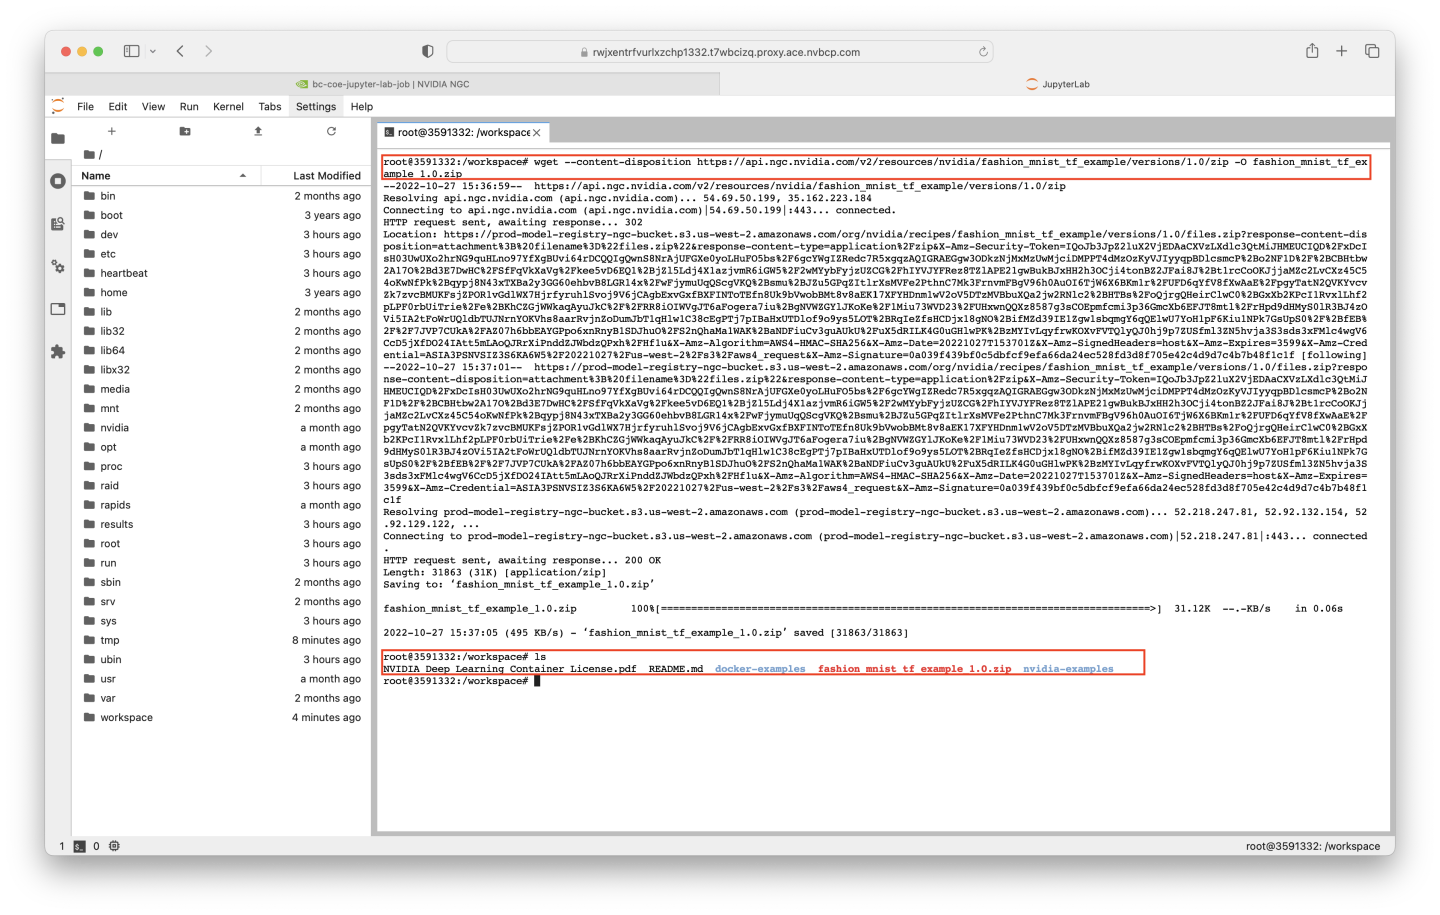
A tab inside the JupyterLab UI should open, showing a terminal prompt. Inside the terminal prompt, paste the wget command that we copied in Step 2 from the NGC Catalog Resource, and hit Enter to run the command.
Running the ls command should confirm that the file fashion_mnist_tf_example_1.0.zip was successfully downloaded to the /workspaces directory in the running job.
Use the unzip command to extract the Jupyter Notebook, named 'FashionMNIST Notebook.ipynb'.
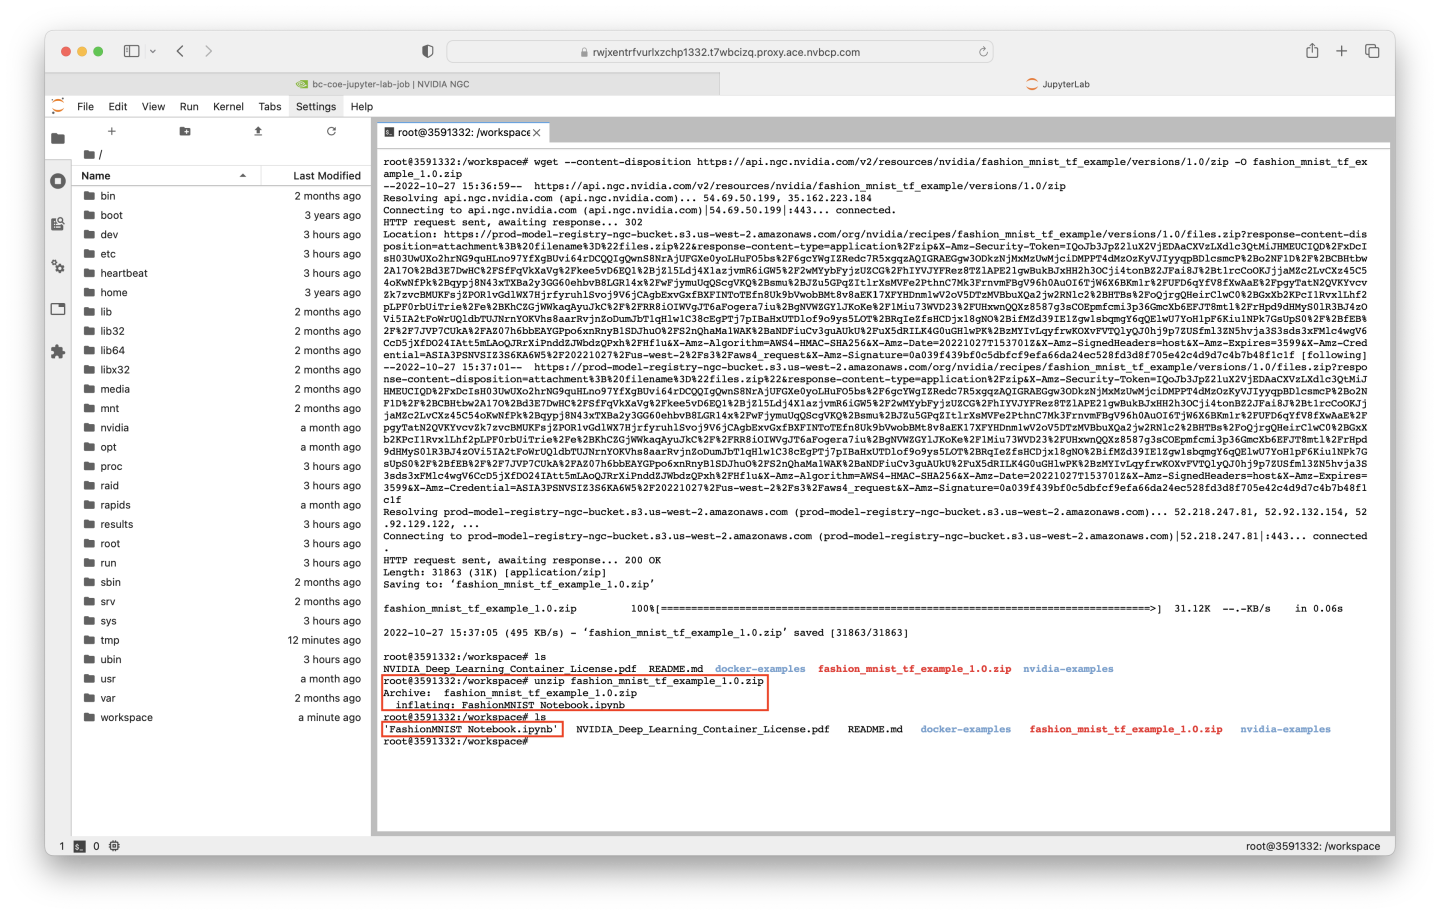
We are now ready to use the notebook in our Base Command job!