Step #4: Using a Jupyter Notebook Example
To open the extracted Jupyter Notebook, use the JupyterLab directory navigation pane on the left side of the page - double click the /workspace directory, then double click the FashionMNIST Notebook.ipynb file inside the /workspace directory.
A new tab should open, providing access to the target notebook.
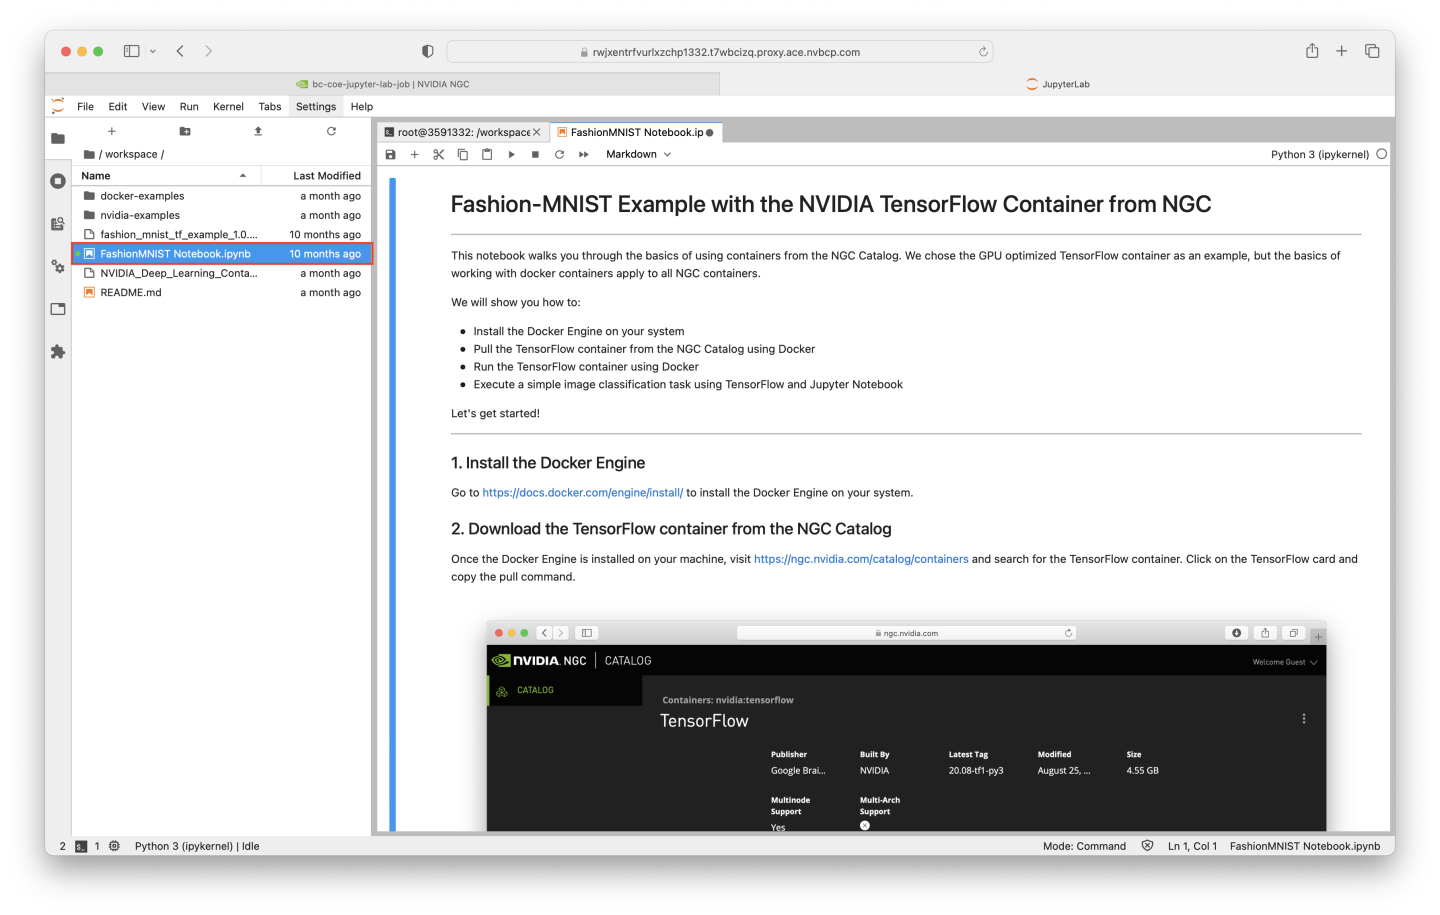
Much of the beginning of the notebook describes local system setup - Base Command already takes care of many of these steps for you, such as:
Install Docker Engine
Download the Tensorflow container from the NGC Catalog
Run the TensorFlow container image
Install JupyterLab
All we needed to do was run a Base Command job using the desired container to accomplish these steps. We’re already running JupyterLab (via the command we used to start the job).
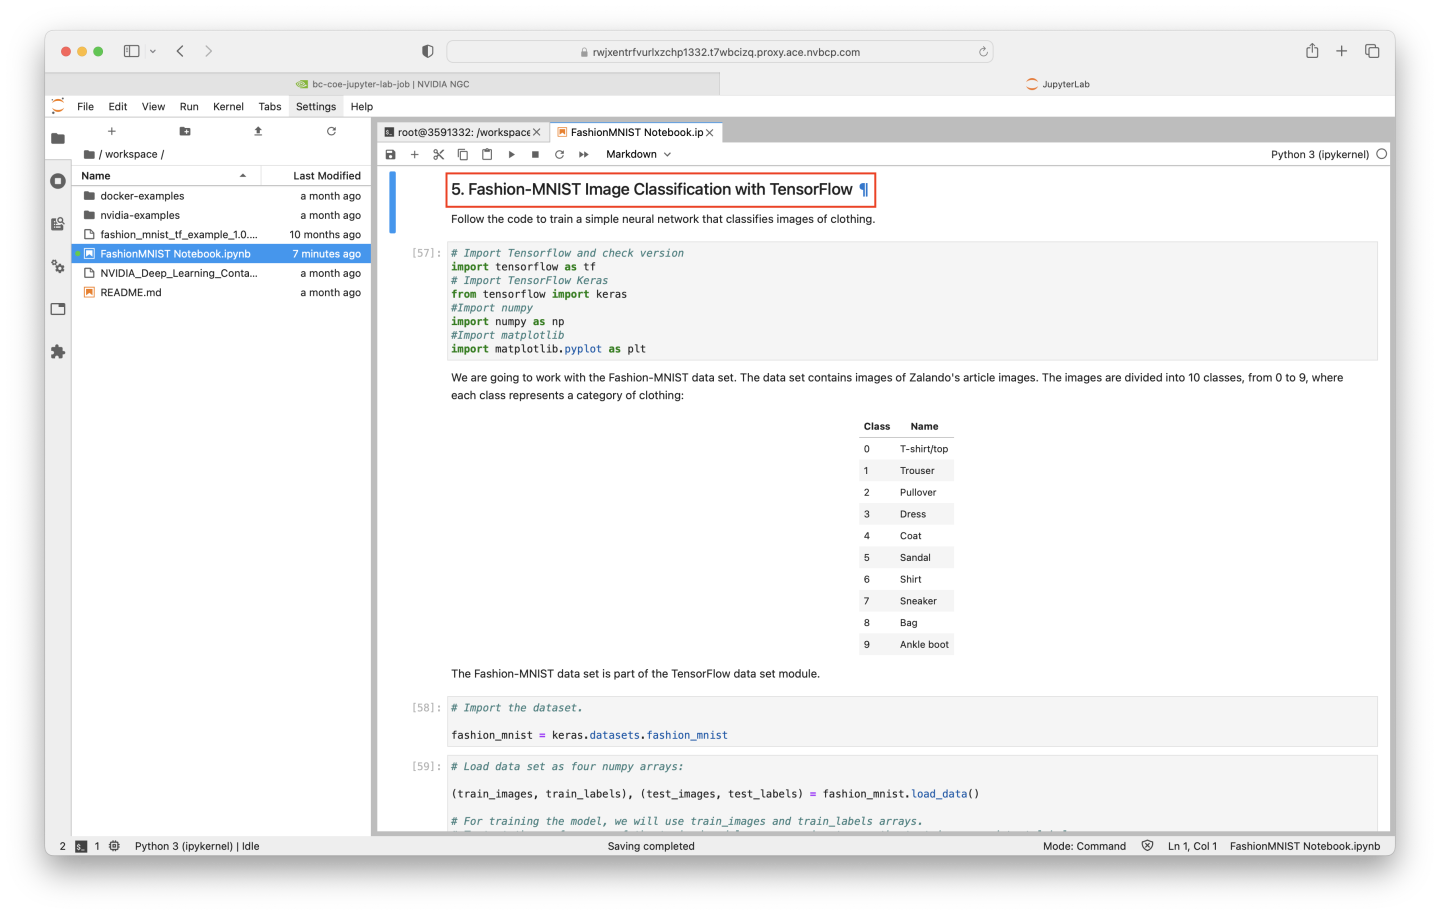
We can skip all the way to step 5 of the notebook - Fashion-MNIST Image Classification with TensorFlow.
A thorough tutorial on the use of Jupyter Notebooks is beyond the scope of this lab - but to execute the code examples in the notebook, you can hit Shift+Enter after clicking into the target code - keeping in mind that executing the code blocks in order is often necessary to make the examples behave correctly.
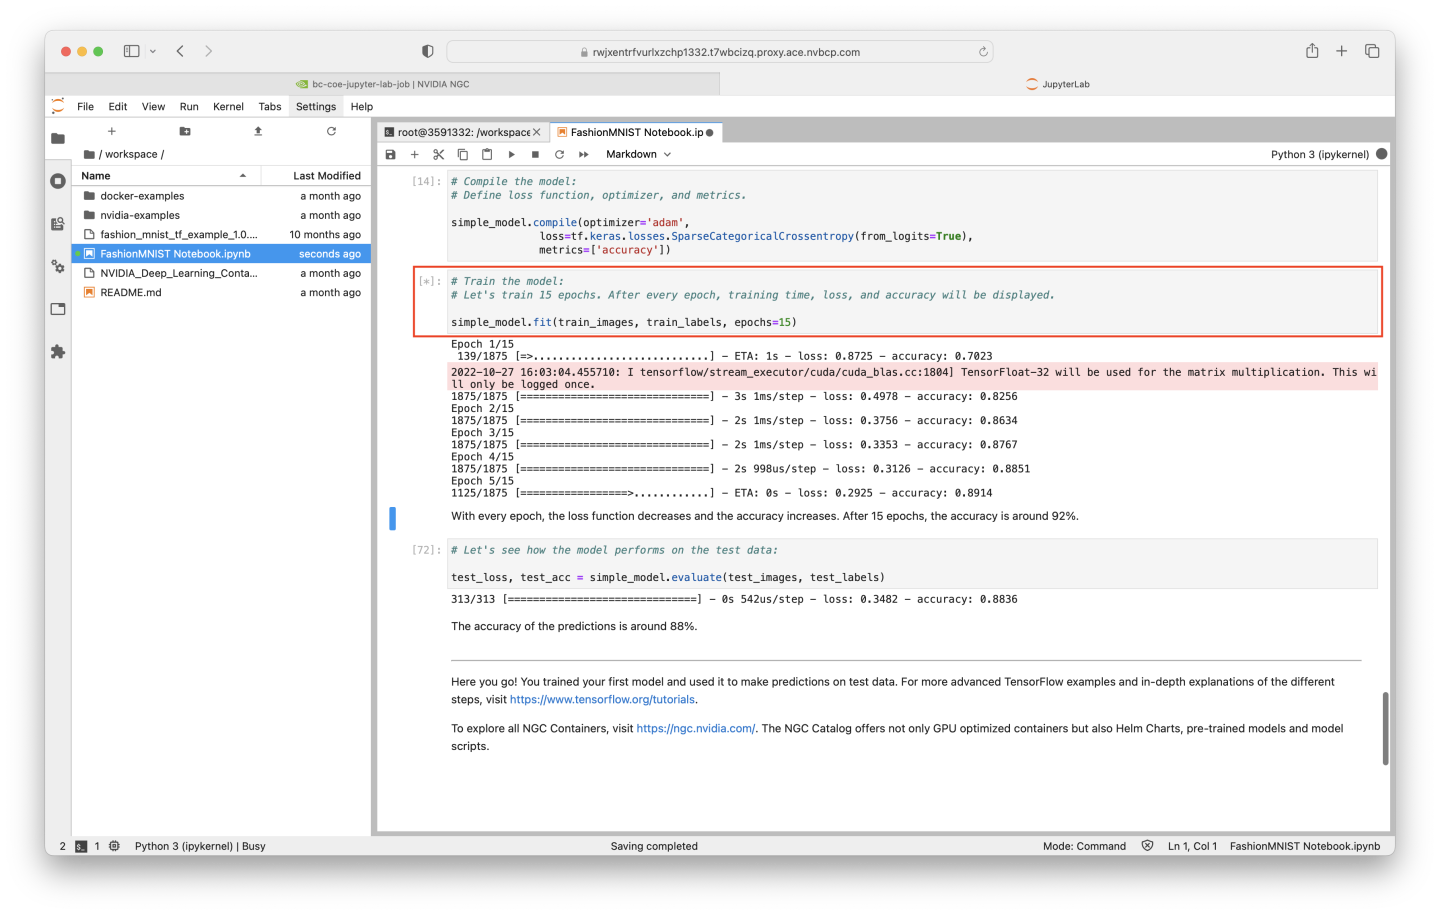
When a code block has successfully started, it will have a [*] indicator to its left - once complete, there will be an integer value in place of the *, which will increment for each subsequent code block execution.
In this particular notebook, if you click into the code block that begins with # Import Tensorflow and check version, and run it with Shift+Enter, upon completion your cursor focus should shift to the next runnable code block. Continue running each new code block with Shift+Enter.
If you are successful, you should be training a model in the code block that, when run, shows the value [15], as observed in the below screenshot.
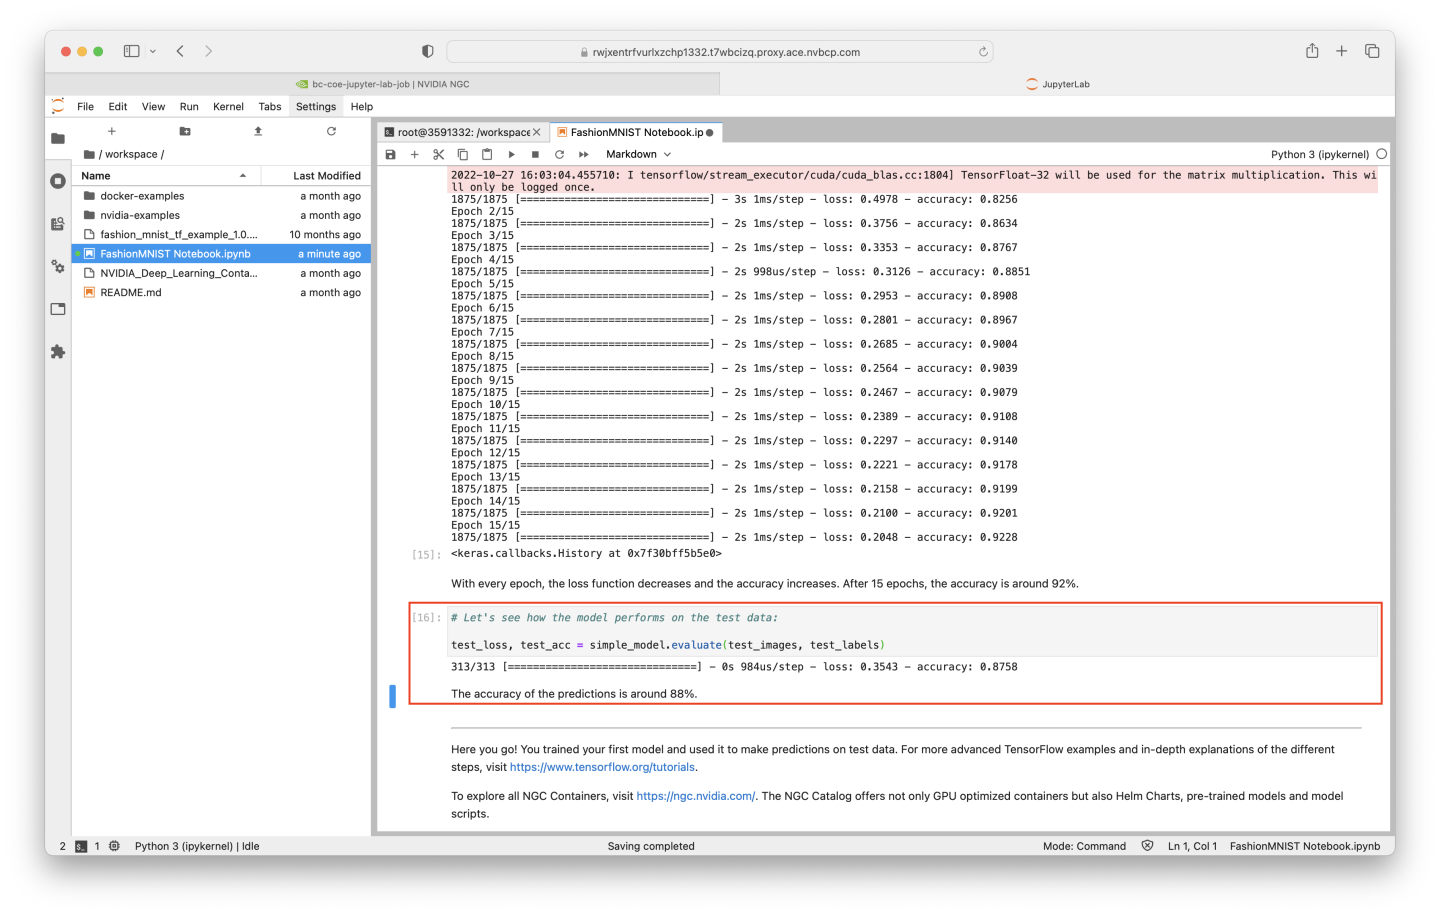
Once all 15 epochs have been completed, the final codeblock will test the model’s validation accuracy - as the notebook suggests, an accuracy near 88% is observed.
We have successfully started a job with Base Command to launch JupyterLab - we then found a Jupyter Notebook to use in the NGC Catalog’s Resource repository, downloaded the Resource to our running job, and used the notebook!
The running job can be stopped manually if desired, or it can be left to run to completion (when the length of time indicated by the trailing sleep command is reached). Ending a task as early as possible is encouraged to keep resources free for other users.