Step #6: Workspace Use
Now that we have created a workspace, we can use it across both the CLI and Web UI either in our jobs or, in the case of the CLI, even as an interactive mount point on our local system.
The command line interface provides the interesting capability to mount a workspace to your local machine. From your terminal, create a directory to mount your workspace to.
$ mkdir test-ngc-mount
Use the ngc workspace mount command to mount the workspace created in the previous section to this new directory - mount as readable and writable via the --mode RW flag and argument to allow data to be copied to it.
            $ ngc workspace mount workspace-from-cli ./test-ngc-mount --mode RW
Mounting complete.
A df -h command will show all active mounts on the system - look under the Mounted on column for the test-ngc-mount path.
            $ df -h
Filesystem                                                                                  Size   Used  Avail Capacity iused      ifree %iused  Mounted on
/dev/disk1s5s1                                                                             466Gi   14Gi  279Gi     5%  500637 2926965480    0%   /
devfs                                                                                      227Ki  227Ki    0Bi   100%     784          0  100%   /dev
/dev/disk1s4                                                                               466Gi   20Ki  279Gi     1%       0 2926965480    0%   /System/Volumes/VM
/dev/disk1s2                                                                               466Gi  259Mi  279Gi     1%     841 2926965480    0%   /System/Volumes/Preboot
/dev/disk1s6                                                                               466Gi  296Ki  279Gi     1%      16 2926965480    0%   /System/Volumes/Update
/dev/disk1s1                                                                               466Gi  171Gi  279Gi    38% 1475182 2926965480    0%   /System/Volumes/Data
map auto_home                                                                                0Bi    0Bi    0Bi   100%       0          0  100%   /System/Volumes/Data/home
YjNOamIyMXlNR1p0YWpkeGJtSnVielZyTlcwM2FHUTNiVFE2TURReVlUZ3pZbUl0TnpjMVppMDBaVEUwTFdFMVkyS  1.0Ti    0Bi  1.0Ti     0%       0 1000000000    0%   /Users/jhandzik/test-ngc-mount
The workspace can be used just like any other mount point on your system - let’s copy the test directory and test file from the previous dataset upload through the command line tool section.
$ cp -r base-command-test test-ngc-mount/
Prove that the directory and underlying data was copied over with two basic ls commands.
            $ ls test-ngc-mount/
base-command-test
            $ ls test-ngc-mount/base-command-test/
base-command-test-data
Finally, unmount the directory by using the ngc workspace unmount command. The local directory will be the correct argument - not the workspace name as defined via the NGC CLI.
            $ ngc workspace unmount test-ngc-mount/
Successfully unmounted workspace.
Use df -h again to confirm the workspace mount is no longer active.
            $ df -h
Filesystem       Size   Used  Avail Capacity iused      ifree %iused  Mounted on
/dev/disk1s5s1  466Gi   14Gi  279Gi     5%  500637 2927127200    0%   /
devfs           227Ki  227Ki    0Bi   100%     784          0  100%   /dev
/dev/disk1s4    466Gi   20Ki  279Gi     1%       0 2927127200    0%   /System/Volumes/VM
/dev/disk1s2    466Gi  259Mi  279Gi     1%     841 2927127200    0%   /System/Volumes/Preboot
/dev/disk1s6    466Gi  296Ki  279Gi     1%      16 2927127200    0%   /System/Volumes/Update
/dev/disk1s1    466Gi  171Gi  279Gi    38% 1475268 2927127200    0%   /System/Volumes/Data
map auto_home     0Bi    0Bi    0Bi   100%       0          0  100%   /System/Volumes/Data/home
Let’s go ahead and launch a batch job that is similar to the job from the dataset creation section where data is downloaded from the internet - this time, we will mount the workspace to the job at /mount/workspace and download data to it, instead of to the /results directory (which still exists for this job - just not to hold user-created data).
            $ ngc batch run --name "load-linux-into-workspace" --preempt RUNONCE --min-timeslice 0s --total-runtime 0s --instance dgxa100.80g.1.norm --commandline "cd /mount/workspace; wget https://cdn.kernel.org/pub/linux/kernel/v5.x/linux-5.17.3.tar.xz; tar -xvf linux-5.17.3.tar.xz; rm -rf linux-5.17.3.tar.xz" --result /results --image "nvidia/pytorch:22.04-py3" --workspace workspace-from-cli:/mount/workspace:RW
--------------------------------------------------
Job Information
    Id: 2873341
    Name: load-linux-into-workspace
    Number of Replicas: 1
    Job Type: BATCH
    Submitted By: Joseph Handzik
Job Container Information
    Docker Image URL: nvidia/pytorch:22.04-py3
Job Commands
    Command: cd /mount/workspace; wget https://cdn.kernel.org/pub/linux/kernel/v5.x/linux-5.17.3.tar.xz; tar -xvf linux-5.17.3.tar.xz; rm -rf linux-5.17.3.tar.xz
    Dockerfile Image Entrypoint: False
Datasets, Workspaces and Results
    Workspace ID: JyrRwRmXQCuptjLaCFumkQ
        Workspace Name: workspace-from-cli
        Workspace Mount Point: /mount/workspace
        Workspace Mount Mode: RW
    Result Mount Point: /results
Job Resources
    Instance Type: dgxa100.80g.1.norm
    Instance Details: 1 GPU, 30 CPU, 244 GB System Memory
    ACE: nv-launchpad-bc-sjc-ace
    Team: nvbc-tme
Job Status
    Created at: 2022-05-03 17:23:38 UTC
    Status: QUEUED
    Status Type: OK
    Preempt Class: RUNONCE
--------------------------------------------------
Verify the job status with ngc batch list again - note that you may see multiple jobs listed, so be sure to check the job name to track the correct job.
            $ ngc batch list
+---------+----------+---------------------------+----------+------------------+----------+----------------+
| Id      | Replicas | Name                      | Team     | Status           | Duration | Status Details |
+---------+----------+---------------------------+----------+------------------+----------+----------------+
| 2873341 | 1        | load-linux-into-workspace | nvbc-tme | FINISHED_SUCCESS | 0:02:01  |                |
| 2870152 | 1        | aws-dl-cli                | nvbc-tme | FINISHED_SUCCESS | 0:00:21  |                |
+---------+----------+---------------------------+----------+------------------+----------+----------------+
To verify the workspace appears as expected, we can mount it locally again and do a light investigation of its contents. This time, we can mount using the mode argument RO, which stands for read only - doing so will ensure we do not accidentally modify the workspace.
            $ ngc workspace mount workspace-from-cli ./test-ngc-mount --mode RO
Mounting complete.
Basic ls commands confirm that the additional directory is present and appears as expected.
            $ ls test-ngc-mount/
base-command-test        linux-5.17.3
            $ ls test-ngc-mount/linux-5.17.3/
COPYING                Kbuild                MAINTAINERS        arch                crypto                include                kernel                net                security        usr
CREDITS                Kconfig                Makefile        block                drivers                init                lib                samples                sound                virt
Documentation        LICENSES        README                certs                fs                ipc                mm                scripts                tools
Remember to unmount the workspace before moving forward.
            $ ngc workspace unmount test-ngc-mount/
Successfully unmounted workspace.
Taking a look at the output from ngc workspace list again will confirm the augmented capacity usage as well.
            $ ngc workspace list --owned
+------------------------+--------------------+-------------+----------------------+------------------+--------+---------------------+-------+---------+
| Id                     | Name               | Description | ACE                  | Creator Username | Shared | Created Date        | Owned | Size    |
+------------------------+--------------------+-------------+----------------------+------------------+--------+---------------------+-------+---------+
| JyrRwRmXQCuptjLaCFumkQ | workspace-from-cli |             | nv-launchpad-bc-sjc- | Joseph Handzik   | No     | 2022-05-02 19:34:40 | Yes   | 1.02 GB |
|                        |                    |             | ace                  |                  |        | UTC                 |       |         |
| a6CxaJmmQgK1OIcXR8-d5A | s3-demo-workspace  |             | nv-launchpad-bc-sjc- | Joseph Handzik   | No     | 2022-04-19 19:29:12 | Yes   | 0 B     |
|                        |                    |             | ace                  |                  |        | UTC                 |       |         |
+------------------------+--------------------+-------------+----------------------+------------------+--------+---------------------+-------+---------+
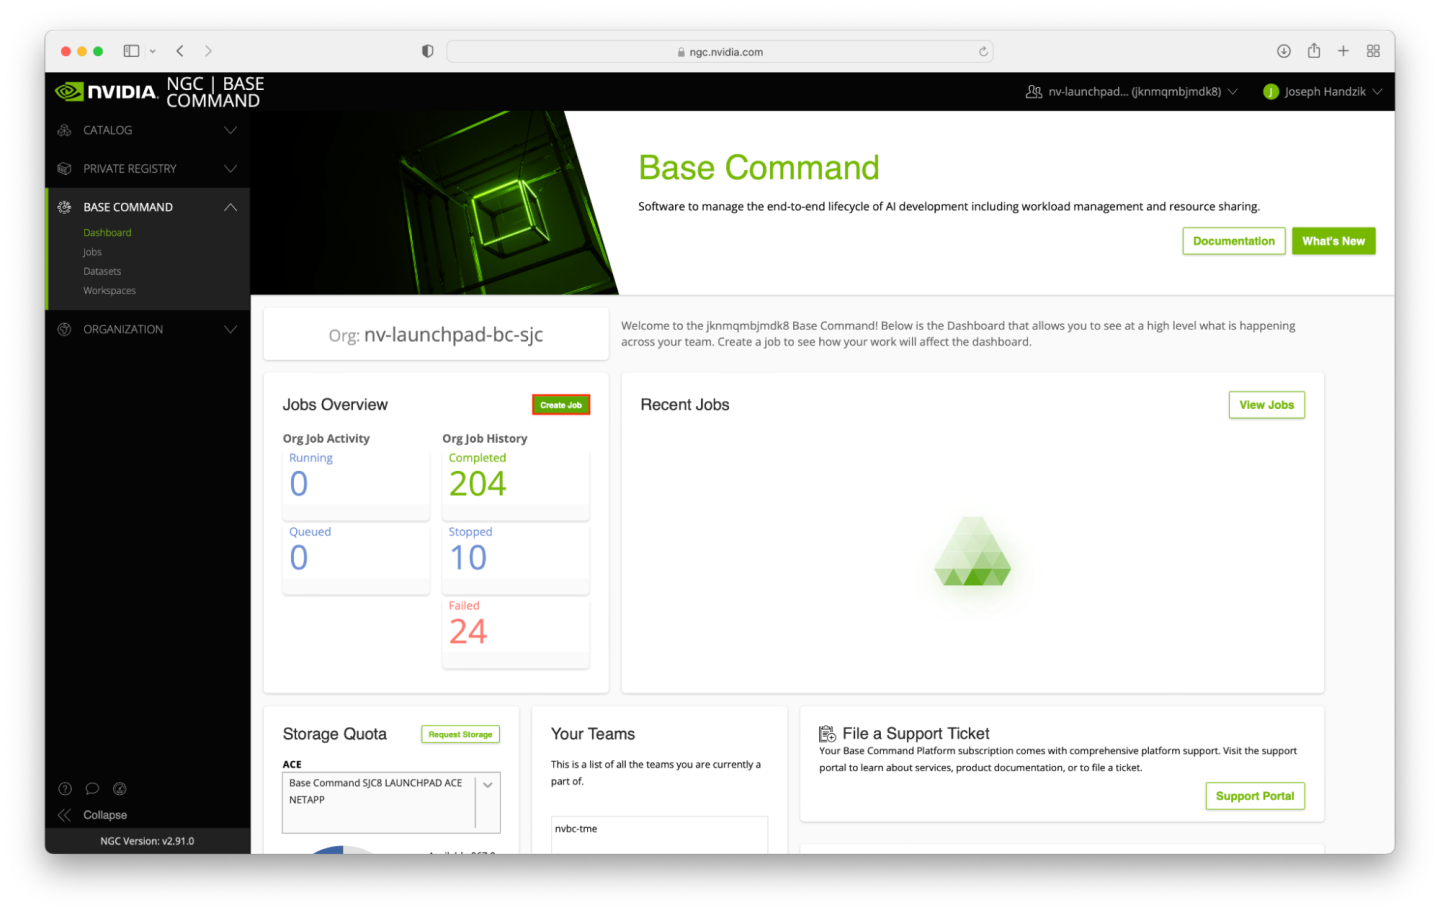
To leverage the workspace created through the Web UI, start again from the Base Command Dashboard and click the Create Job button.
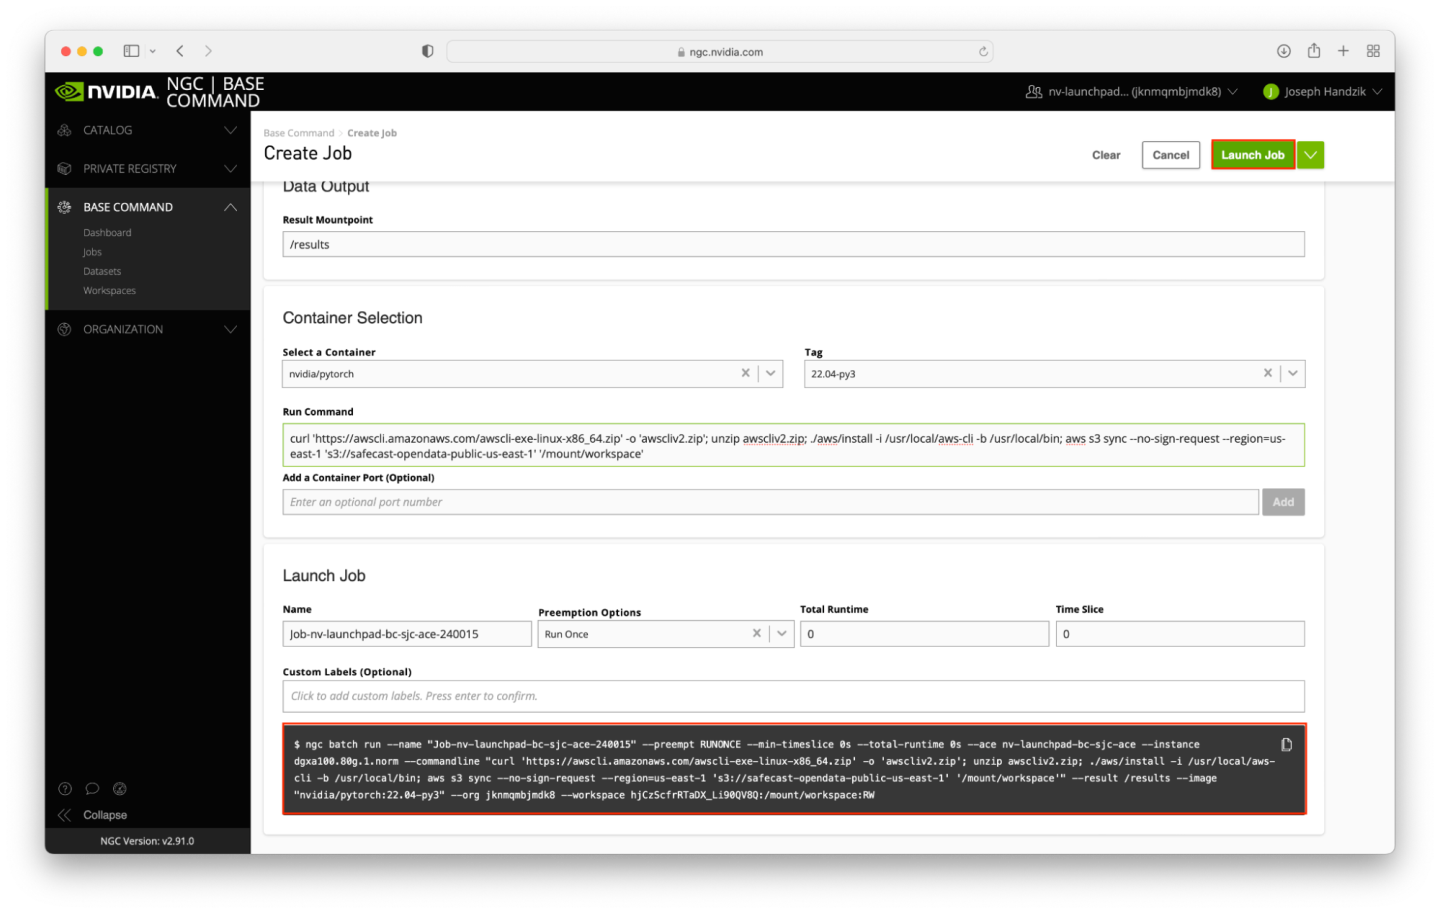
Fill out the Create Job web form again - note that the main difference between previous jobs and this job will be the use of a workspace.
Select your ACE from the list.
Select dgxa100.80g.1.norm in the INSTANCE table.
Select the WORKSPACES tab - click the box next to
workspace-from-web-ui, and type/mount/workspacefor its mount point, ensuring that the mount mode isRW.Enter
/resultsfor the Data Output field.Select the
nvidia/pytorchcontainer.Select the tag value of
22.04-py3.For the command, copy the following:
curl 'https://awscli.amazonaws.com/awscli-exe-linux-x86_64.zip' -o 'awscliv2.zip'; unzip awscliv2.zip; ./aws/install -i /usr/local/aws-cli -b /usr/local/bin; aws s3 sync --no-sign-request --region=us-east-1 's3://safecast-opendata-public-us-east-1' '/mount/workspace'
The remainder of the form can be left with the default values.
To verify that the correct options were selected, check the ngc batch run command on your screen with the values in the screenshot below (the --name argument will differ, and --ace and --org arguments may differ too). When ready, click the Launch Job button near the top right corner of the page.
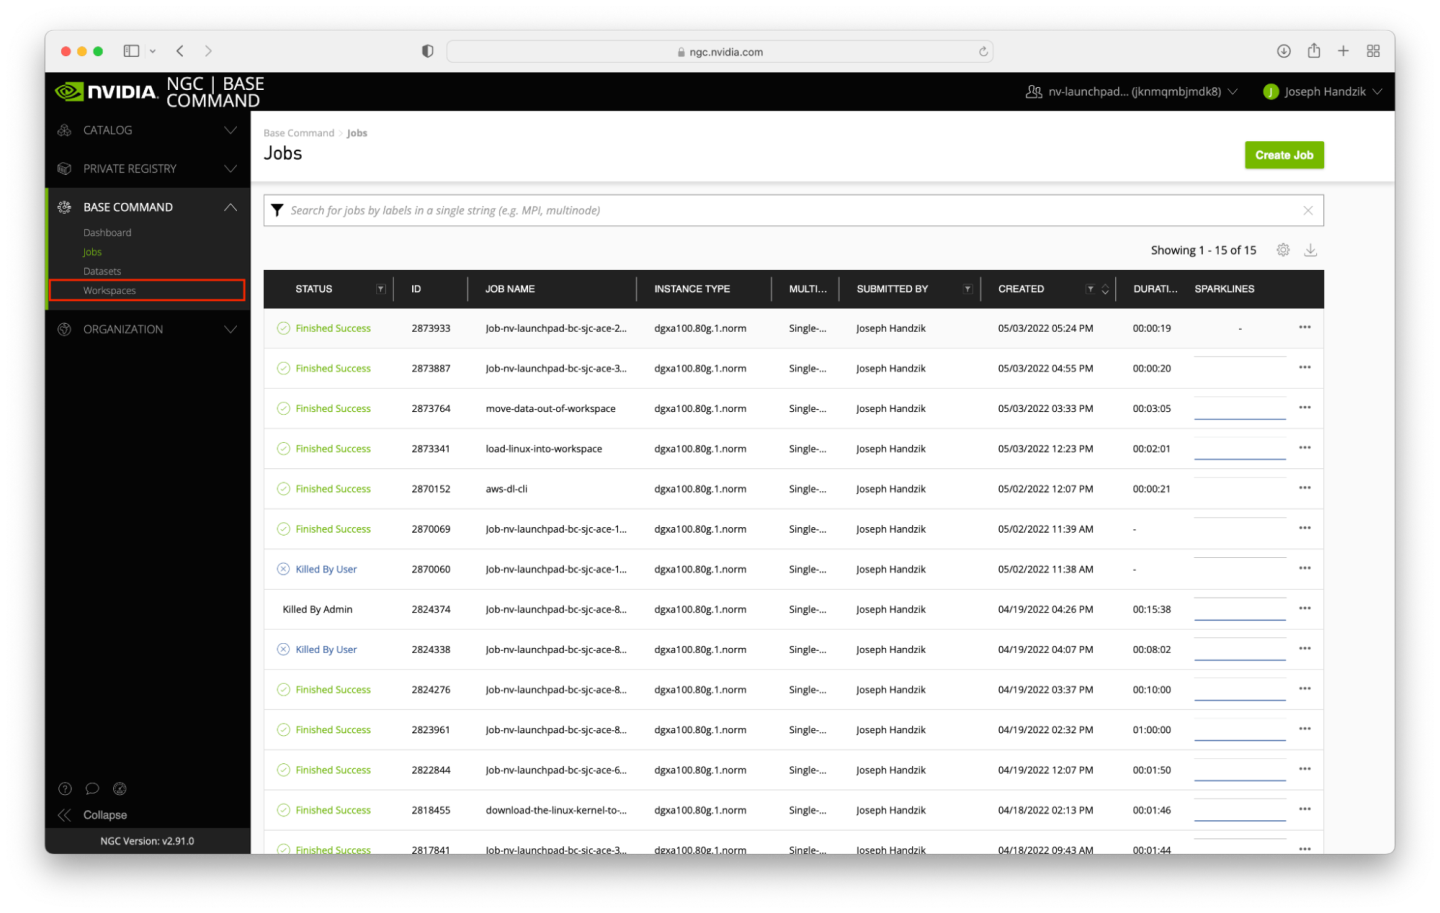
The job shouldn’t take long to run - around 5 minutes assuming the ACE is relatively idle. You may need to refresh the page to verify that the job status is Finished Success.
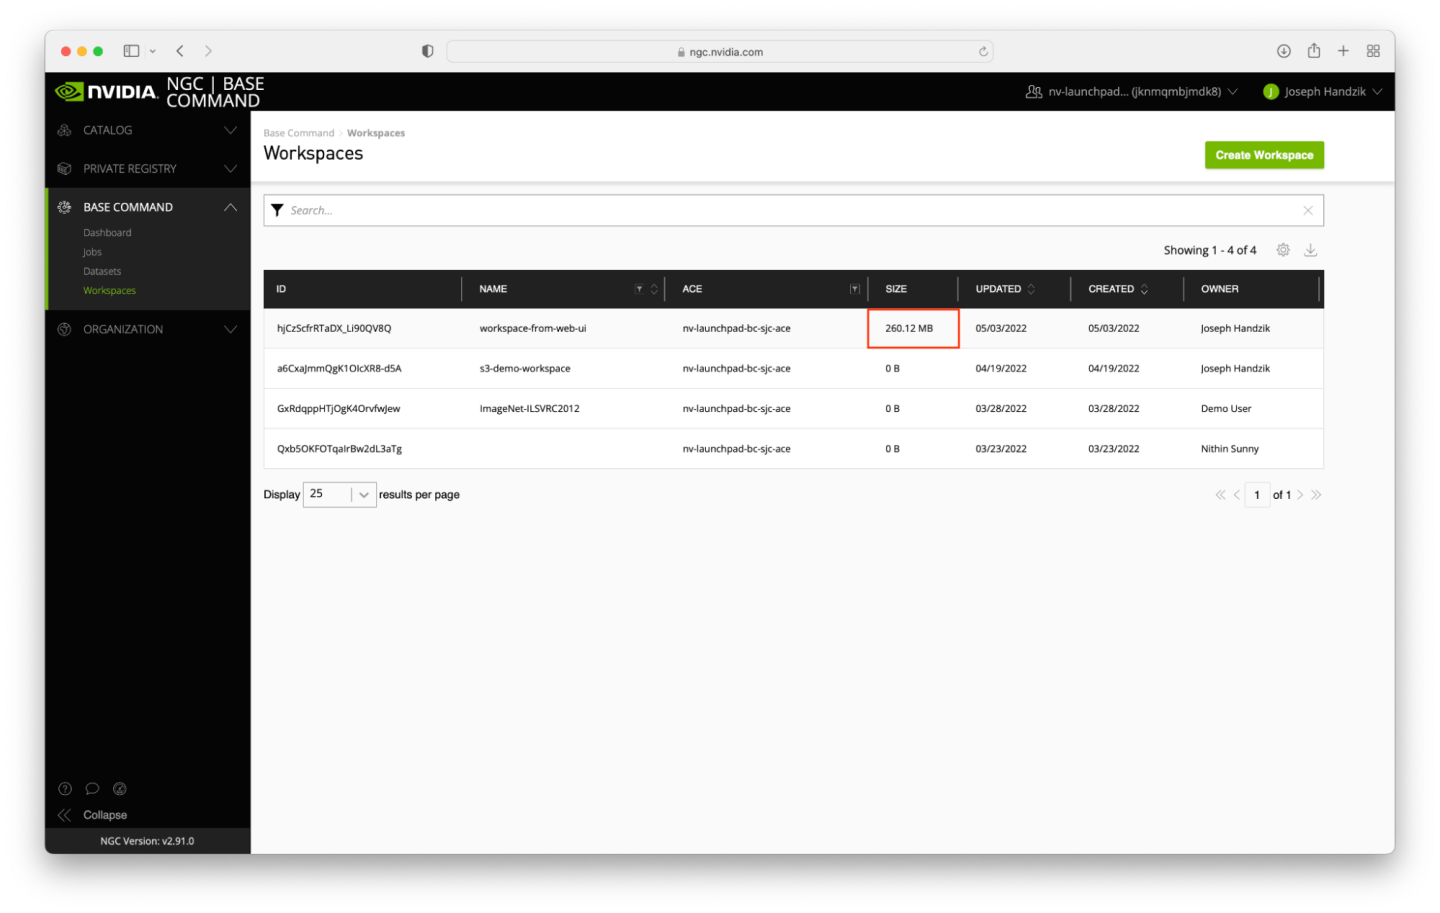
Navigate to the Workspaces page instead of viewing the job - remember, we did not move any data into the /results directory, so it will not show anything in addition to a log file.
The workspace we used should, after a couple minutes, show a non-zero data size, as seen in the screenshot below. If you would like to interact with the directory structure, you can mount this workspace using the NGC CLI tool - just remember to unmount it when you are done!