Step #2: Authenticating local Docker with NGC
If you have already completed Step #2 of the Using a Modified NGC Image in Base Command lab, you should skip this step entirely and move to Step #3.
NGC contains many public images, models, and datasets which can be pulled immediately without authentication. To push and pull custom images to/from the private registry you will need to authenticate with NGC and generate a private key.
If you already have an NGC key, skip to the “Logging in to NGC on a Workstation” section.
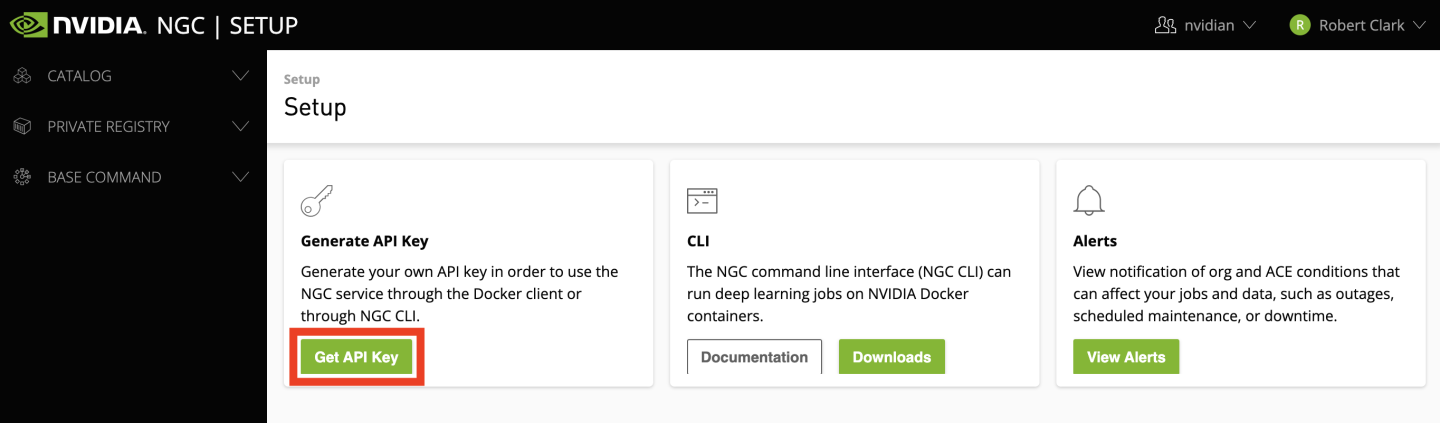
To create a private key, login to NGC at ngc.nvidia.com in a web browser. After signing in, click your account name in the top right corner of the page followed by the “Setup” button.

In the Setup page, click the “Get API Key” button.
Clicking the “Generate API Key” button in the top right will create a new API key that can be used. Note that this key will only be shown once so it is highly recommended to store it in a safe location. This key can be used on multiple devices, so don’t assume you will only need it once.
If you lose your NGC key at any time, you can always generate a new one using this method. Please note that any existing keys will no longer work and need to be updated with the newly generated key as well.
After creating your private key, authenticate with NGC on your local workstation with the docker login command. Following the steps shown on the page after generating an API key above, login to NGC. Note that your username must be exactly $oauthtoken and should not be any other username you may have.
            $ docker login nvcr.io
Username: $oauthtoken
Password: < Insert private key here >
Once you’ve logged in using the steps above, you should now be fully authenticated with NGC.