Step #4: Launching VS Code on Base Command
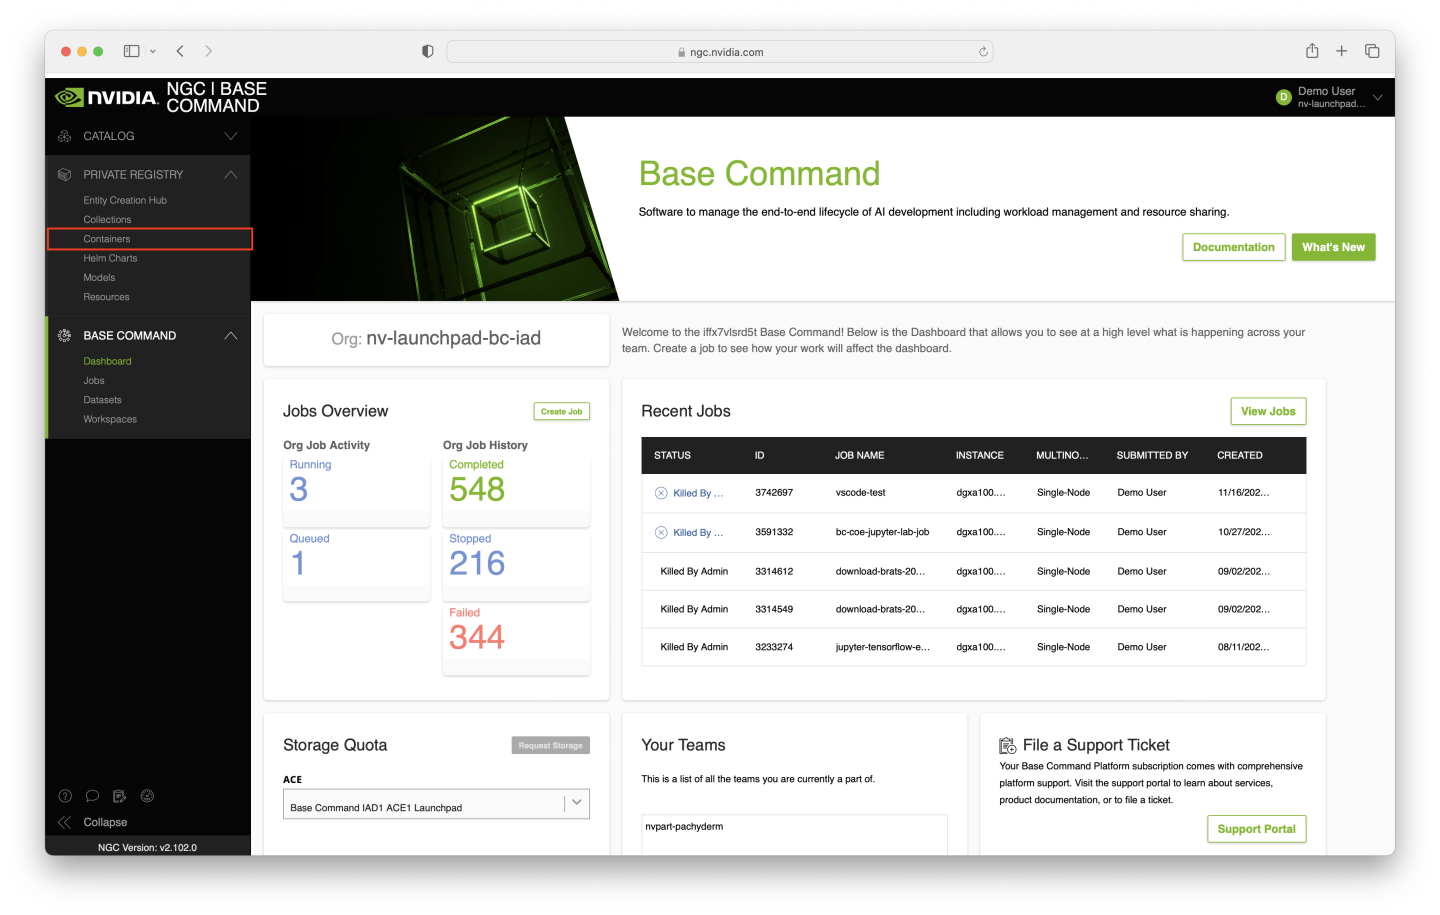
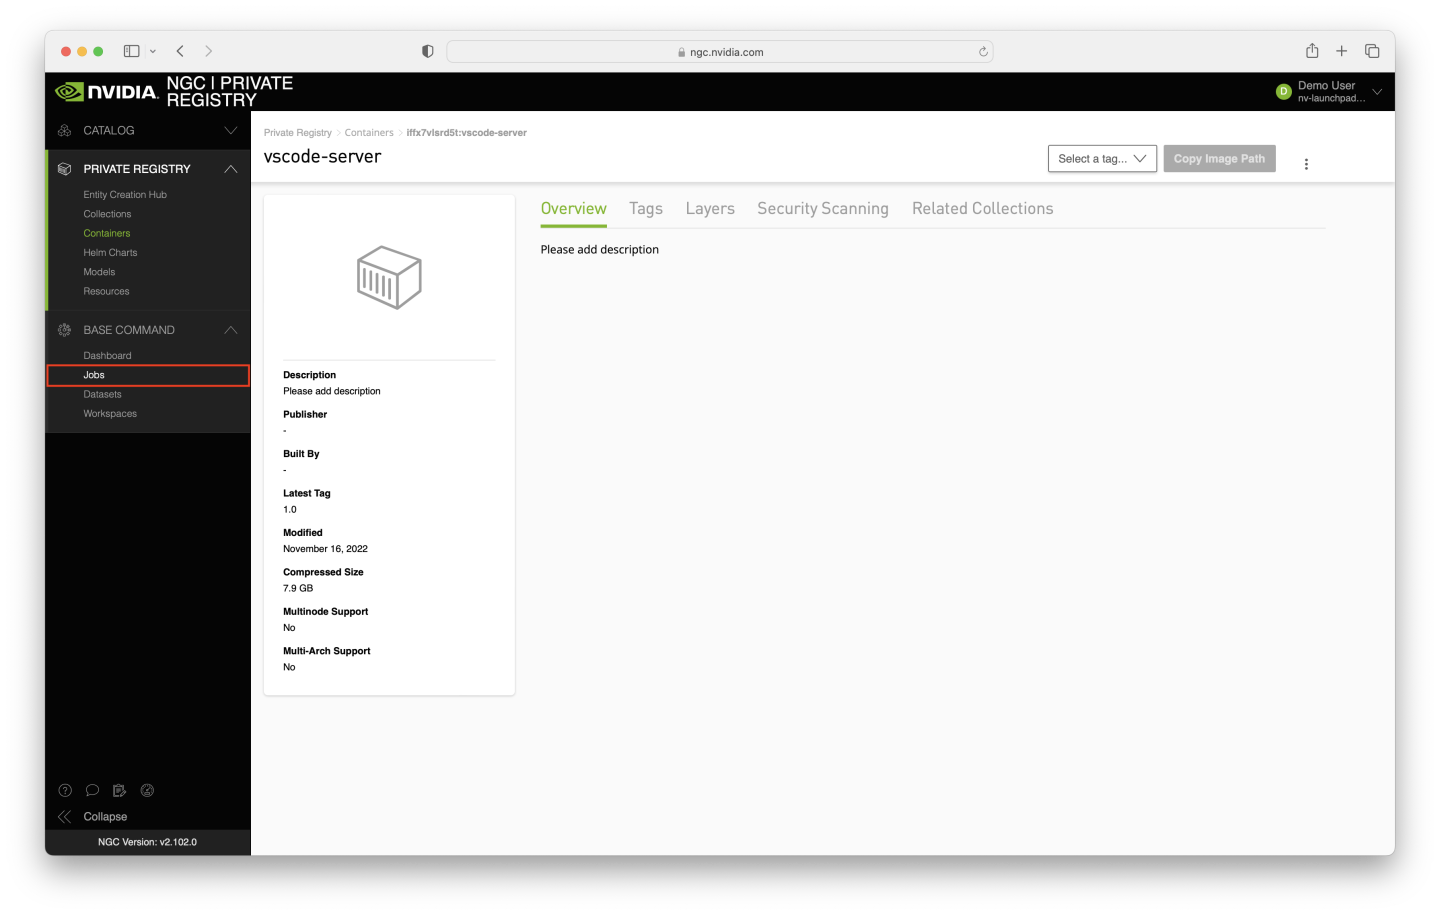
With the VS Code image built, we can now run the container on Base Command. To verify the container is stored in your org’s private registry, navigate to ngc.nvidia.com and click Containers from the Private Registry menu on the left of the screen.
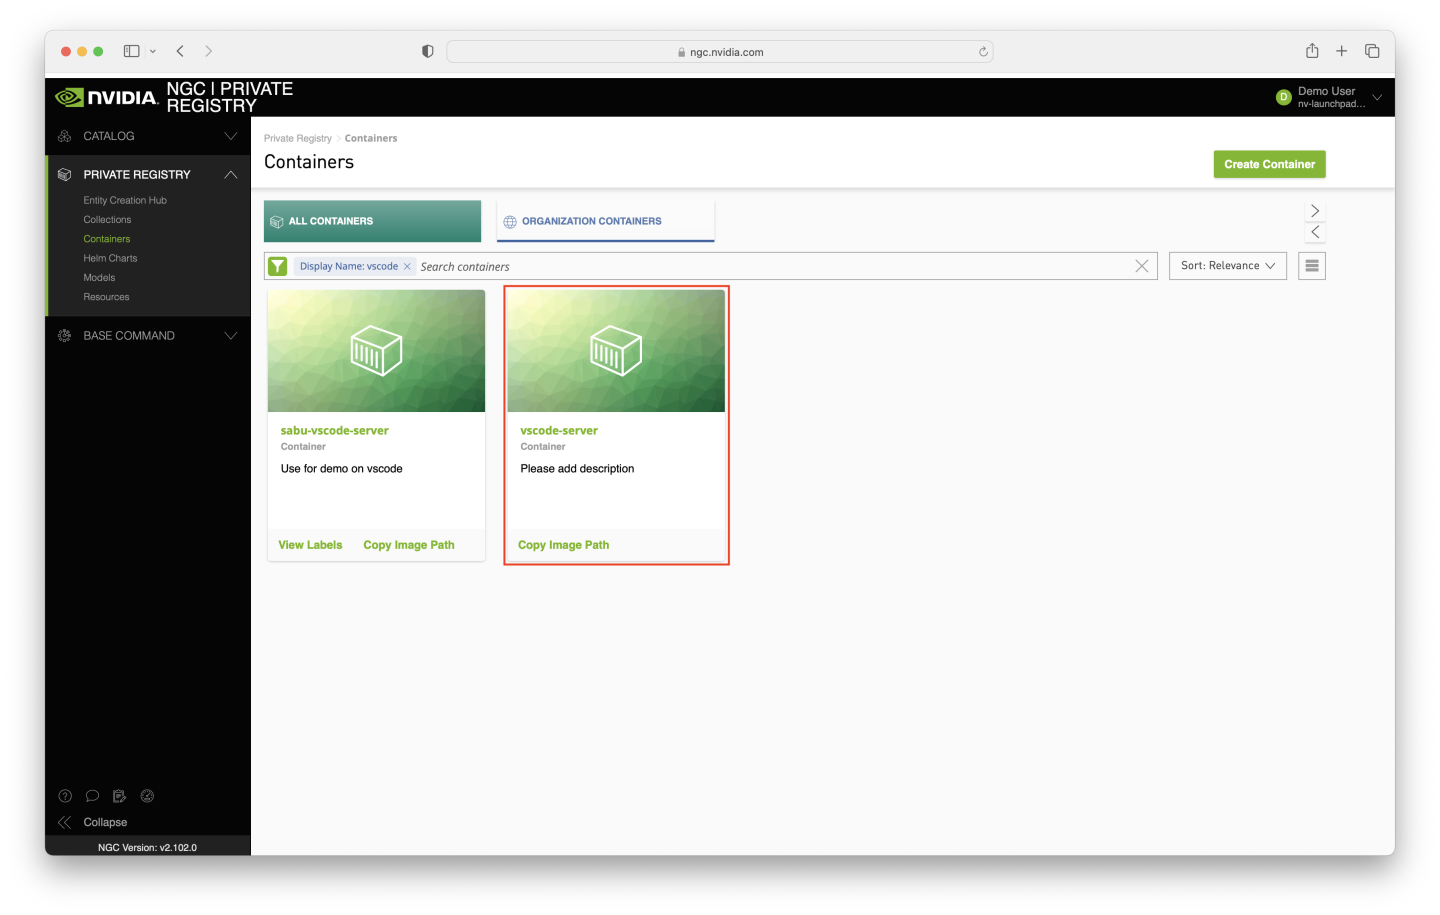
On the Containers page, create a new filter for Display Name and search for vscode - the vscode-server container should be visible on the page.
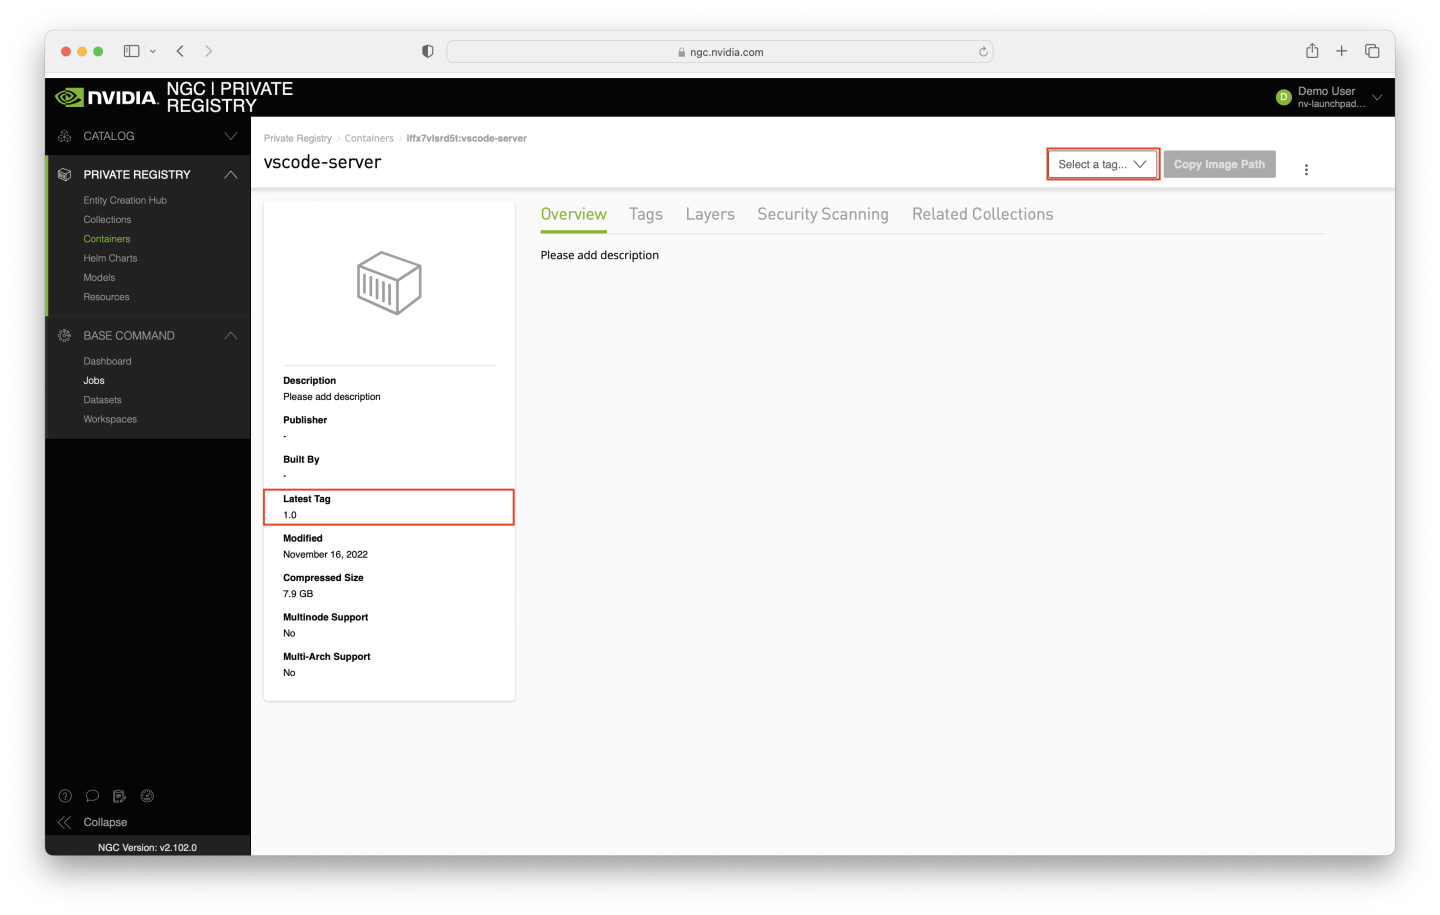
Click on your uploaded container to verify that the expected tag is present - you can verify the latest tag right on the page, or click the Select a tag… dropdown to view all available tags. Ensure tag 1.0 is present.
When ready, click on the Jobs link from the Base Command menu.
On the Jobs page, click Create Job.

Populate the Create Job form as follows.
Select your ACE from the list.
Select dgxa100.80g.1.norm in the INSTANCE table.
Ignore the Datasets and Workspaces input tables for now.
Enter
/resultsfor the Data Output field.Select the
lp-org-name/lp-team-name/vscode-servercontainer.Select the tag value of
1.0.For the command, copy the following:
PASSWORD=mypass code-server --auth password --bind-addr 0.0.0.0:8899 & sleep 12h
Add a container port just beneath the command of value
8899- be sure to click the Add button to the right of the text box.The remainder of the form can be left with the default values - but if you like, you can change the job name and add a label to make filtering easier in the future.
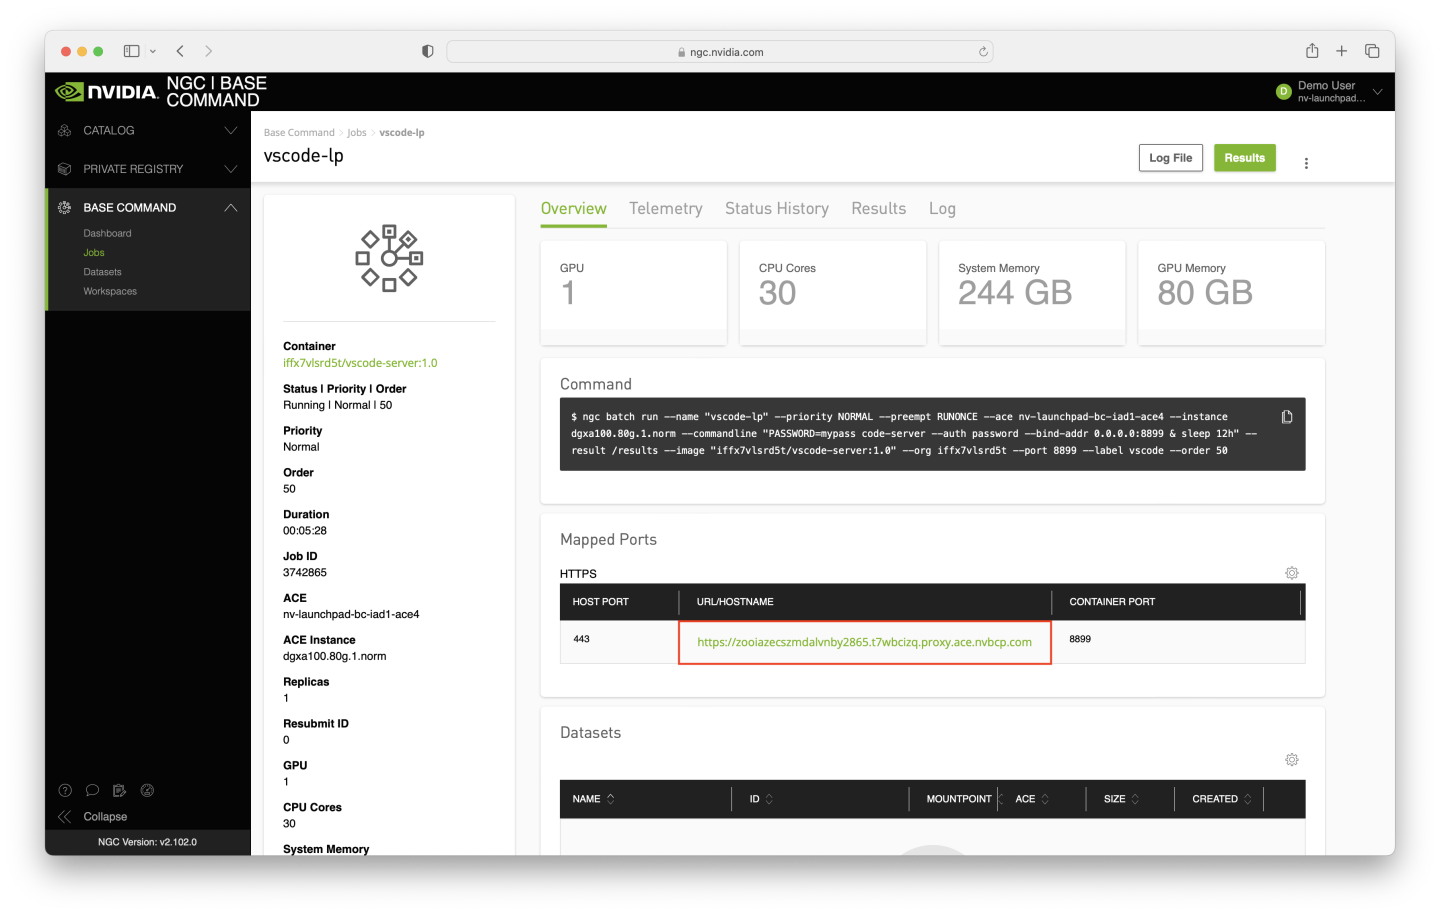
To verify that the correct options were selected, check the ngc batch run command on your screen with the values in the screenshot below (the --name, --ace, and --org arguments may differ). When ready, click the Launch Job button near the top right corner of the page.

After submitting the job, you will be taken to the Jobs page where you can view the status of the job.
Once the job has a Status value of Running, click on it.

Click on the Overview tab, and click on the url present in the Mapped Ports section. This will open the VS Code web interface.
When the VS Code web interface loads, it will ask for a password. The value set when we specified the command to run in the job was mypass. Enter that value, and click the Submit button.
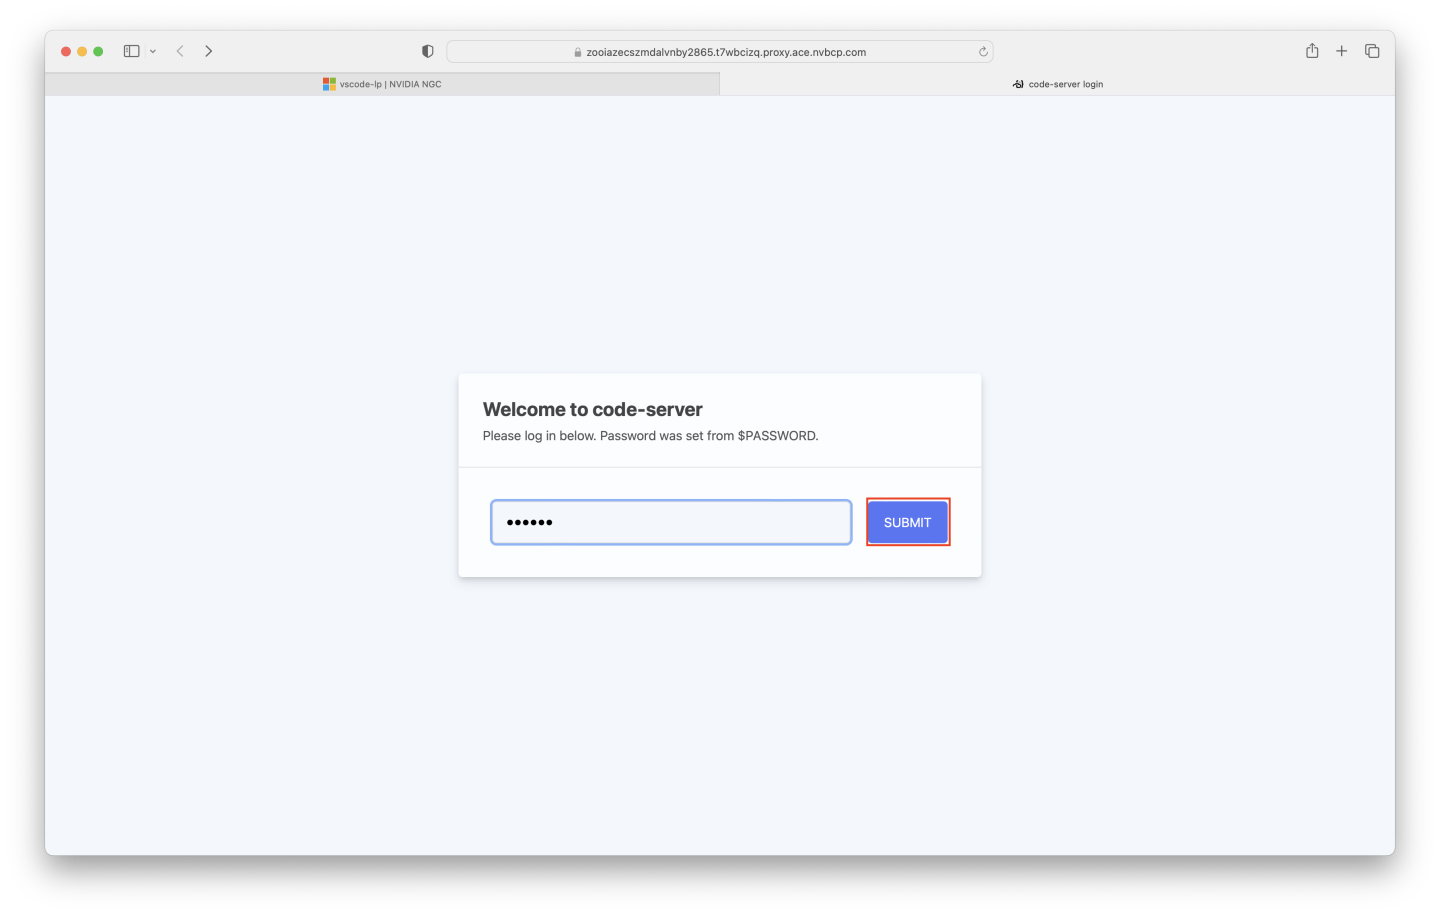
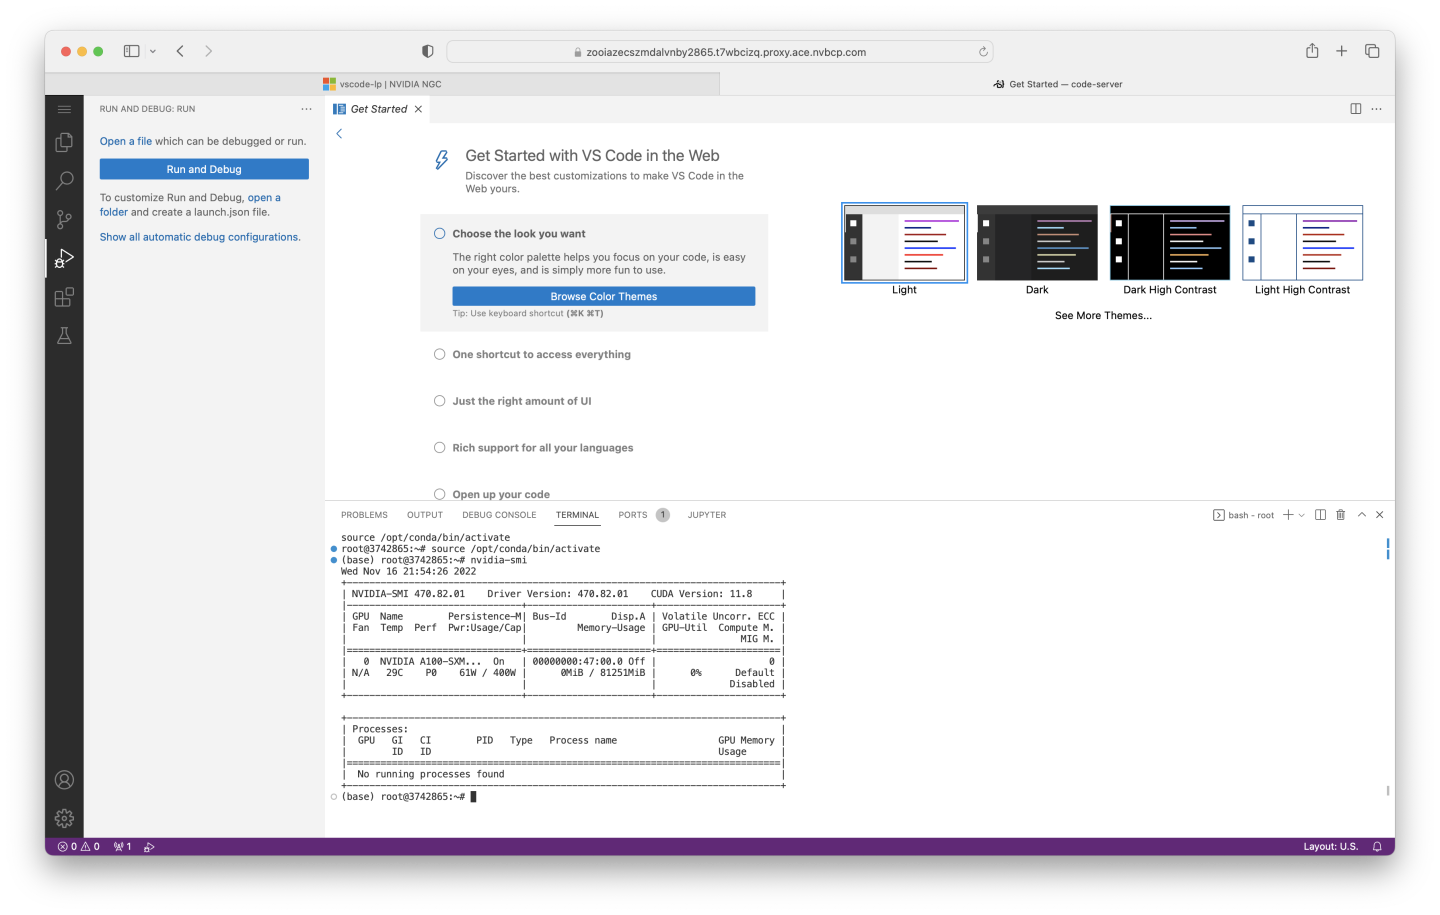
Once the next page loads, you should see a working VS Code web interface. It can now be used in place of a local VS Code interface, in an environment with direct access to NVIDIA GPUs (in the case of the job we launched, a single A100).

To prove this, open a terminal through VS Code and run nvidia-smi - the results from our example are shown in the image below.