

Train a Robot Arm#
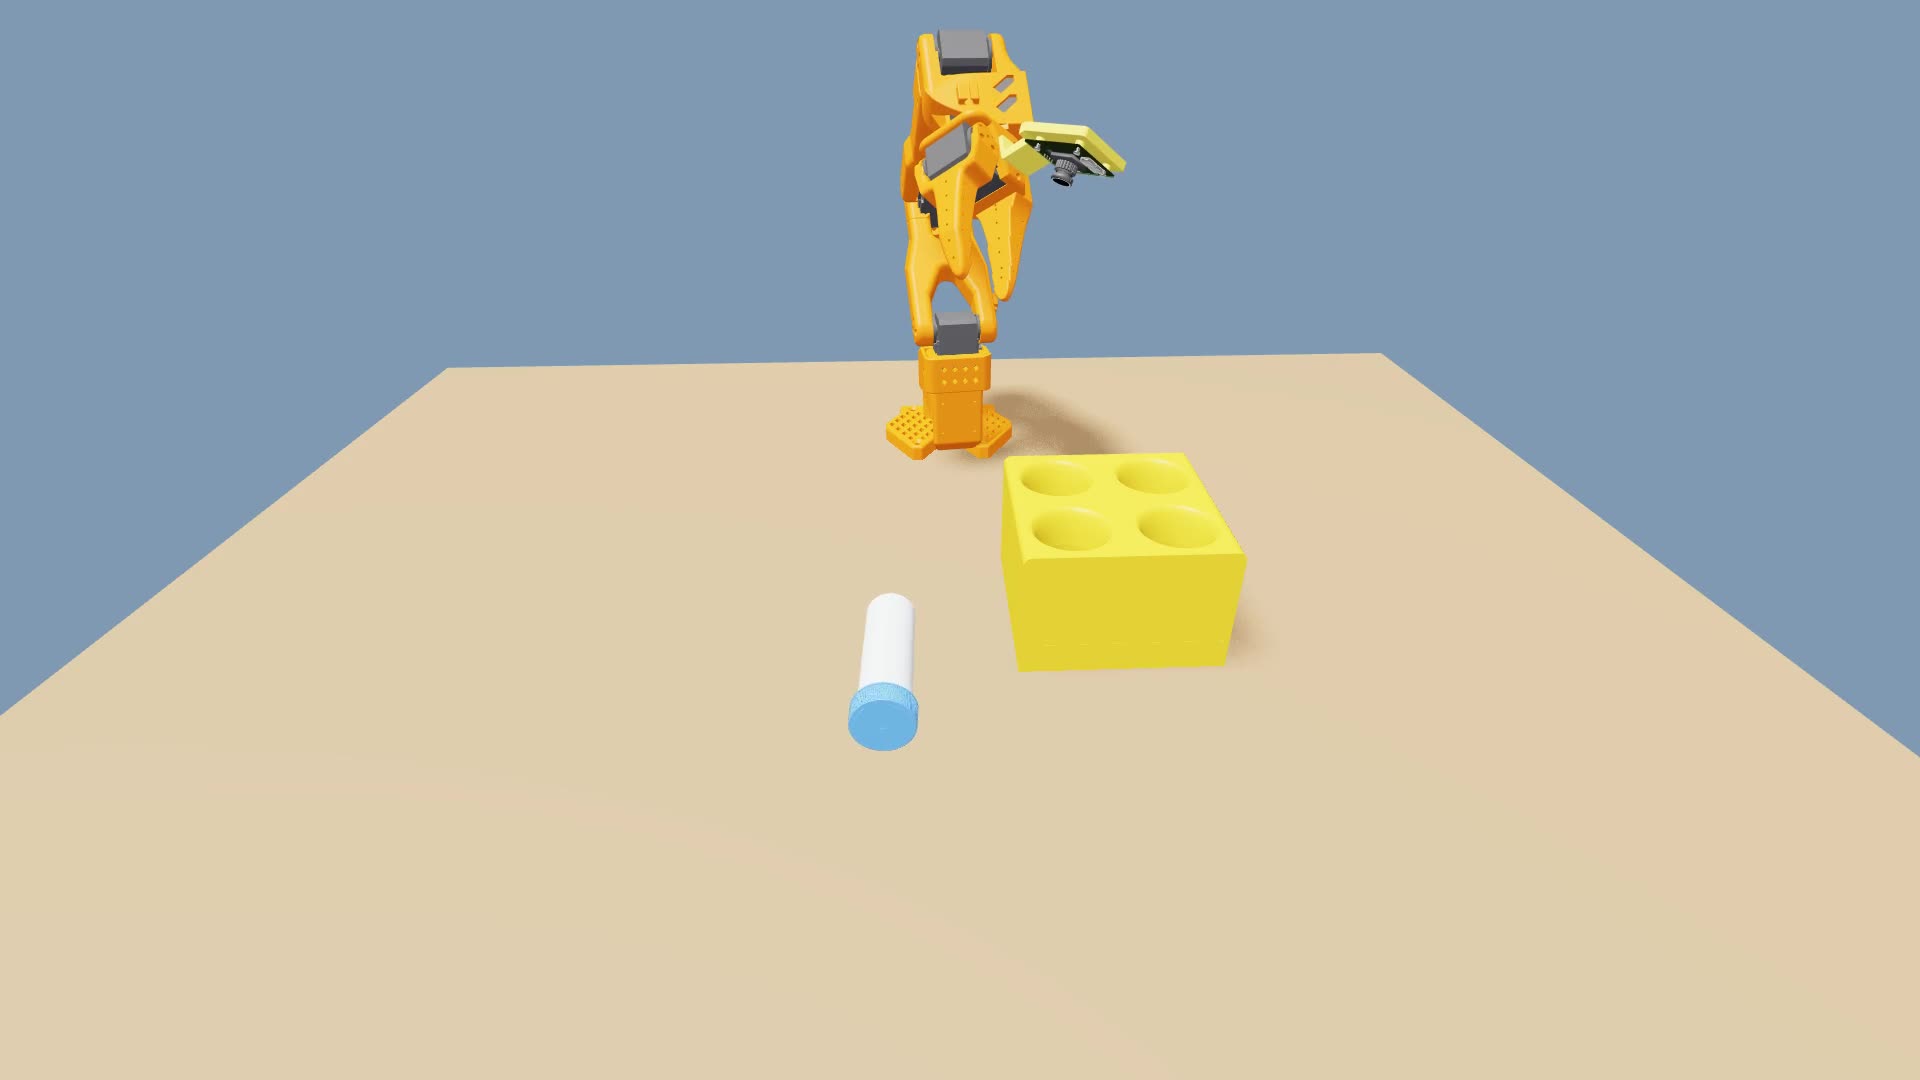
Your task: grasp the vial, turn it upright, and release it into the rack.#
You’ve trained a cartpole. Now let’s put those skills to work with a robot arm. In this module, we’ll work with a simulated SO-101 arm that picks up a vial, turns it upright, and places it into any of a rack’s four openings. We’ll first train a teacher policy using simulation state, then use it to train a student that acts from a wrist camera and robot joint state.
We’ll build on Robot Learning Fundamentals and Isaac Lab Basics. You should be comfortable with their task configurations, Proximal Policy Optimization (PPO) workflow, and cartpole training example. Keep those modules handy when you need a refresher.
The cartpole robot task required the agent to make continuous corrections to stay upright. Vial placement adds a sequence of changing behaviors: fingers close around the vial, the vial leaves the desk, and the rack supports it after release. A good grasp makes the next stage possible; a poor one may fail several steps later.
We’ll follow that sequence through scene setup, teacher training, and camera distillation. Along the way, try predicting where the robot will struggle. Those predictions will give you useful questions to investigate when you compare the policies.
Learning Objectives
Adapt an Isaac Lab project to an arm manipulating a vial.
Define useful training feedback and complete-placement success.
Use staged resets to help a teacher practice grasping, transport, and release.
Identify what a wrist-camera student can observe and where it may struggle.
Train a state-based teacher policy with PPO and distill it into a wrist-camera student policy.
Compare teacher and student behavior and propose a focused follow-up experiment.
Code blocks with a thicker green border contain commands to run or code to copy into your project as part of the lesson. Follow the instructions above each block to choose the terminal or file. Blocks without this border show reference examples, expected output, or optional activities.
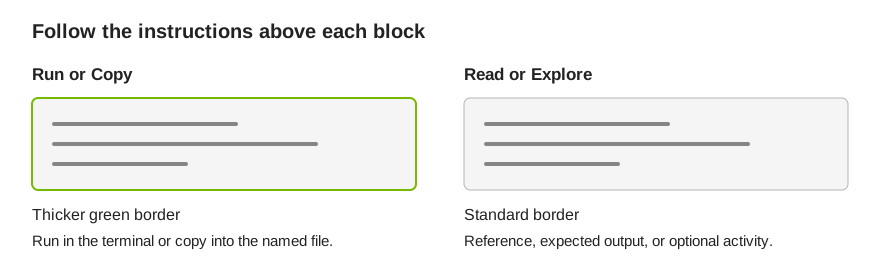
Use the border and the surrounding instructions to identify what to do with each code block.#
Use the activities to check your understanding as you go. Here are some tips for completing them:
Make a prediction about the outcome of a command before running it.
After running a command, change one thing and describe what you observe.
Answer the understanding question before opening its answer or hint.
Use an agent to quiz yourself on the learning objectives.