Tasks
The Tasks window displays the full NVIDIA ® NEO ® tasks list.
A task is an action defined by a user to apply on one or more devices, ports, or groups. Users can create a task or a task sequence, using the respective tabs under this window.
All of these tasks can be saved with no execution date, set to run immediately (in which case, it will turn into a job), or scheduled to occur once or repeatedly in a predefined time.
This tab enables you to create, run, remove and edit tasks.
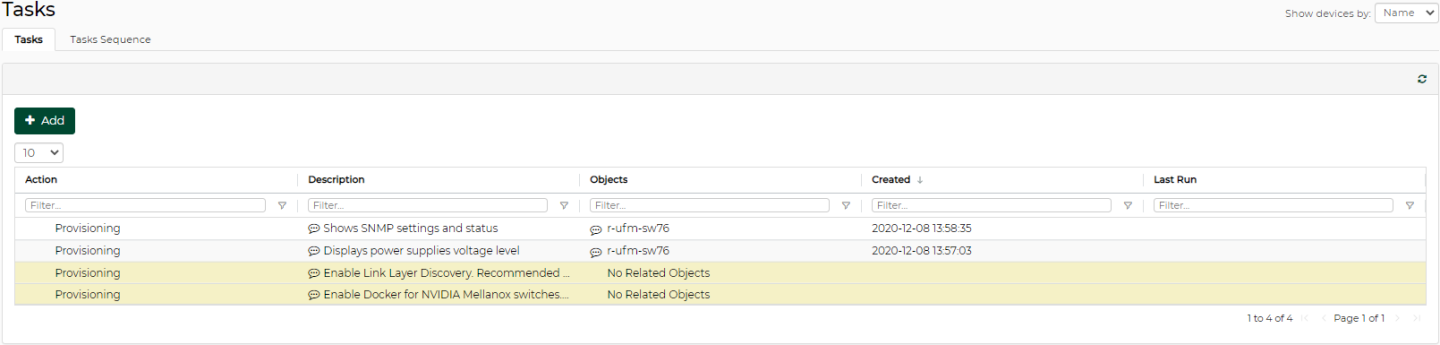
Built-in Tasks
NEO comes with the following built-in tasks for common switch configuration. These tasks can run on all applicable switches (Run On All option) or on a user selected list of switches (Run option):
Enable Docker for NVIDIA switches – activates docker capabilities on the switch
Enable Link Layer Discovery – activates LLDP capabilities on the switch. Enabling this is recommended for network topology discovery.
These tasks are applicable to switches running NVIDIA ® Onyx ® only.
Creating a New Task
To create a new task:
Under the Tasks tab in the "Tasks" panel, click "New". The Tasks wizard will open and allow you to select the desired operation: Provisioning, Onyx Software Upgrade, Driver Install, Apply Config, Generate Dump or Reboot.
You may associate the task to specific devices, ports, or groups by checking the "Associate Objects to Task" checkbox. If the checkbox is left unchecked, a template will be generated, and you will be required to select objects only when running the task.
Note: When creating a task for a number of ports, these ports have to belong to the same type (for example: Eth type).
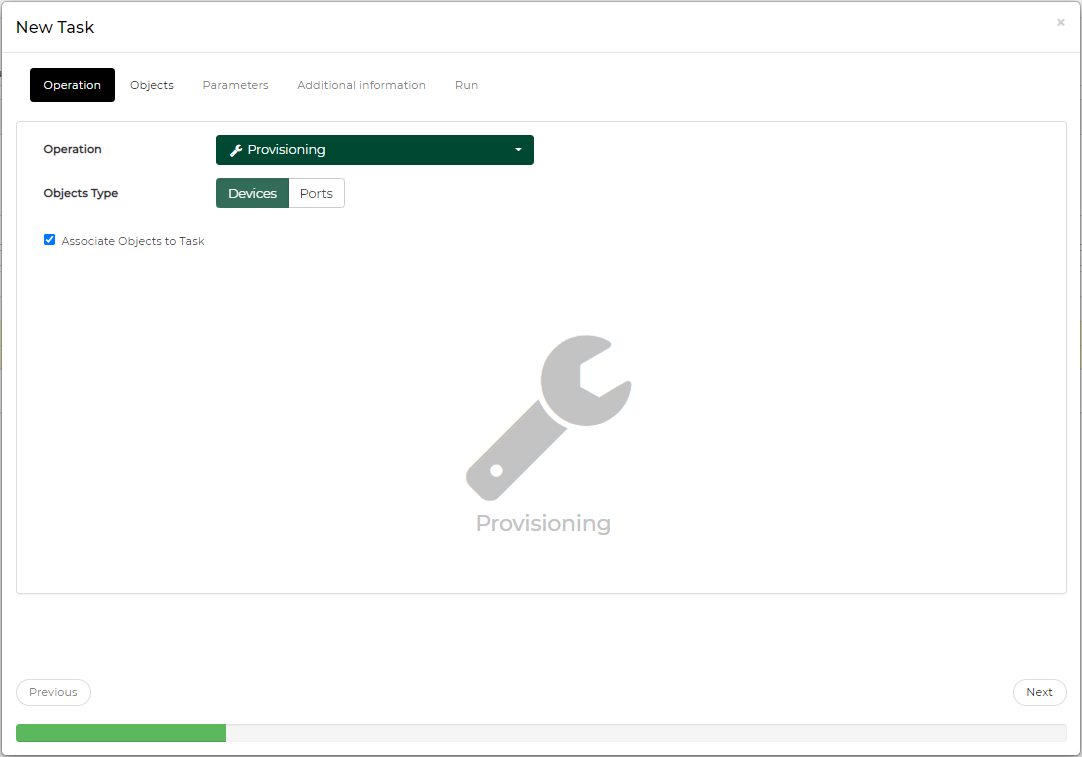
Click the "Next" button. In some cases, you will be requested to fill in several necessary parameters and provide additional information before the task can be executed.
-
The "Run" tab allows you to save the generated task as a template, save and run it immediately, or schedule a different running time.
If you wish to generate a recurring task, select "Schedule" as the Running Mode, and check the "Recurrence" checkbox. Insert the desired start time, interval units, interval value and end time. Click the "Finish" button to complete the process.
If the task’s execution has been scheduled for a later time, a small clock icon ( ) will appear next to its listing.
Task Actions
To view the task’s properties, click the small speech balloon icon ( ) in the description column.
To run a task on all devices in the network, right click on it, and select "Run on all". Note that the "Run on all" option is only supported in tasks that are not associated with specific objects ("No objects" in the Objects column).
To edit a task, right click on it and select "Edit".
To remove a task, right click on it, and select "Remove".
A new task can be generated through the Managed Elements panel as well. Go to "Devices" or "Groups", choose one of the available options, and click the "Create Task" button:
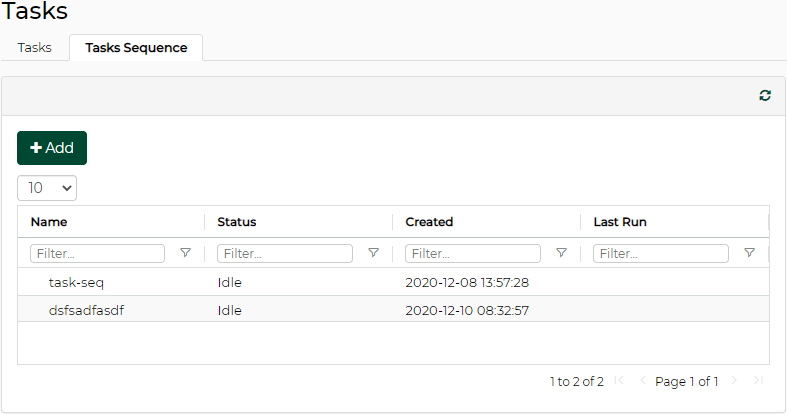
A group of tasks can be set through this tab to run successively. Users can determine the order of tasks within the task sequence.
To create a new task sequence:
Click the "Add" button under Task Sequence.
Once the Task Sequence wizard opens, set a name for the task group, and click "Next".
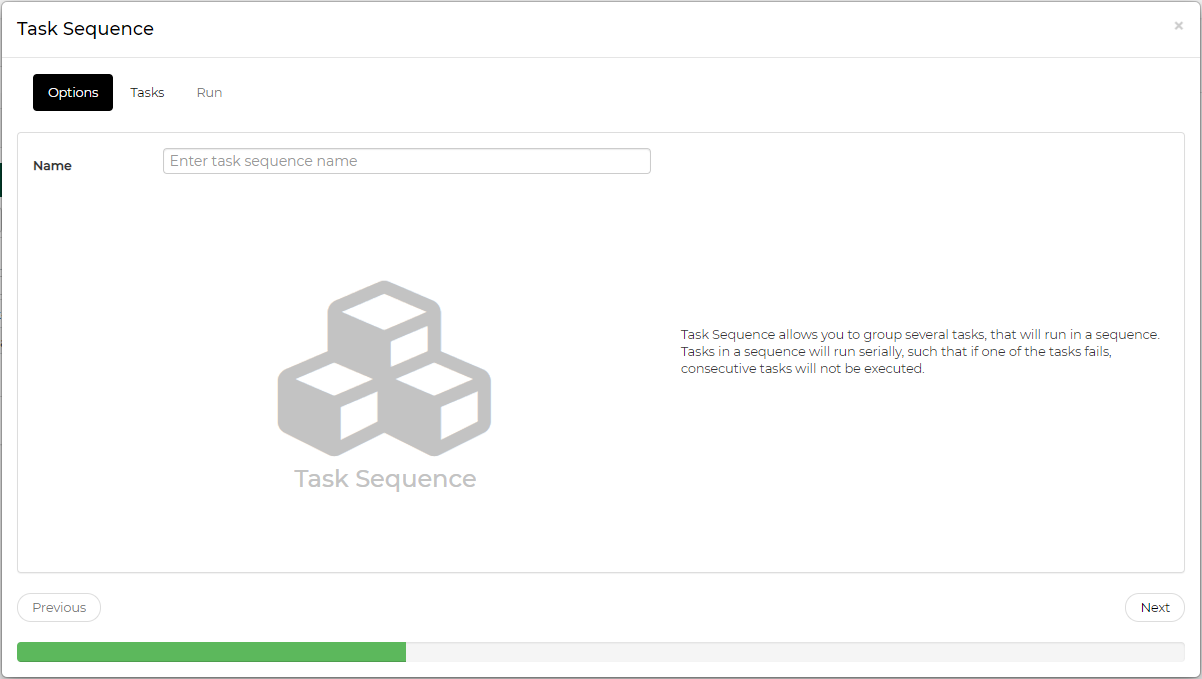
Choose the tasks from the list of Available Tasks and click "Next".
WarningYou can re-order the sequence of tasks by clicking one of the tasks in the right pane and moving it up or down.
The "Run" tab allows you to save the generated task sequence as a template, save and run it immediately, or schedule a different running time.
Click "Finish" to complete the process.
A right-click on the newly created task sequence will enable running (in case no scheduling was set), editing, and removing it.
Notes:
If a task is already scheduled to be run at a certain time, it will not appear in the list of available tasks. In order for it to appear, its scheduling should be removed, or alternatively, it could be recreated.
If one task fails in the chain, the rest of the tasks that follow will be skipped and the process will not be completed successfully.
If a device is part of a task sequence, users will not be able to remove it from the devices list.
If a task is part of a task sequence, users will not be able to remove the task unless it is removed from the task sequence first.