DeepStream Agentic Skill#
DeepStream provides a curated agentic skill and structured prompts to leverage AI coding assistants
(Cursor, Claude Code, etc.) for accelerated DeepStream SDK application development using the Python
pyservicemaker API. The skill and example prompts are available in the
DeepStream Coding Agent repository.
git clone https://github.com/NVIDIA-AI-IOT/DeepStream_Coding_Agent
The repository contains two key directories:
skills/deepstream-dev/— Agentic skill with condensed reference documents for guided DeepStream developmentexample_prompts/— Pre-built prompts for generating DeepStream applications
Prerequisites#
For code generation (using the skill and prompts):
An AI coding assistant that supports agentic skills (e.g., Cursor, Claude Code)
No GPU, SDK, or special hardware is required — the skill and example prompts work on any system.
For running the generated code:
To execute the generated code, DeepStream SDK must be installed on the target execution environment. See Installation for more details.
Note
DGX Spark users: Native DeepStream installation is not supported on DGX Spark. Use the SBSA Docker container image instead (the Docker container method described in Installation).
Agentic Skill#
An agentic skill is a structured knowledge package that an AI coding assistant can automatically discover and activate during code generation. It contains domain-specific rules, reference documentation, and guardrails that guide the AI agent to produce accurate, idiomatic code — without the developer needing to manually reference files in every conversation.
The skills/deepstream-dev/ directory contains a DeepStream agentic skill that follows the
standard SKILL.md convention supported by AI coding assistants such as Cursor, Claude Code,
and others.
About the Skill#
This skill targets NVIDIA DeepStream SDK development using the Python pyservicemaker API.
When activated, it instructs the AI agent to consult bundled reference documents before generating
any code, significantly reducing inaccuracies and ensuring correct API usage.
Installing the Skill#
Copy the deepstream-dev skill directory (including its references/ subdirectory) into the
skills folder recognized by your AI coding assistant. You can install it at the user level
(available across all projects) or at the workspace level (scoped to a single project).
Tool |
User-level path |
Workspace-level path |
|---|---|---|
Cursor |
|
|
Claude Code |
|
|
Other tools |
Consult your tool’s documentation for the skills directory location |
Note
Windows users: Windows does not have a ~/ (home directory) convention used by
Unix-based systems. It is recommended to install the skill at the workspace level
(e.g., <workspace>\.cursor\skills\deepstream-dev\) so the path is explicit and
portable. Use mkdir in PowerShell or Command Prompt to create the directory:
mkdir <workspace>\.cursor\skills\
Step 1: Create the Skills Directory
Note
In the examples below, replace .cursor with your tool’s skills directory
(e.g., .claude for Claude Code). See the table above for tool-specific paths.
# User-level
mkdir -p ~/.cursor/skills/

# Or workspace-level
mkdir -p <workspace>/.cursor/skills/
Step 2: Copy the Skill
From the cloned DeepStream Coding Agent repository, copy the skill directory:
# User-level (replace path with your tool's skills directory)
cp -r DeepStream_Coding_Agent/skills/deepstream-dev ~/.cursor/skills/

# Or workspace-level
cp -r DeepStream_Coding_Agent/skills/deepstream-dev <workspace>/.cursor/skills/
After copying, the directory structure should look like:
<skills-directory>/
└── deepstream-dev/
    ├── SKILL.md              # Skill definition with rules and quick references
    └── references/           # Condensed reference documents
        ├── best_practices.md
        ├── buffer_apis.md
        ├── gstreamer_plugins.md
        ├── kafka_messaging.md
        ├── media_extractor_advanced.md
        ├── nvinfer_config.md
        ├── rest_api_dynamic.md
        ├── service_maker_api.md
        ├── tracker_config.md
        ├── troubleshooting.md
        ├── use_cases_pipelines.md
        ├── utilities_config.md
        └── docker_containers.md
Step 3: Verify the Installation
Open (or restart) your AI coding assistant.
Open the agent / chat panel.
Ask a DeepStream-related question, for example:
Create a DeepStream pipeline that reads a video file and runs object detection using ResNet18 TrafficCamNet model.
The agent should automatically activate the
deepstream-devskill and consult its reference documents before generating code.
Updating the Skill#
As the DeepStream skill evolves, you will want to pick up new reference documents and rule changes without manually re-copying files. Two approaches are described below.
Option A — Updatable Install (Recommended): Symlink
Instead of copying the skill directory, create a symbolic link from your tool’s skills directory
to the cloned repository. Future updates are picked up with a simple git pull.
Linux / macOS:
# User-level (replace .cursor with your tool's directory)
ln -s /absolute/path/to/DeepStream_Coding_Agent/skills/deepstream-dev ~/.cursor/skills/deepstream-dev

# Or workspace-level
ln -s /absolute/path/to/DeepStream_Coding_Agent/skills/deepstream-dev <workspace>/.cursor/skills/deepstream-dev
Windows (Command Prompt, run as Administrator or with Developer Mode enabled):
REM Junction (no elevation required on most systems)
mklink /J <workspace>\.cursor\skills\deepstream-dev C:\path\to\DeepStream_Coding_Agent\skills\deepstream-dev

REM Or directory symlink (requires Administrator or Developer Mode)
mklink /D <workspace>\.cursor\skills\deepstream-dev C:\path\to\DeepStream_Coding_Agent\skills\deepstream-dev
Note
On Windows, junctions (mklink /J) are preferred because they work without
Administrator privileges or Developer Mode. True directory symlinks (mklink /D)
require elevated permissions. Users who cannot create either type of link should fall
back to the copy method (Option B) and re-copy after each git pull.
To update, simply pull the latest changes in the cloned repository:
cd /path/to/DeepStream_Coding_Agent
git pull
The symlink ensures your skills directory always reflects the latest content.
Option B — Manual Copy (Fallback)
If symlinks are not feasible, use the copy method described in Step 2 above. After pulling new changes from the repository, re-copy the skill directory to pick up updates:
cd /path/to/DeepStream_Coding_Agent
git pull
cp -r skills/deepstream-dev ~/.cursor/skills/
Warning
Re-copying will overwrite any local edits you may have made to the skill files. If you have customized the skill locally, back up your changes before re-copying.
Best Practices for AI-Assisted Development#
Choosing a Model:
For best results, use the most capable model available from your AI coding assistant. Larger, more advanced models produce more accurate pipelines and require fewer correction iterations.
Tip
Different models have different strengths: Opus follows constraints more strictly and handles complex multi-element pipelines better, while Sonnet tends to generate more detailed documentation and README files. If a generated pipeline has issues or the agent produces incorrect API usage, switching to a more capable model (e.g., from Sonnet to Opus) often resolves the problem without changing the prompt.
Writing Effective Prompts:
Be specific — Include exact requirements, constraints, and expected outputs
Reference context — Use
@mentions to include relevant files and documentsBreak down complex tasks — Divide large features into smaller, focused prompts
Include examples — Show expected input/output formats when applicable
Specify the deployment target — Mention whether the application targets dGPU (x86_64) or Jetson (ARM64), as pipeline elements and sink choices may differ
Iterating on Generated Code:
Review before accepting — Always inspect generated pipelines for correct element linking and property values
Test incrementally — Run the pipeline after each major change rather than building the entire application at once
Use the troubleshooting reference — If a pipeline fails, ask the agent to consult
troubleshooting.mdfor known error patternsProvide error output — When debugging, paste the full GStreamer or DeepStream error log into the chat for more accurate fixes
Sample Prompts#
The example_prompts/ directory in the DeepStream Coding Agent
repository contains pre-built prompts for generating DeepStream applications. Each prompt file
provides a complete specification that an AI agent can follow to produce working code.
The prompts below are ordered from low complexity to high complexity. Begin with the simpler prompts to familiarize yourself with the workflow before attempting more advanced scenarios.
Prompt 1 — Video Inference App (video_infer_app.md), minimal single-stream video inference pipeline with bounding box overlay:
Use DeepStream SDK pyservicemaker APIs to develop the python application that can do the following.
- Read from file, decode the video and infer using ResNet18 TrafficCamNet model.
- display the bounding box around detected objects using OSD.

**Important**
Use nvurisrcbin as source to automatically handle various types of video files.

Save the generated code in video_infer_app directory.
Also generate a README.md with setup instructions and how to run the application.
Prompt 2 — Video Object Count App (video_object_count.md), extends the basic inference example with per-frame object counting:
Use DeepStream SDK pyservicemaker APIs to develop the python application that can do the following.
- Read from file, decode the video and infer using ResNet18 TrafficCamNet model.
- display the bounding box around detected objects using OSD.
- Count the number of objects detected.

**Important**
Use nvurisrcbin as source to automatically handle various types of video files.

Save the generated code in video_object_count_app directory.
Also generate a README.md with setup instructions and how to run the application.
Prompt 3 — Multi-Stream Tracker App (multi_stream_tracker.md), multi-camera RTSP application with object tracking and tiled display:
Use DeepStream SDK pyservicemaker APIs to develop the python application that can do the following.

- Stream from 4 RTSP cameras simultaneously, decode the videos, batch frames together and infer using ResNet18 TrafficCamNet model.
- Use tracker after infer to track the detected objects.
- display the bounding box around detected objects using OSD.
- Render all four video in 2x2 tiled window.

Save the generated code in multi_stream_tracker_app directory.
Also generate a README.md with setup instructions and how to run the application.
Prompt 4 — RTVI VLM Core App (rtvi_vlm_core_app.md), scalable multi-stream RTSP application with VLM-based video summarization and Kafka output:
Implement a Python application that uses a multi-modal VLM to summarize video frames and sends summaries to a remote server via Kafka.

### Architecture

1. **DeepStream Pipeline**: Use DeepStream pyservicemaker APIs to receive N RTSP streams, decode video, and convert frames to RGB format. Process each stream independently — do not mux streams together.

2. **Frame Sampling & Batching**: Use MediaExtractor to sample frames at a configurable interval (e.g. 1 frame every 10 seconds). When the VLM supports multi-frame input, batch sampled frames over a configurable duration (e.g. 1 minute) before sending to the model. Each batch must contain frames from a single stream only.

3. **vLLM Backend**: Implement a module that receives a batch of decoded video frames and returns a text summary from the multi-modal VLM.

4. **Kafka Output**: Send each text summary to a remote server using Kafka.

### Constraints
- Scalable to hundreds of RTSP streams across multiple GPUs on a single node. Distribute processing load across all available GPUs.
- Never mix frames from different RTSP streams in a single batch.

Store output in the `rtvi_app` directory.
Also generate a README.md with instructions to setup kafka server, vLLM, and how to run the application.
Expected Output#
When you paste one of the above prompts into the AI agent chat, the agent will:
Automatically activate the
deepstream-devskill and consult the bundled reference documents.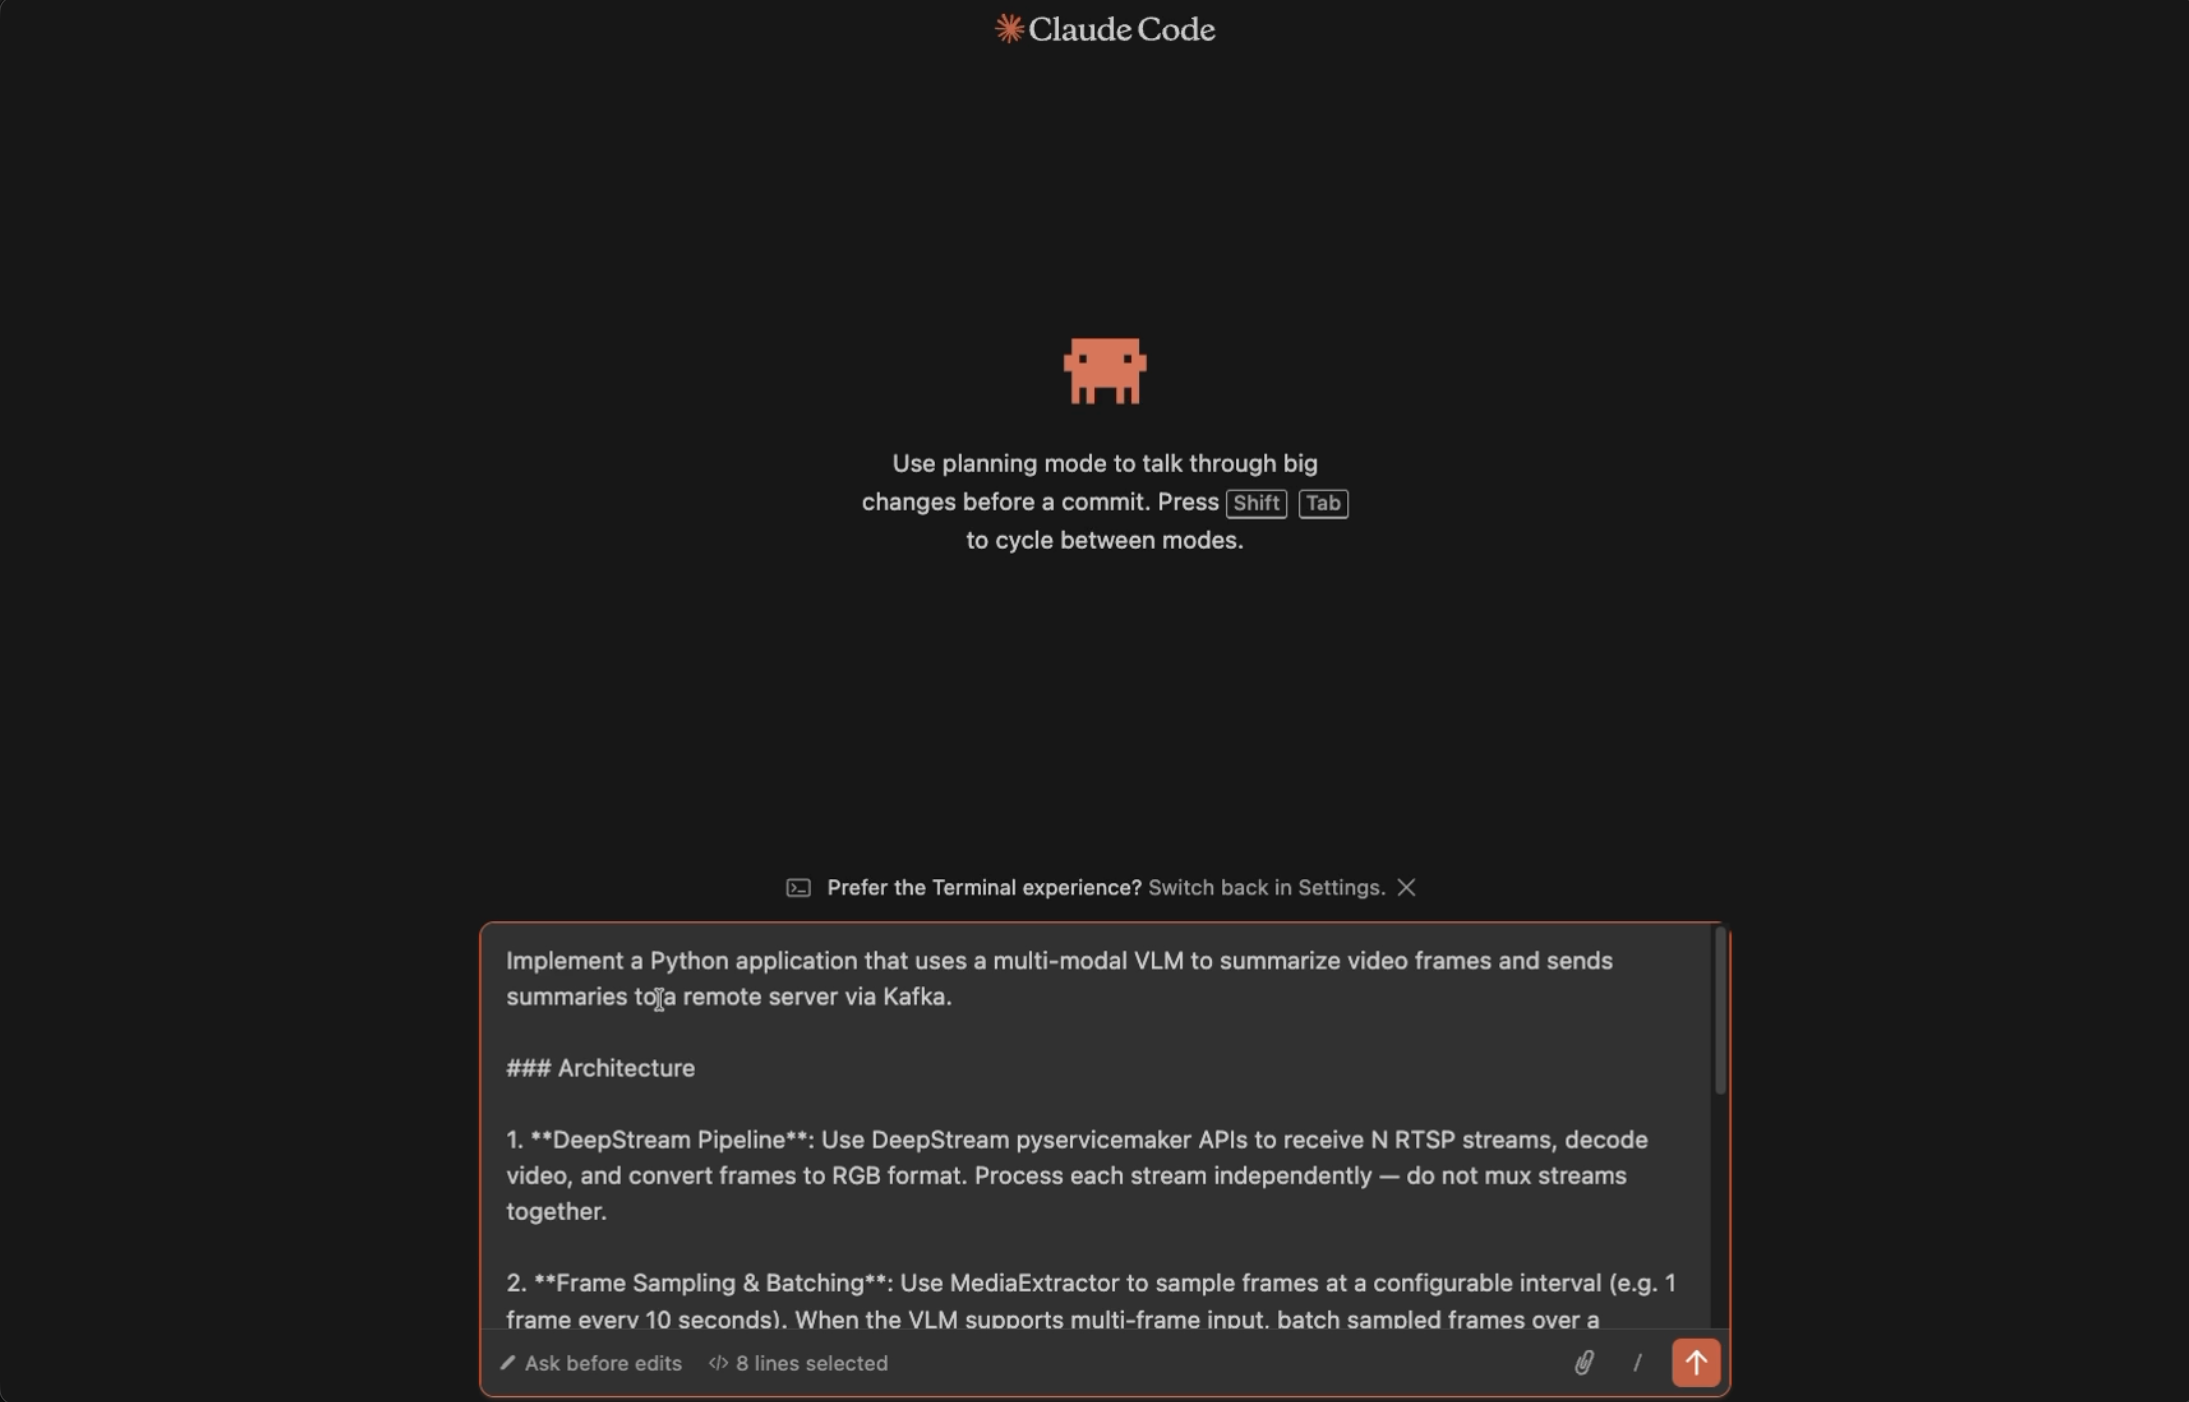
Generate a complete Python application using the DeepStream
pyservicemakerAPI.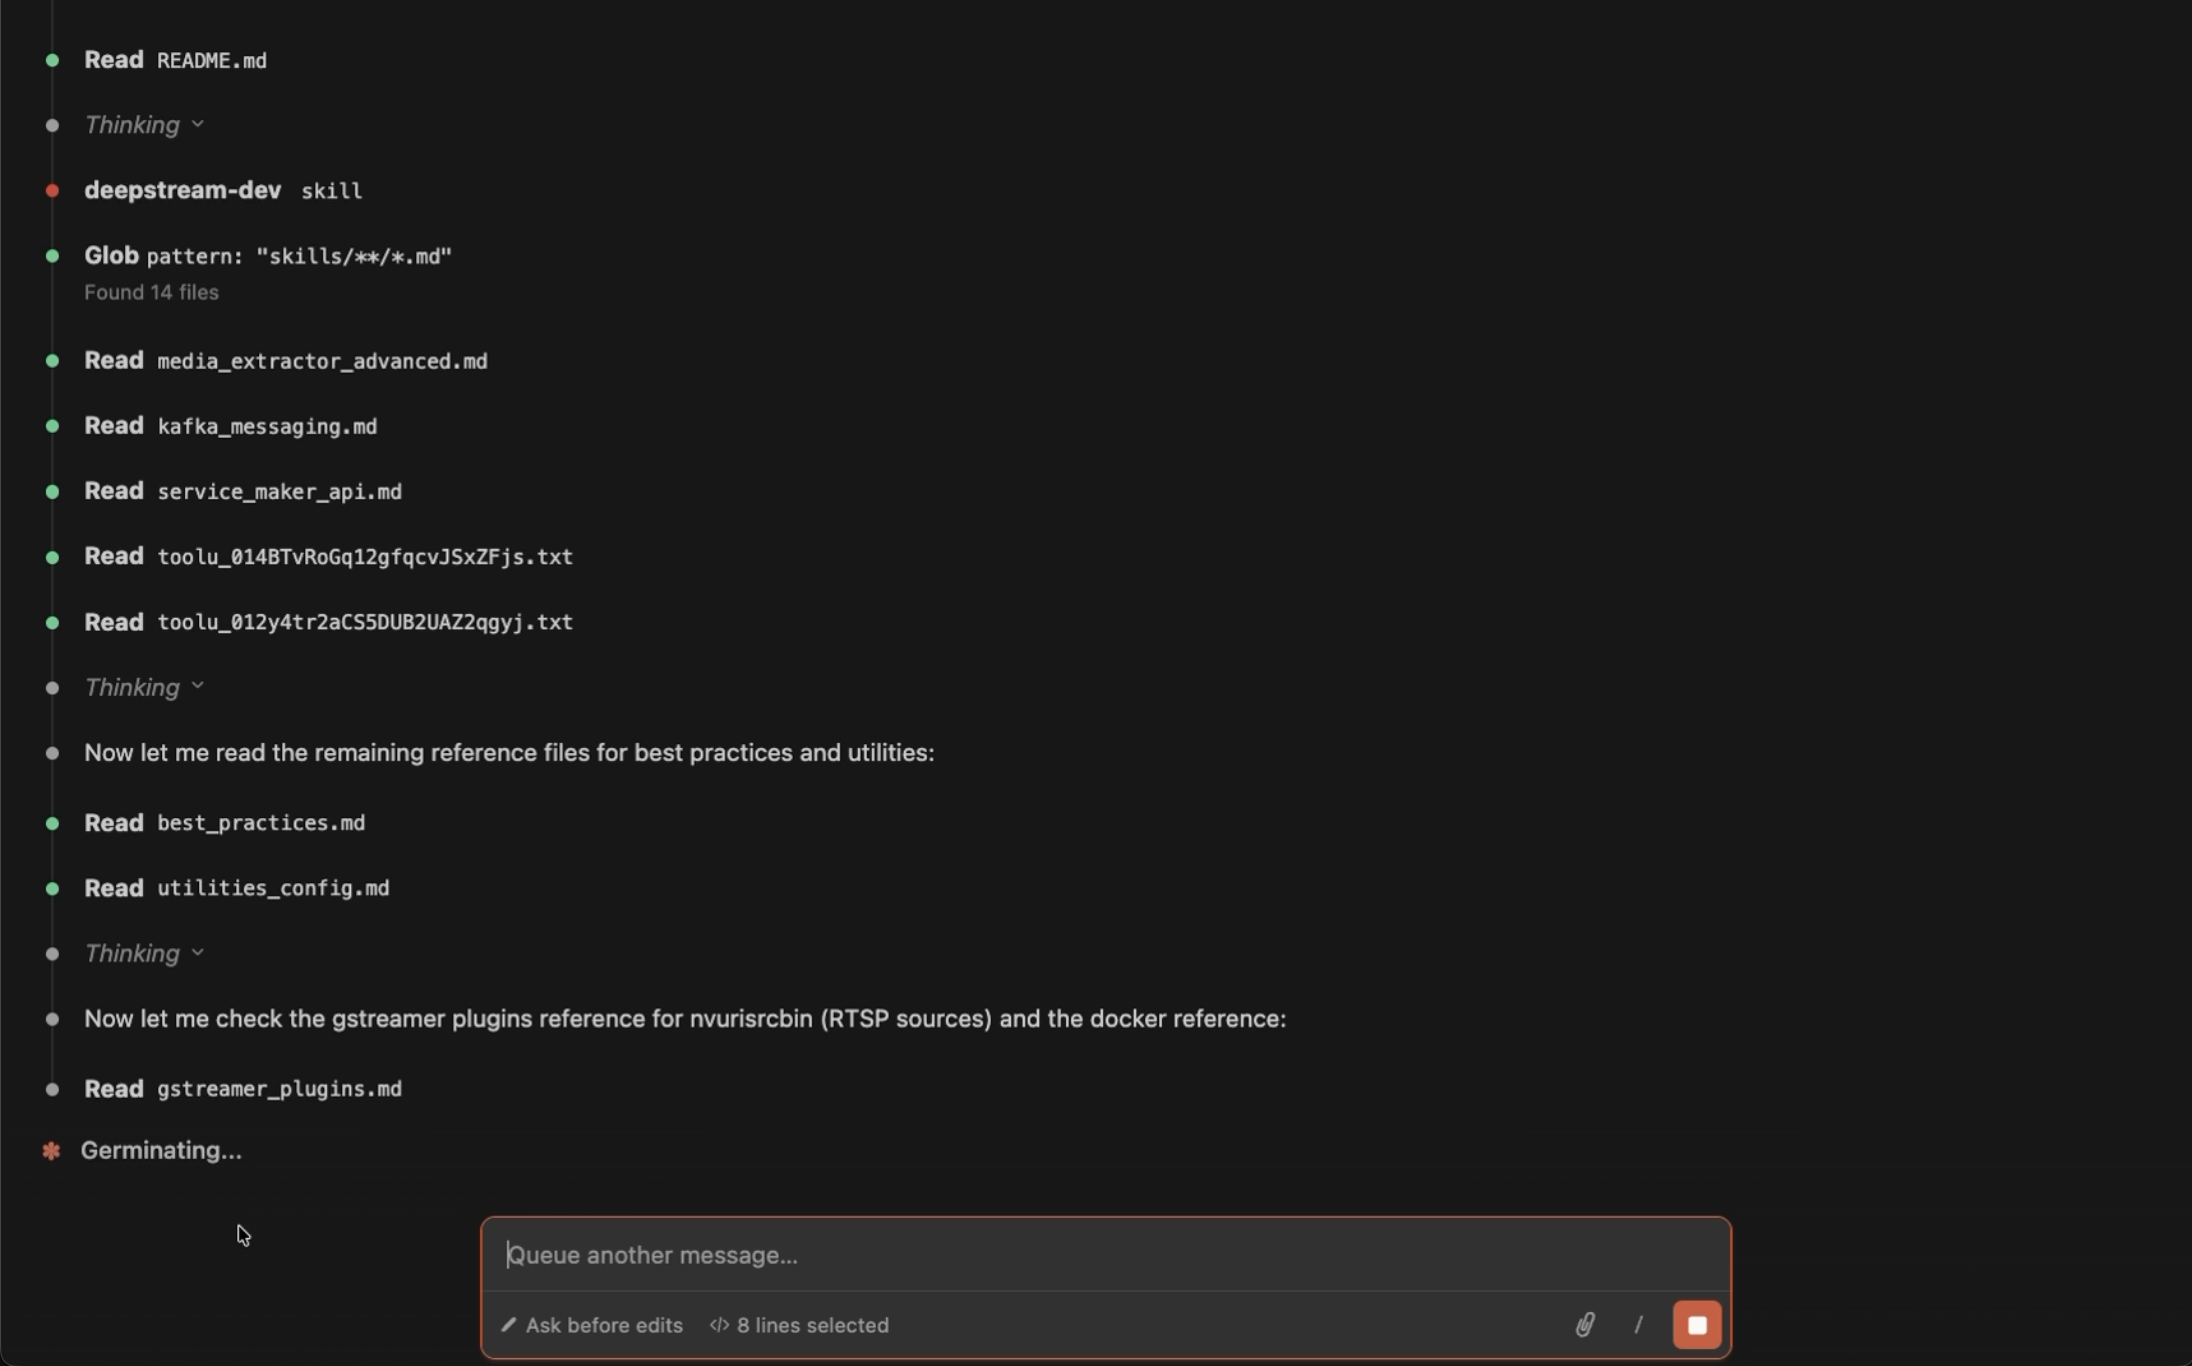
Save the generated code in the directory specified by the prompt.
Each prompt produces a self-contained project directory with the following structure:
Prompt |
Output Directory |
Key Generated Files |
|---|---|---|
Video Inference App |
|
Main application script, inference config file |
Video Object Count App |
|
Main application script, inference config file, probe callback for counting |
Multi-Stream Tracker App |
|
Main application script, inference config file, tracker config file |
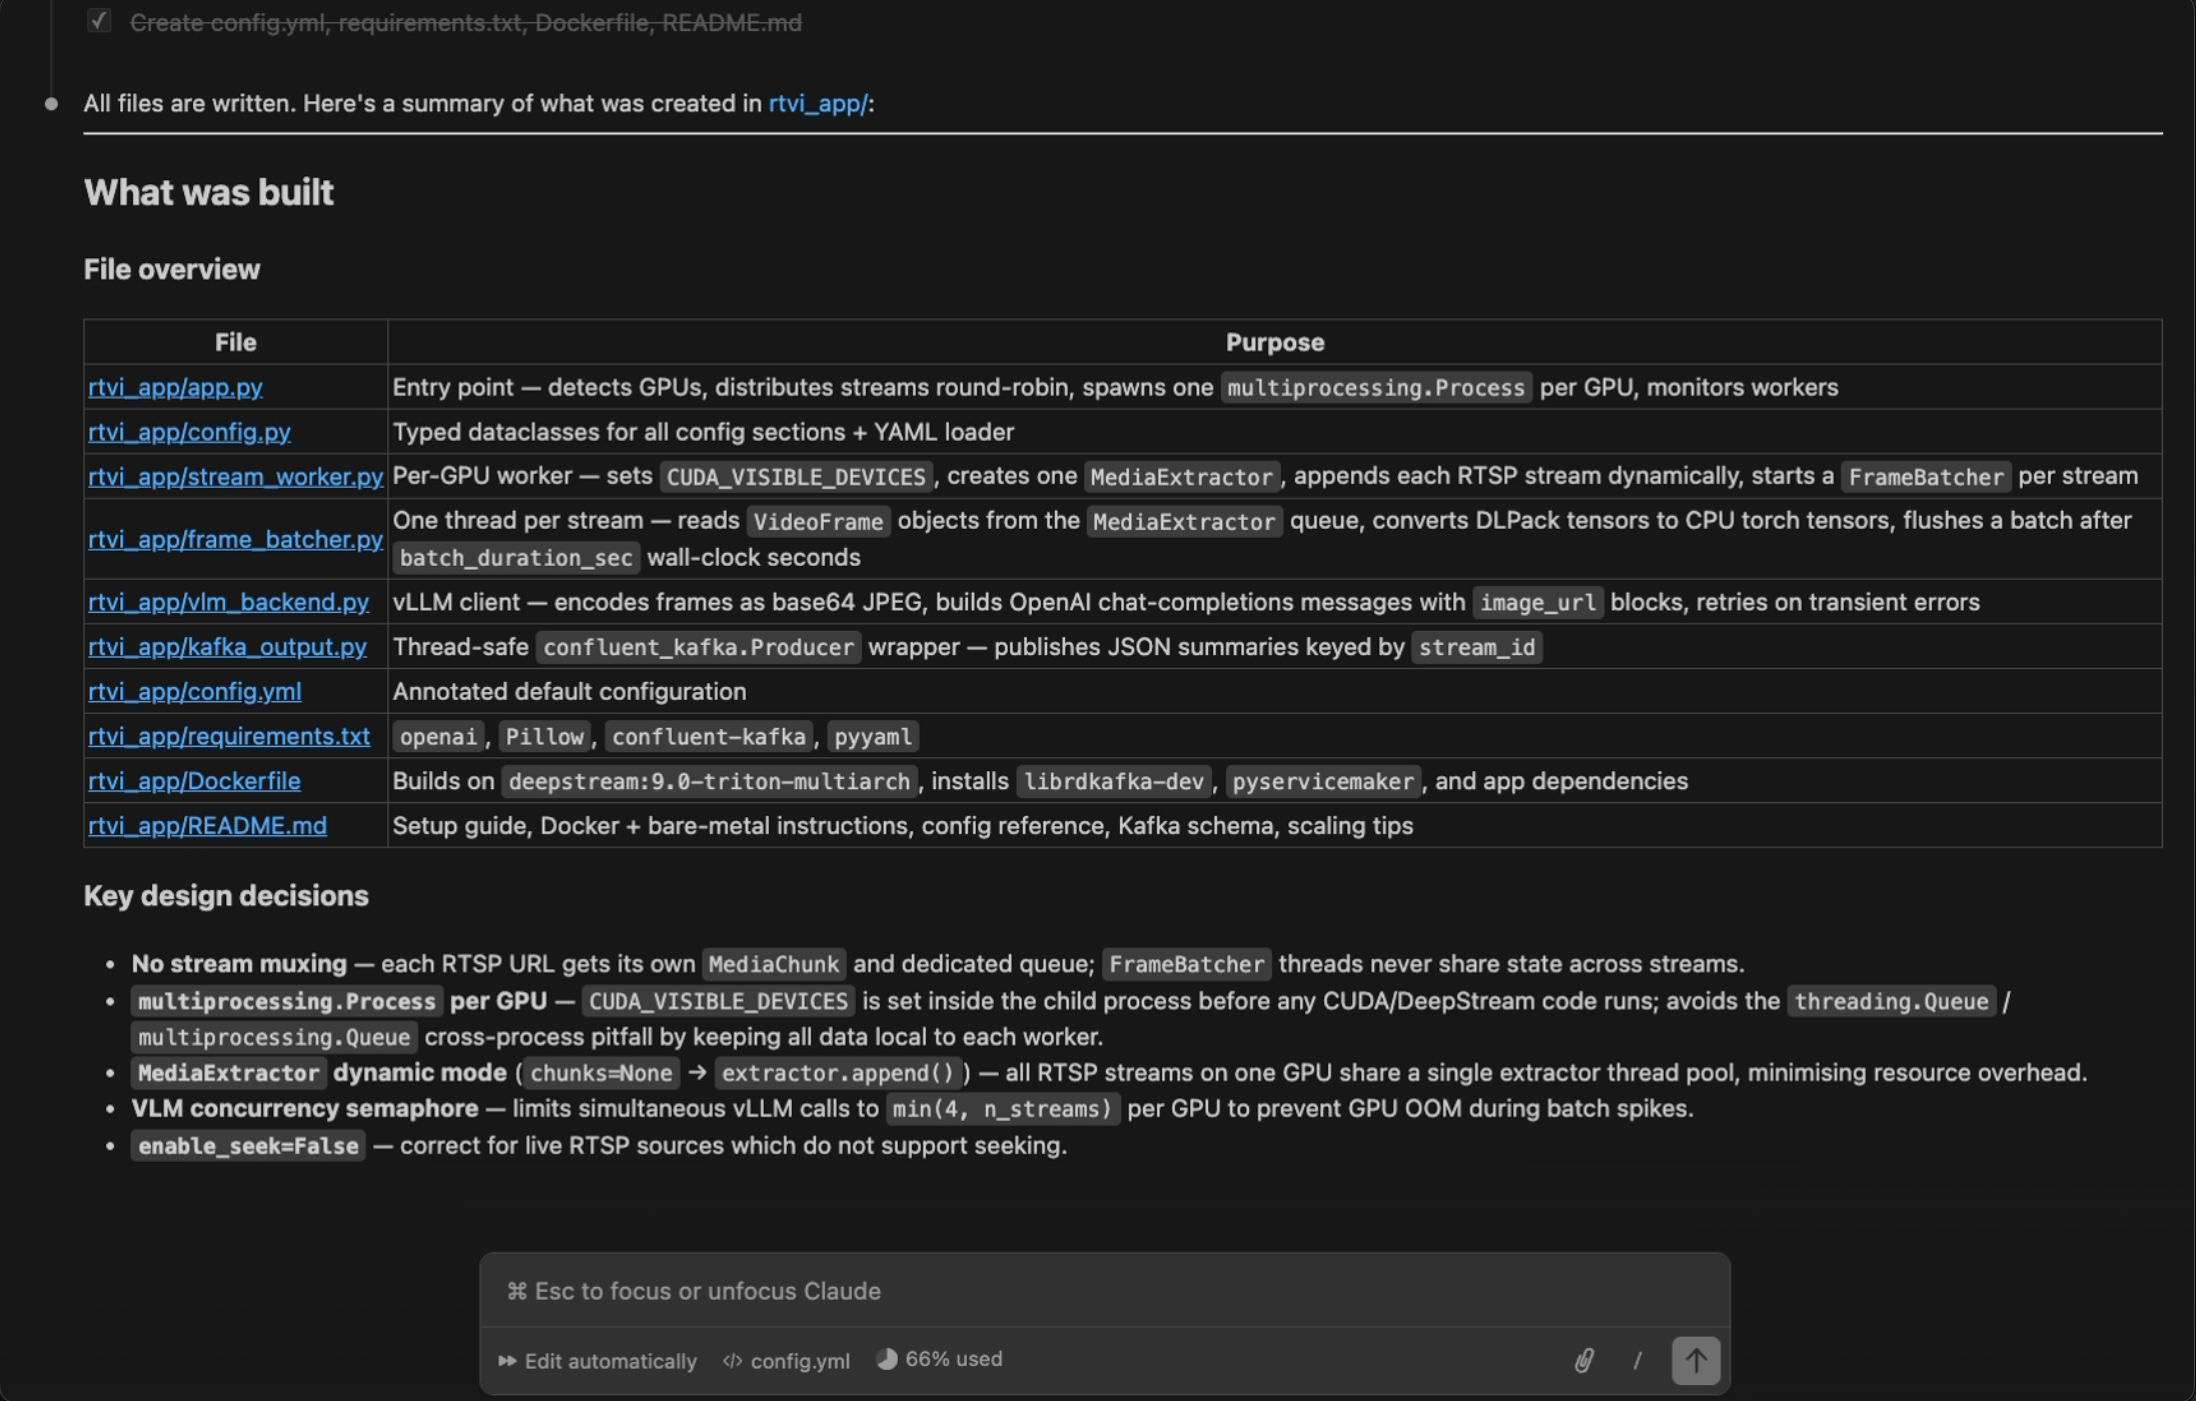
RTVI VLM Core App |
|
Main application script, inference config file, vLLM backend module, Kafka producer module |
The generated application is ready to run on a system with DeepStream SDK installed. For complex prompts (e.g., RTVI VLM Core App), the agent may take several iterations to produce all the required modules. Review the generated code in the diff view, accept or reject changes, and ask follow-up questions for refinements.
Running Generated Code#
The AI agent generates DeepStream Python applications that require the DeepStream SDK runtime. You can run the generated code on bare metal or inside a Docker container.
Option A — Bare Metal
If DeepStream SDK is installed natively on your system (see Installation), you can run
the generated application on the host. Generated applications may have additional Python
dependencies beyond DeepStream itself. The AI agent typically generates a README.md with
setup and run instructions — always consult it first. A general workflow:
cd <generated_app_directory>/

# Create and activate a virtual environment (recommended)
python3 -m venv venv
source venv/bin/activate

# Install dependencies listed by the agent
pip install -r requirements.txt   # if generated

# Run the application
python3 <app_script>.py [arguments]
Option B — Docker Container
If you do not have a native DeepStream installation, or prefer an isolated environment, use a
DeepStream Docker container. You can also ask the AI agent to generate a Dockerfile for
your application.
Start the appropriate DeepStream container for your platform (see Docker Containers):
# x86_64 dGPU
docker run -it --rm --runtime=nvidia --network=host --gpus all \
  -v $(pwd):/app -w /app \
  nvcr.io/nvidia/deepstream:9.0-triton-multiarch

# ARM SBSA (DGX Spark, GH200, GB200)
docker run -it --rm --runtime=nvidia --network=host --gpus all \
  -v $(pwd):/app -w /app \
  nvcr.io/nvidia/deepstream:9.0-triton-sbsa-dgx-spark
Inside the container, install any additional Python dependencies and run the application:
pip install -r requirements.txt   # if generated
python3 <app_script>.py [arguments]
Tip
Ask the AI agent: “Create a Dockerfile and run instructions for this application” — it can generate a ready-to-use container setup tailored to your project.