How to Run Notebooks Locally#
This tutorial walks you through getting the Learn OpenUSD repository running on your computer so you can follow along with the interactive Jupyter notebooks. The Setting the Stage, Scene Description Blueprints, Composition Basics, and Beyond the Basics modules all have code examples that can be executed locally allowing you to experiment with different values and code. By the end of this tutorial, you will have:
A local copy of the Learn OpenUSD repository.
All dependencies installed automatically with
uv.The Jupyter notebooks open in your browser, ready to run and experiment with.
No prior experience with Git, Python package managers, or Jupyter is required. Each step explains what is happening and why.
Prerequisites#
Before you begin, make sure you have the following tools installed on your machine.
Git
Git is a version control tool used to download (clone) the repository.
Check if Git is installed by opening a terminal and running:
git --version
If you see a version number (e.g. git version 2.43.0), you are good to go. If not, download and install Git from git-scm.com.
Git LFS
This repository uses Git Large File Storage (LFS) to store images, videos, and USD content. Install Git LFS before cloning so that these files download automatically.
(You only need to do this once per machine.)
git lfs install
If you see Git LFS initialized, you are ready. If the command is not found, install Git LFS from git-lfs.com.
uv
uv is a fast Python package manager. This repository uses it to manage all dependencies (including OpenUSD and Jupyter) so you do not have to install them manually.
Install uv by following the official installation instructions. The quickest method for each platform:
Windows (PowerShell):
powershell -ExecutionPolicy ByPass -c "irm https://astral.sh/uv/install.ps1 | iex"
Linux / macOS:
curl -LsSf https://astral.sh/uv/install.sh | sh
After installation, open a new terminal and verify it works:
uv --version
Tip
You do not need to create a virtual environment or run pip install yourself. uv handles all of that automatically when you run commands with uv run.
Download the Repository#
Open a terminal and run:
git clone https://github.com/NVIDIA-Omniverse/LearnOpenUSD.git
Cloning downloads a full copy of the repository to your computer.
Navigate into the repository folder:
cd LearnOpenUSD
Note
If you cloned the repository before installing Git LFS, you can download the large files afterwards:
git lfs pull
Build the Docs and Notebooks#
From the root of the repository, run:
uv run sphinx-build -M html docs/ docs/_build/
This builds the documentation and generates the notebooks. The Jupyter notebooks are not stored directly in the repository. Instead, they are generated when you build the documentation. The build system (Sphinx with MyST-NB) executes the code cells in the tutorial pages and produces .ipynb notebook files in docs/_build/jupyter_execute/.
What does this command do?
uv run makes sure all dependencies are installed, then runs the command that follows. sphinx-build processes the documentation source files, executes the Python code cells, and outputs HTML and notebook files into docs/_build/.
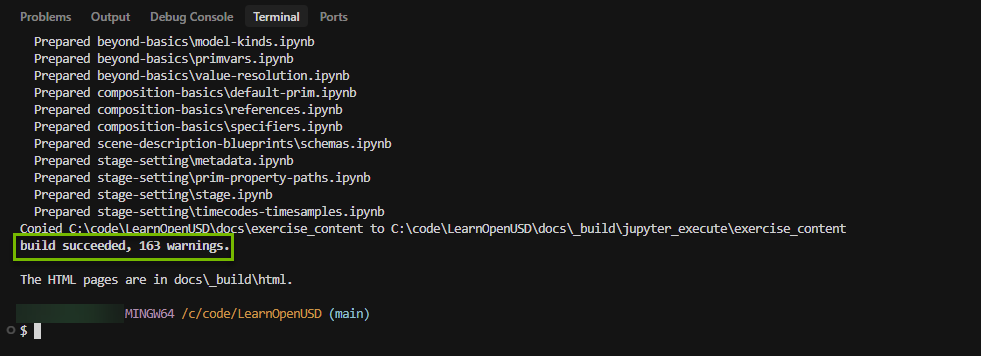
This step may take several minutes the first time. When it finishes you will see a message like build succeeded. Do not be discouraged by a large number of reported warnings. That is expected on the first build.
Tip
If you ever want a completely fresh build, delete the build folder first:
rm -rf docs/_build/
Then run the sphinx-build command above again.
Launch JupyterLab#
With the notebooks generated, you can now open them in JupyterLab.
Run the following command from the repository root:
uv run launch_notebooks
This starts JupyterLab and points it at the docs/_build/jupyter_execute/ folder where the notebooks live. Your default web browser should open automatically with the JupyterLab interface.
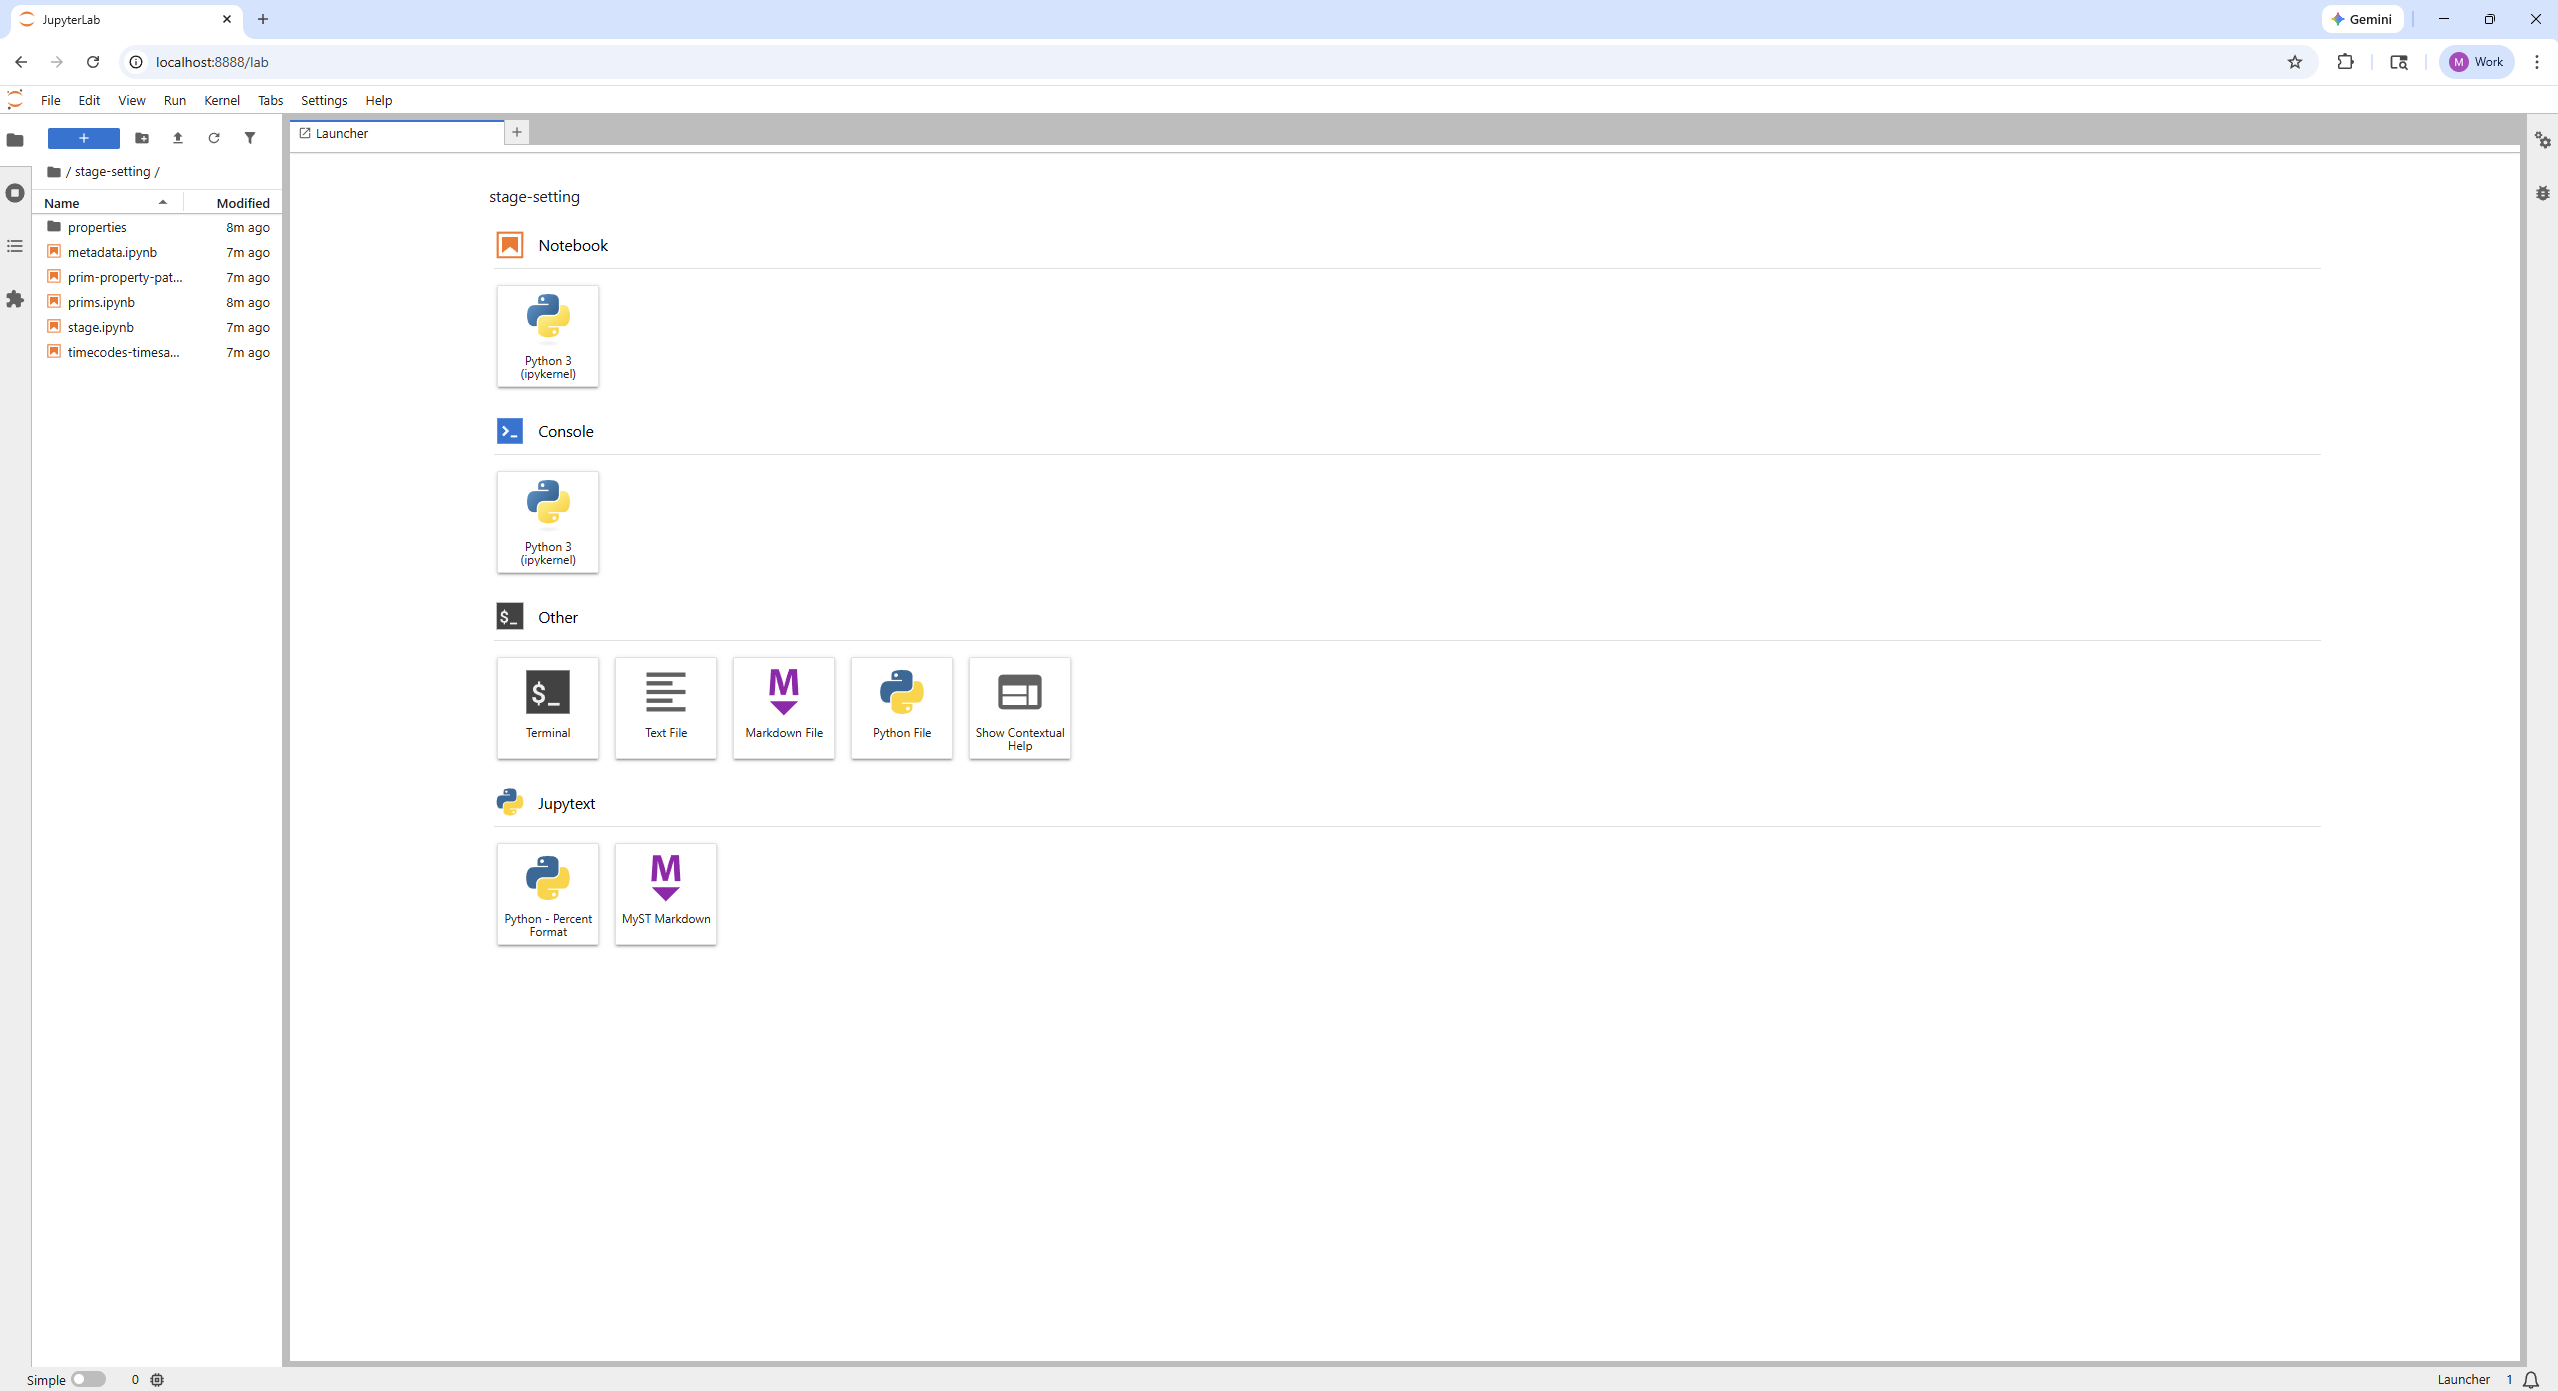
In the file browser on the left, you will see folders that match the learning path sections (e.g.
stage-setting,scene-description-blueprints,beyond-basics). Double-Click into any folder and double-click a.ipynbfile to start a notebook.
Warning
If you see an error saying the notebook directory was not found, make sure you have built the documentation first.
Working with the Notebooks#
Running Cells#
Each notebook is made up of cells. Code cells contain Python code and can be executed one at a time. To run a cell:
Click on the cell to select it.
Press Shift + Enter to run it and move to the next cell, or press Ctrl + Enter to run it and stay on the same cell.
Run the cells from top to bottom. Many cells depend on cells before them to be run or they will not work.
Re-running and Iterating#
Because Jupyter keeps a single Python process (called a kernel) running for the entire notebook session, variables and state from earlier cells persist. This means you can:
Modify a cell and re-run it to see updated results immediately.
Go back to an earlier cell, change something, and re-run from that point forward.
This makes notebooks an excellent environment for experimenting with OpenUSD code step by step.
Why the Examples Use create_new_stage()#
Throughout the Learn OpenUSD notebooks you will see a helper function called create_new_stage() used to create USD stages. This is used instead of Usd.Stage.CreateNew() and it is important to understand why.
When you call Usd.Stage.CreateNew("my_file.usda"), USD creates a brand-new layer on disk and registers it in memory. If you re-run the same cell (a very common action when experimenting in a notebook), USD will raise an error because a layer with that identifier already exists in the current Python process.
The helper function create_new_stage() (from lousd.utils.helperfunctions) solves this problem:
First run: If the layer does not exist yet, it calls
Usd.Stage.CreateNew()and returns the new stage, just like normal.Subsequent runs: If the layer already exists in memory, it finds the existing layer and opens it with
Usd.Stage.Open(), returning a stage that points to the same layer.
This means you can re-run any cell as many times as you want without errors, which is exactly what you need for iterative coding and experimentation in a notebook.
1from lousd.utils.helperfunctions import create_new_stage
2
3# Safe to re-run: reuses the existing layer if it is already loaded.
4stage = create_new_stage("_assets/my_scene.usda")
Tip
If you are writing your own USD scripts outside of these notebooks (for example, a standalone .py file that runs once and exits), using Usd.Stage.CreateNew() directly is recommended. The create_new_stage() helper is specifically designed for the re-run workflow of Jupyter notebooks.
Troubleshooting#
Problem |
Solution |
|---|---|
|
Run the Sphinx build first (see Build the Docs and Notebooks). For a completely fresh build, delete |
|
Make sure uv is installed (see the prerequisites) and that your terminal session has been restarted after installation. |
Notebook cells produce errors. |
Some cells depend on previous cells being run first. Make sure you ran the prior cells in the notebook. If the error persists, restart the kernel (Kernel > Restart Kernel) and run all cells from the top. |