TAO Clearml Integration#
TAO’s TensorFlow 2 networks integrate with ClearML, enabling you to continuously iterate, visualize and track multiple training experiments, and compile meaningful insights into a training use case.
ClearML visualization suite synchronizes with the data rendered in TensorBoard. Therefore, to see rendered data over the ClearML server, you need to enable TensorBoard visualization. The integration also includes the ability to send you alerts via slack or Email for training runs that have failed.
Note
Enabling MLOPS integration does not require you to install tensorboard.
Quick Start#
These are the broad steps involved with setting up ClearML for TAO:
Set up a ClearML account
Acquire ClearML credentials
Log into the ClearML client
Configure experiment spec for ClearML
Set up a ClearML Account#
Sign up for a free account at the ClearML website and then log in to your ClearML account.
Acquire ClearML API Credentials#
Log in to your ClearML account
Navigate to the Configuration Page
Click on Create new credentials to generate API keys
Note
NVIDIA recommends getting the credentials in the form of environment variables for maximum
ease of use. You can get these variables by clicking on the Jupyter Notebook tab and
copying the env variables.
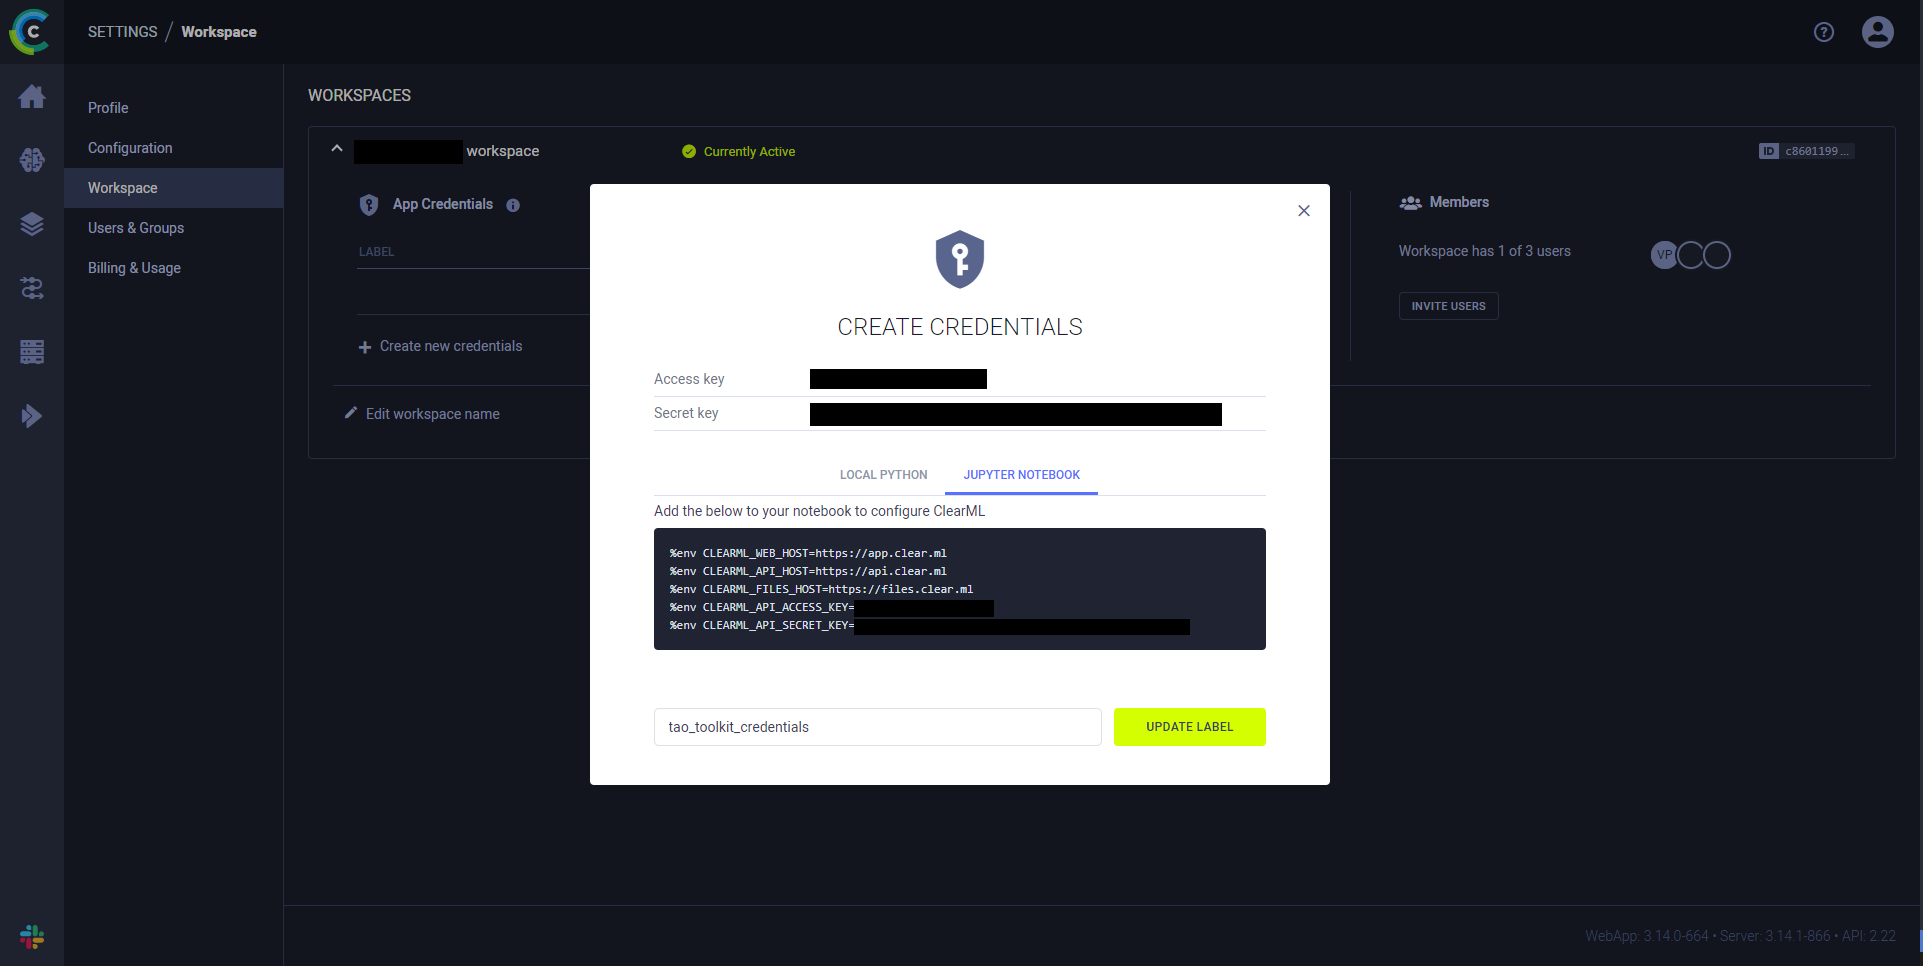
Jupyter notebook tab from the credentials under Settings/Workspace#
Log in to the ClearML Client#
To send data from the compute unit running training and display it on the ClearML server dashboard, the ClearML client running inside the TAO container must be logged in. Export your ClearML credentials in the shell that launches your TAO agent:
export CLEARML_WEB_HOST="<web_host>"
export CLEARML_API_HOST="<api_host>"
export CLEARML_FILES_HOST="<files_host>"
export CLEARML_API_ACCESS_KEY="<api_access_key>"
export CLEARML_API_SECRET_KEY="<api_secret_key>"
The TAO Execution SDK forwards these variables into the training container at dispatch time. If you change a credential, exit and restart the agent in the same shell so the new value is picked up.
Configure the ClearML Element in the Training Specification#
The following configuration options are available for ClearML:
project: String specifying the project name where experiment data is uploadedtags: List of strings for experiment taggingdeferred_init: Boolean to determine whether to wait for the experiment to be fully initializedcontinue_last_task: Boolean to resume execution from a previous experimentreuse_last_task_id: Forces new experiment creation with an existing task IDtask: Experiment name; TAO appends a timestamp to ensure unique names per run
Add these to the clearml element under train in your training
specification. For example:
train:
  clearml:
    project: tao_toolkit
    tags: [training, tao_toolkit]
    deferred_init: true
    continue_last_task: true
    task: training_experiment_name
When you ask the agent to run a job, it resolves these spec keys for the model you chose and submits the dispatch through the TAO Execution SDK.
Visualization Output#
The following are sample images from a successful visualization run for DetectNet_v2.

Image showing intermediate inference images with bounding boxes before clustering using DBScan or NMS#
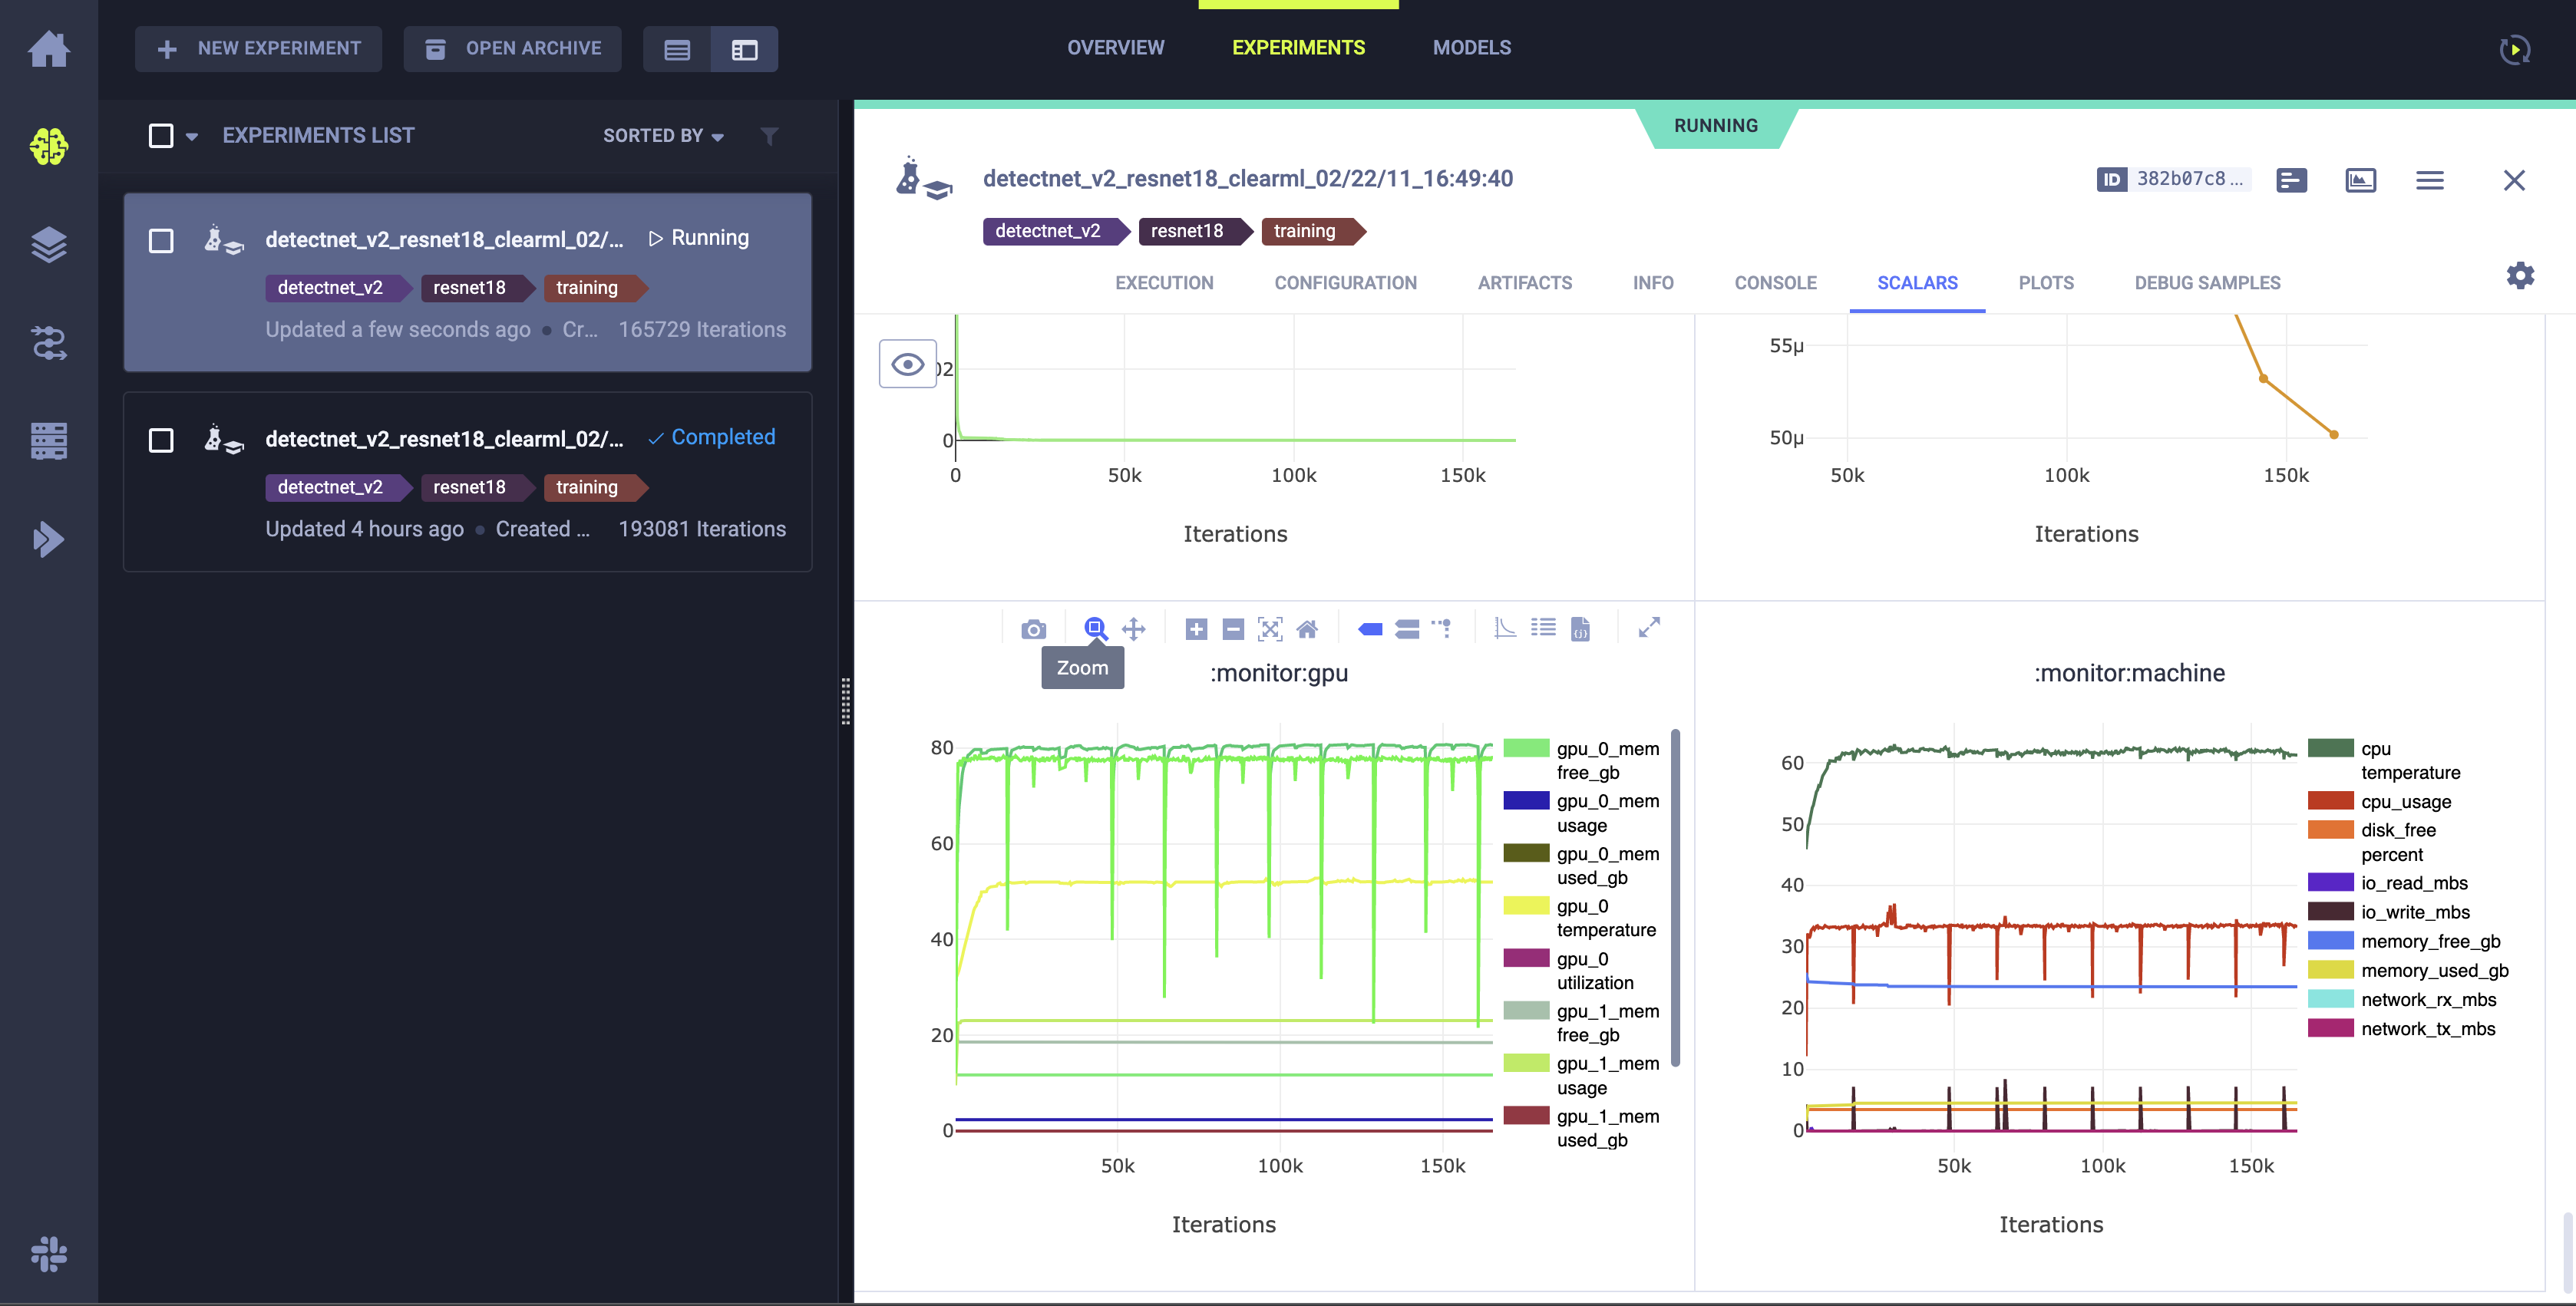
Image showing system utilization plots.#
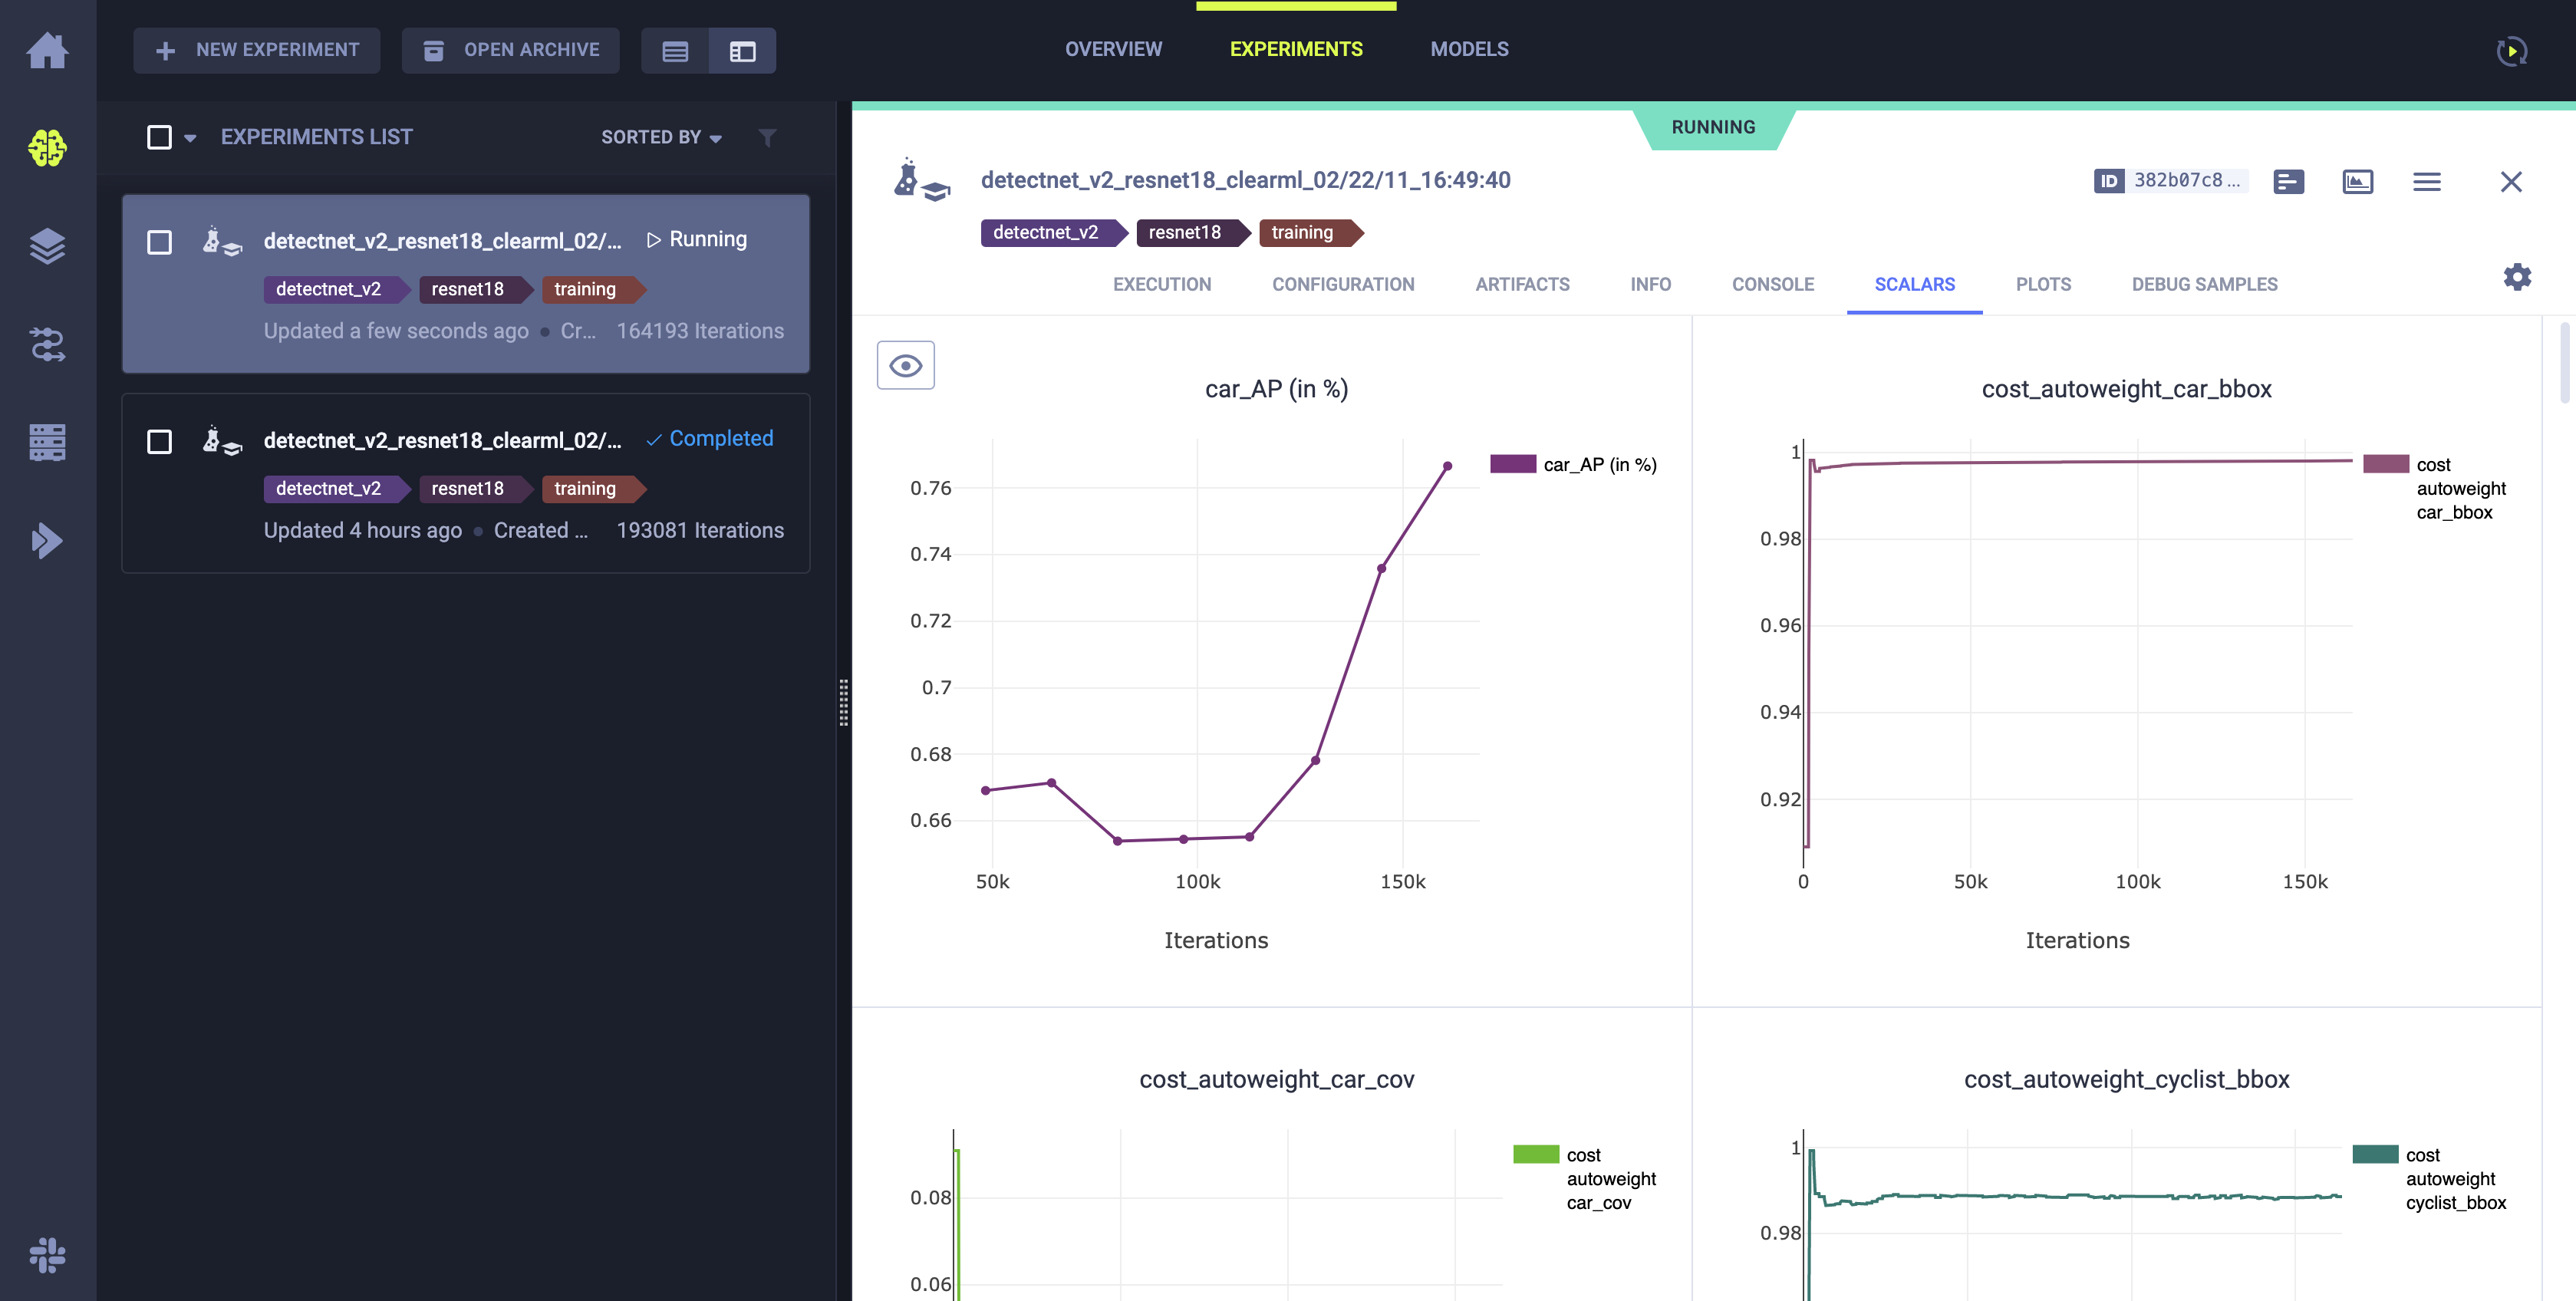
Metrics plotted during training#
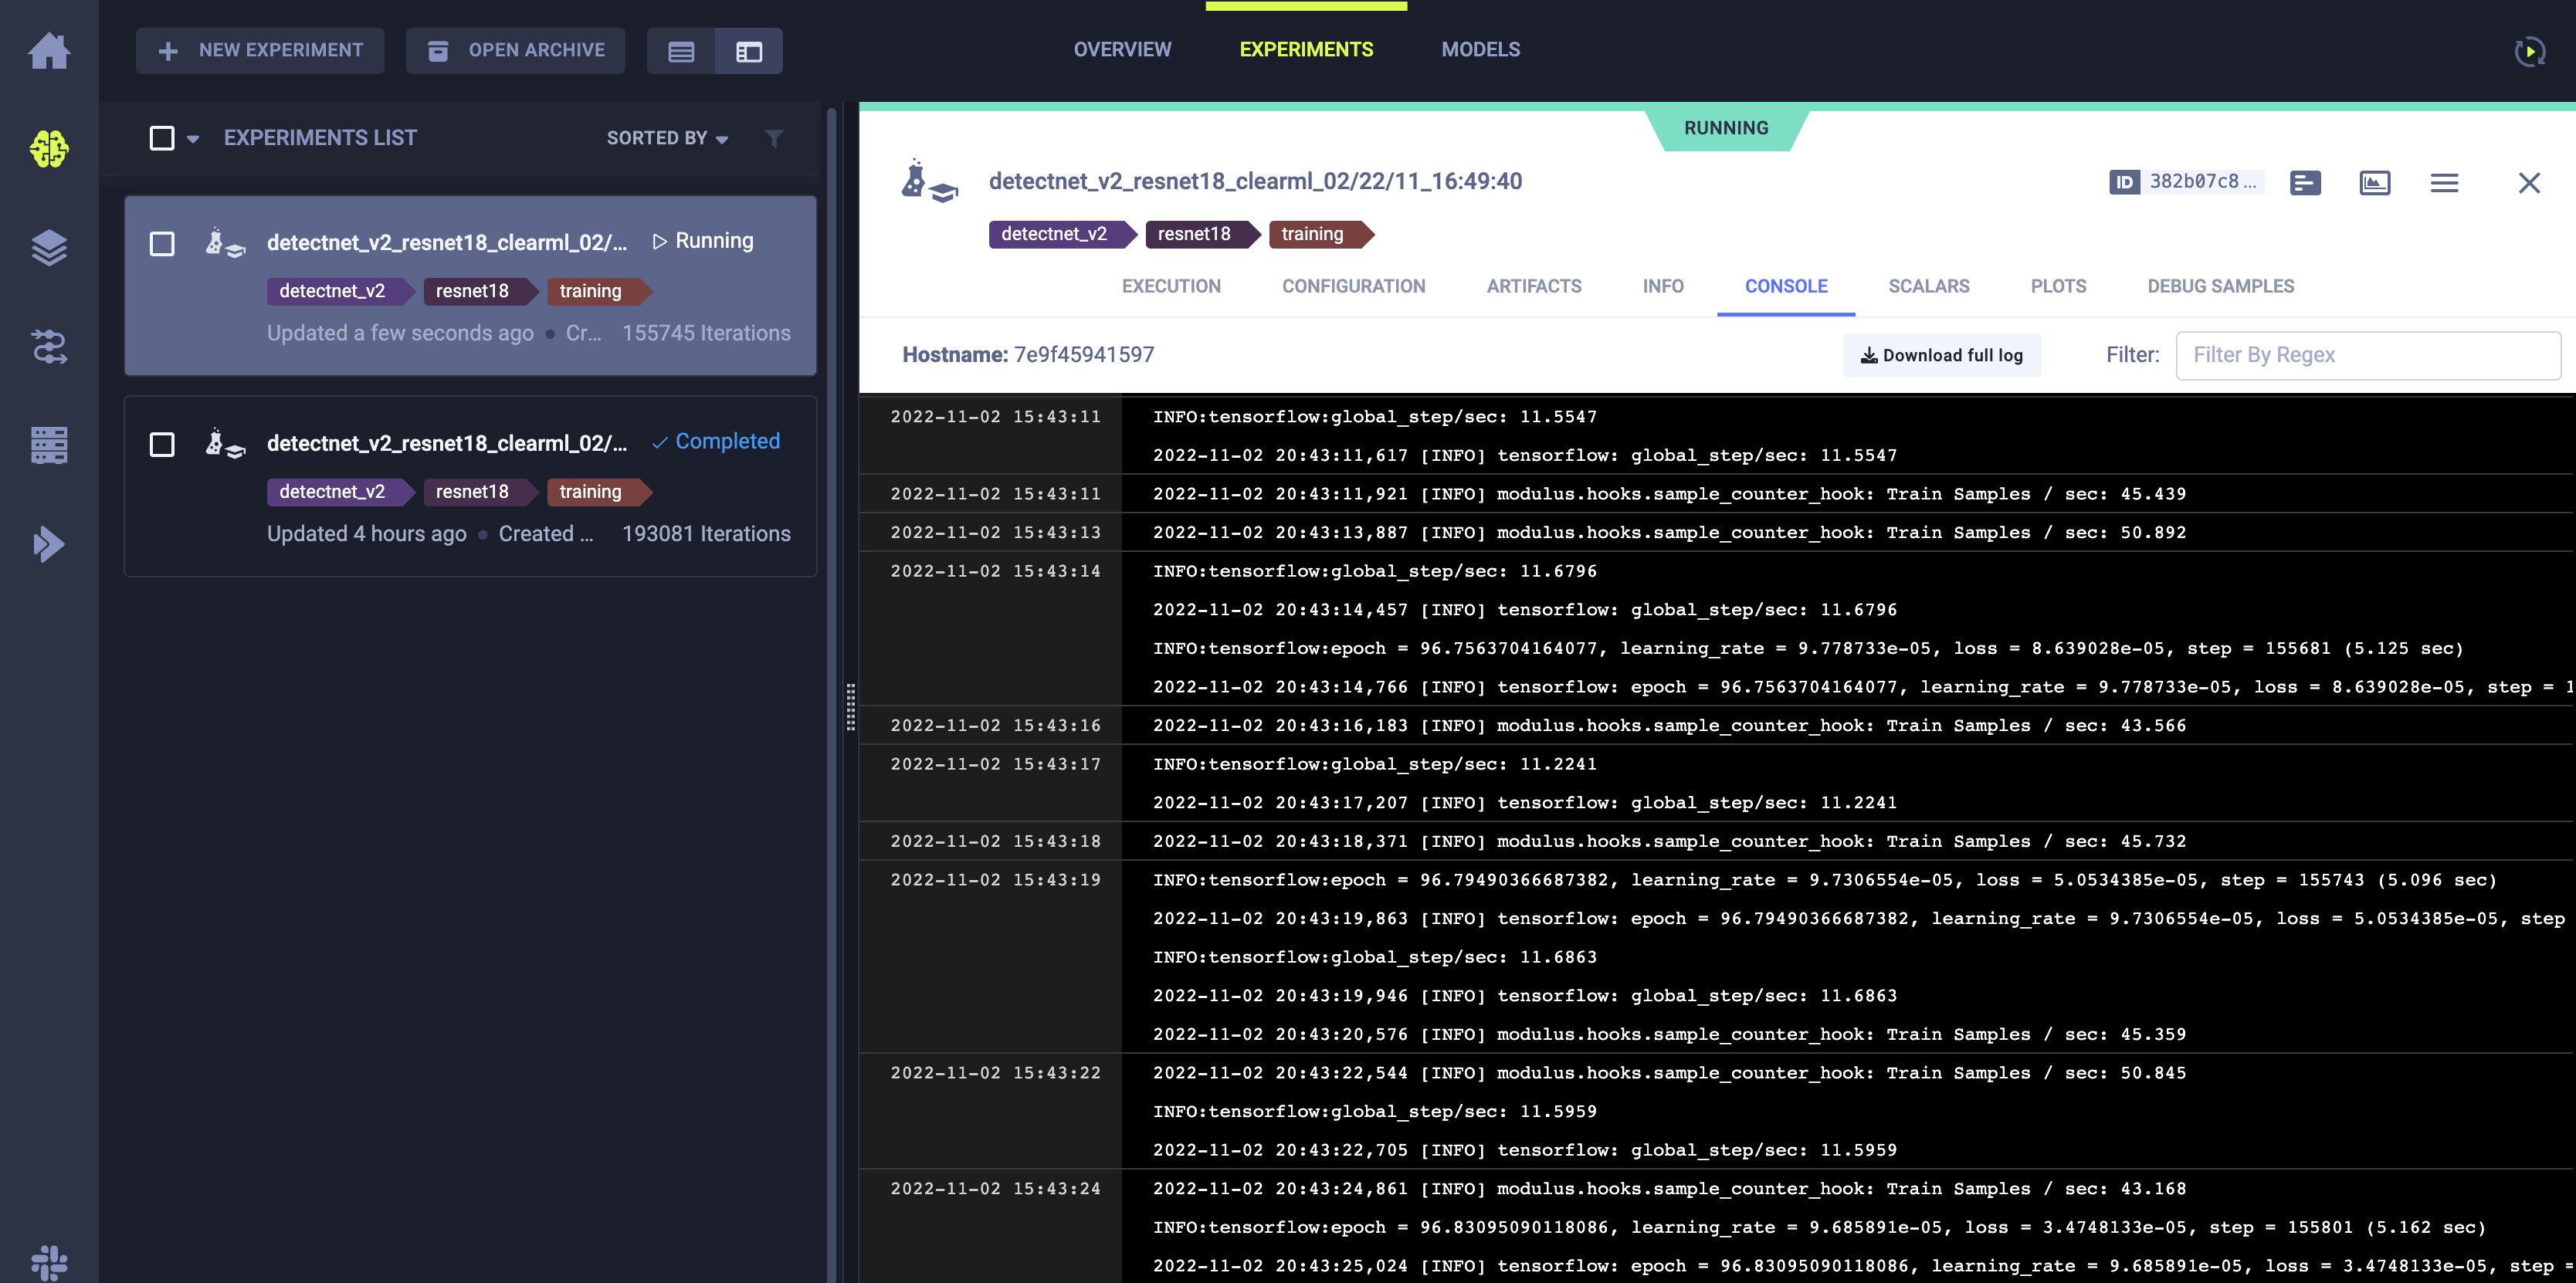
Streaming logs from the local machine running the training.#
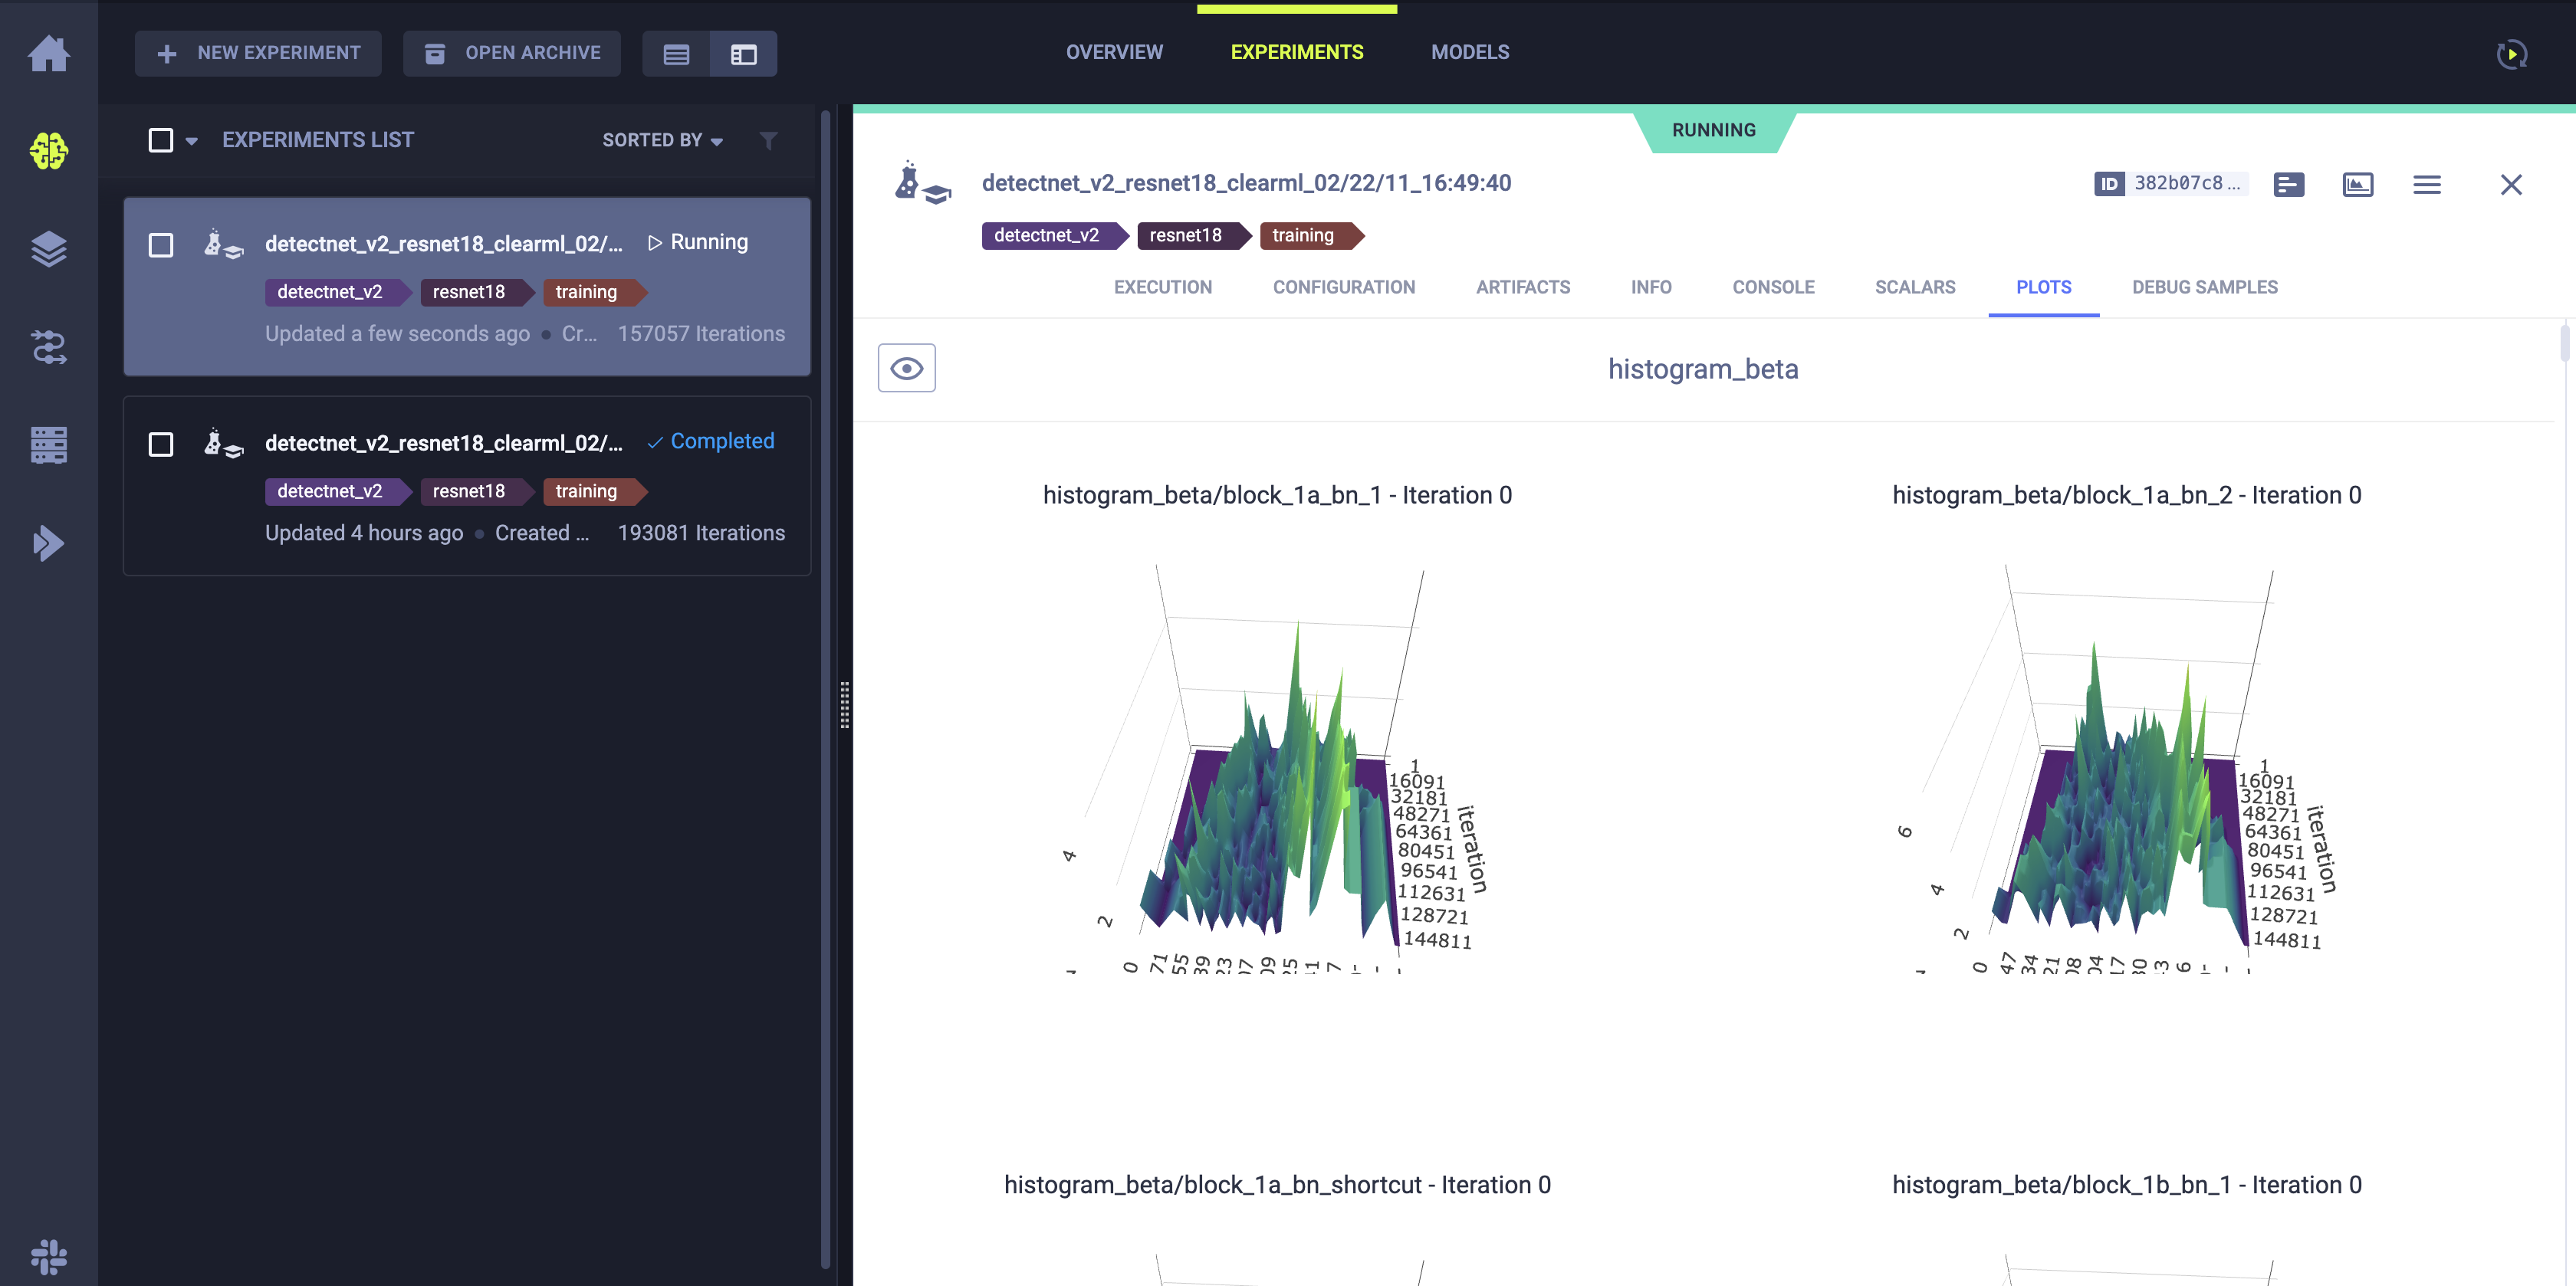
Weight histograms of the trained model.#