TAO WandB Integration#
All networks in TAO support integration with Weights & Biases to help you continuously iterate, visualize and track multiple training experiments, and compile meaningful insights into the training use case.
The Weights & Biases visualization suite synchronizes with the data rendered in TensorBoard. Therefore, to see rendered data over the weights and biases server, you will need to enable TensorBoard visualization. The integration also includes the ability to send you alerts via slack or email for training runs that have failed.
Note
Enabling MLOPS integration does not require you to install tensorboard.
Quick Start#
These are the broad steps involved with setting up Weights & Biases for TAO:
Set up a wandb account
Obtain your wandb API key
Log in to wandb
Configure the wandb element in the training specification.
Set Up a wandb Account#
Sign up for a free account at wandb and then log in.
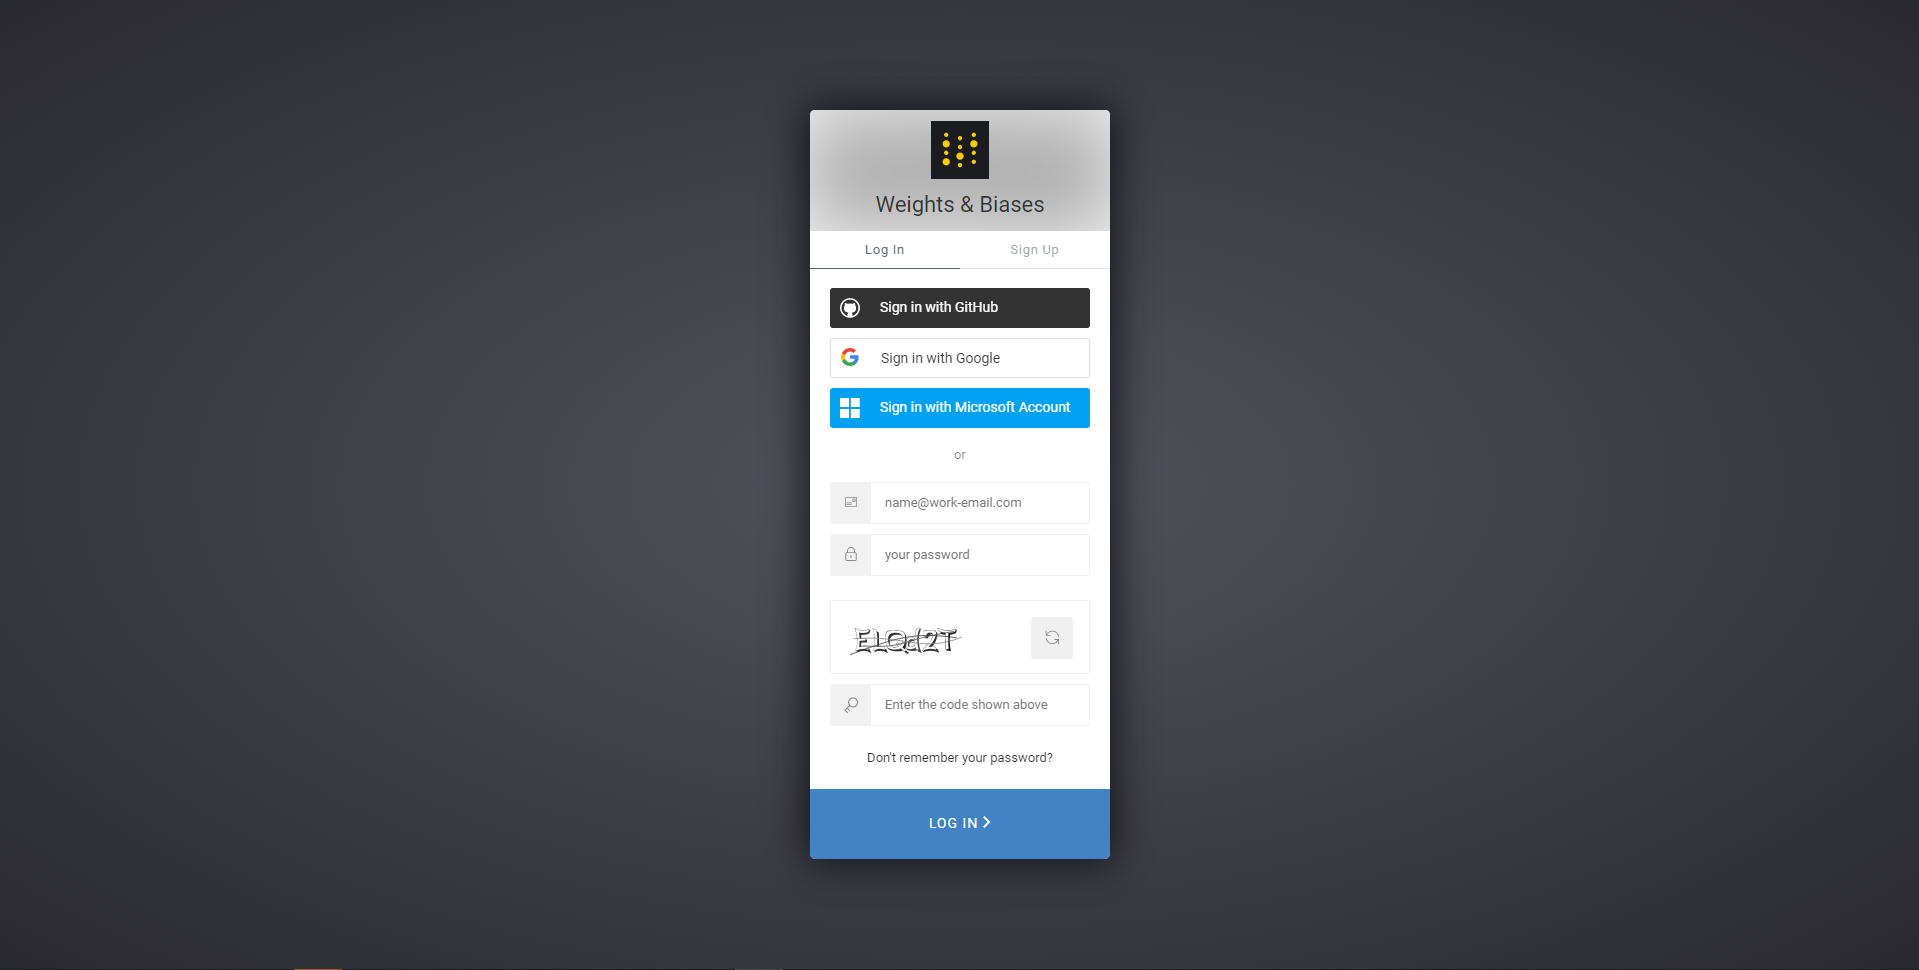
Wandb login screen#
Acquire a wandb API Key#
After you log in to your Weights & Biases account, find your API key here.
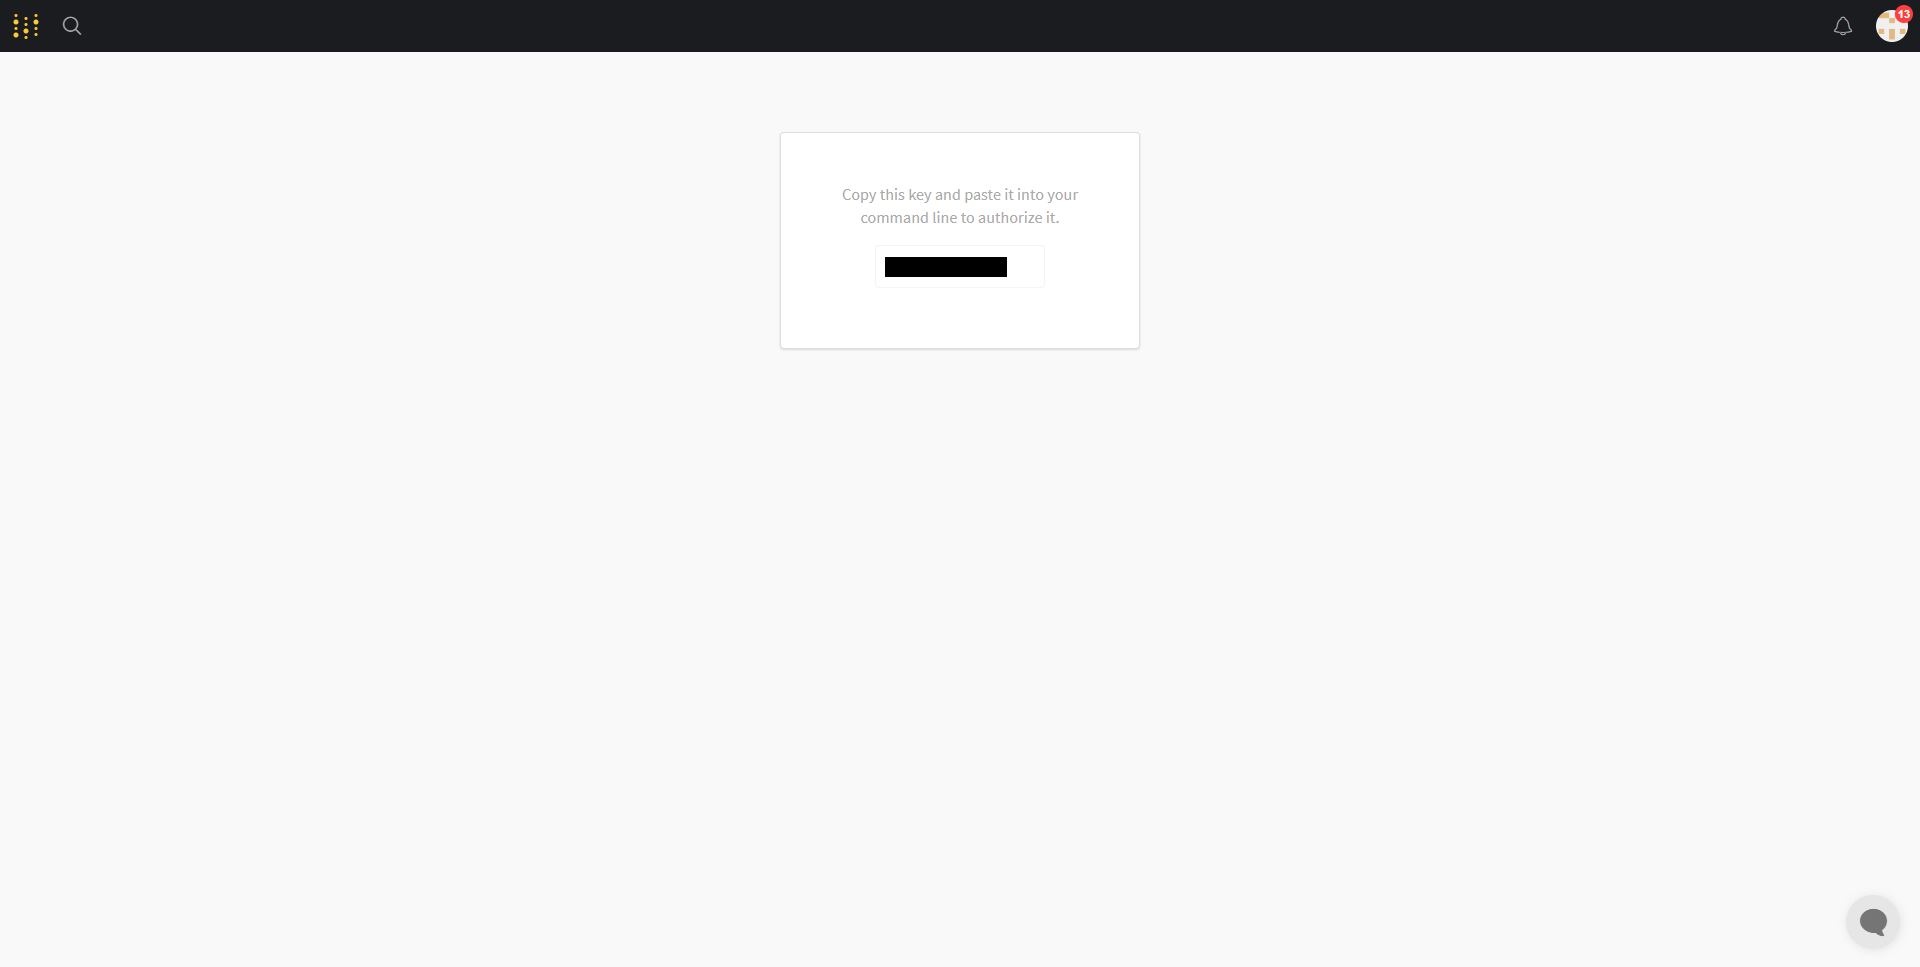
Wandb credentials page#
Log In to wandb#
Log in to wandb through Fine-Tuning Micro-Services (FTMS). To communicate the data from the local compute unit and render data on the Weights & Biases server dashboard, the wandb client in the TAO container must be logged in and synchronized with your profile.
To log in to wandb when running FTMS jobs, add the WANDB_API_KEY to
the docker_env_vars dictionary in the
create_experiment request body. For example:
{
    "docker_env_vars": {
        "WANDB_API_KEY": "<api_key_value>"
    }
}
Configure the wandb Element in the Training Specification
FTMS provides the following configuration options for the wandb client:
enabled: Boolean that enables the wandb clientproject: String specifying the project name where experiment data is uploadedentity: String specifying the entity (group) under which the project is createdtags: List of strings for experiment taggingreinit: Boolean allowing reinitializing of runssync_tensorboard: Boolean enabling TensorBoard log synchronizationsave_code: Boolean saving main scripts or notebooks to wandb for reproducibilityname: Short display name for the run. TAO appends a timestamp to maintain uniqueness.
Add these configurations to the wandb element in the
training specs request body. For example:
{
    "specs": {
        "wandb": {
            "enabled": true,
            "project": "tao_toolkit",
            "entity": "tao_toolkit",
            "tags": ["training", "tao_toolkit"],
            "reinit": true,
            "sync_tensorboard": true,
            "save_code": false,
            "name": "training_experiment_name"
        }
    }
}
To include the wandb client in the container log in,
set the WANDB_API_KEY environment variable in the TAO containers with the API key
you received when setting up your Weights & Biases account.
%env WANDB_API_KEY=<api_key_value>
To set the environment variable via the TAO launcher, use the sample JSON file below for
reference and replace the value field under the Envs element of the
~/.tao_mounts.json file.
Warning
Weights and biases requires access to the /config directory in the container. Therefore,
you will be required to instantiate the container with root access. Make sure to unset the
user field under the DockerOptions settings in the ~/.tao_mounts.json
file.
{
    "Mounts": [
        {
            "source": "/path/to/your/data",
            "destination": "/workspace/tao-experiments/data"
        },
        {
            "source": "/path/to/your/local/results",
            "destination": "/workspace/tao-experiments/results"
        },
        {
            "source": "/path/to/config/files",
            "destination": "/workspace/tao-experiments/specs"
        }
    ],
    "Envs": [
        {
            "variable": "WANDB_API_KEY",
            "value": "<api_key_value_from_wandb>"
        }
    ],
    "DockerOptions": {
        "shm_size": "16G",
        "ulimits": {
            "memlock": -1,
            "stack": 67108864
        },
        "ports": {
            "8888": 8888
        }
    }
}
Note
When running the networks from TAO containers directly, use the -e flag
of the docker command. For example, to run grounding_dino with Weights & Biases directly
via the container, use the following the code.
.. code-block:: bash
- docker run -it –rm –gpus all
-v /path/in/host:/path/in/docker -e WANDB_API_KEY=<api_key_value> nvcr.io/nvidia/tao/tao-toolkit:6.0.0-tf2 grounding_dino train -e /path/to/experiment/spec.txt -r /path/to/results/dir -k $KEY –gpus 4
Configure the wandb Element in the Training Specification
TAO provides the following options to configure the wandb client:
enabled: Boolean that enables the wandb client
project: String specifying the project name where experiment data is uploaded
entity: String specifying the entity (group) under which the project is created
tags: List of strings for experiment tagging
reinit: Boolean allowing reinitializing of runs
sync_tensorboard: Boolean enabling TensorBoard log synchronization
save_code: Boolean saving main scripts or notebooks to wandb for reproducibility
name: Short display name for the run. TAO appends a timestamp to maintain uniqueness.to the name string a timestamp indicating when the experiment run was created.
wandb:
    enabled: true
    project: tao_toolkit
    entity: tao_toolkit
    tags: ["training", "tao_toolkit"]
    reinit: true
    sync_tensorboard: false
    save_code: false
    name: training_experiment_name
Visualization output#
The following sample images come from a successful Grounding Dino visualization run.
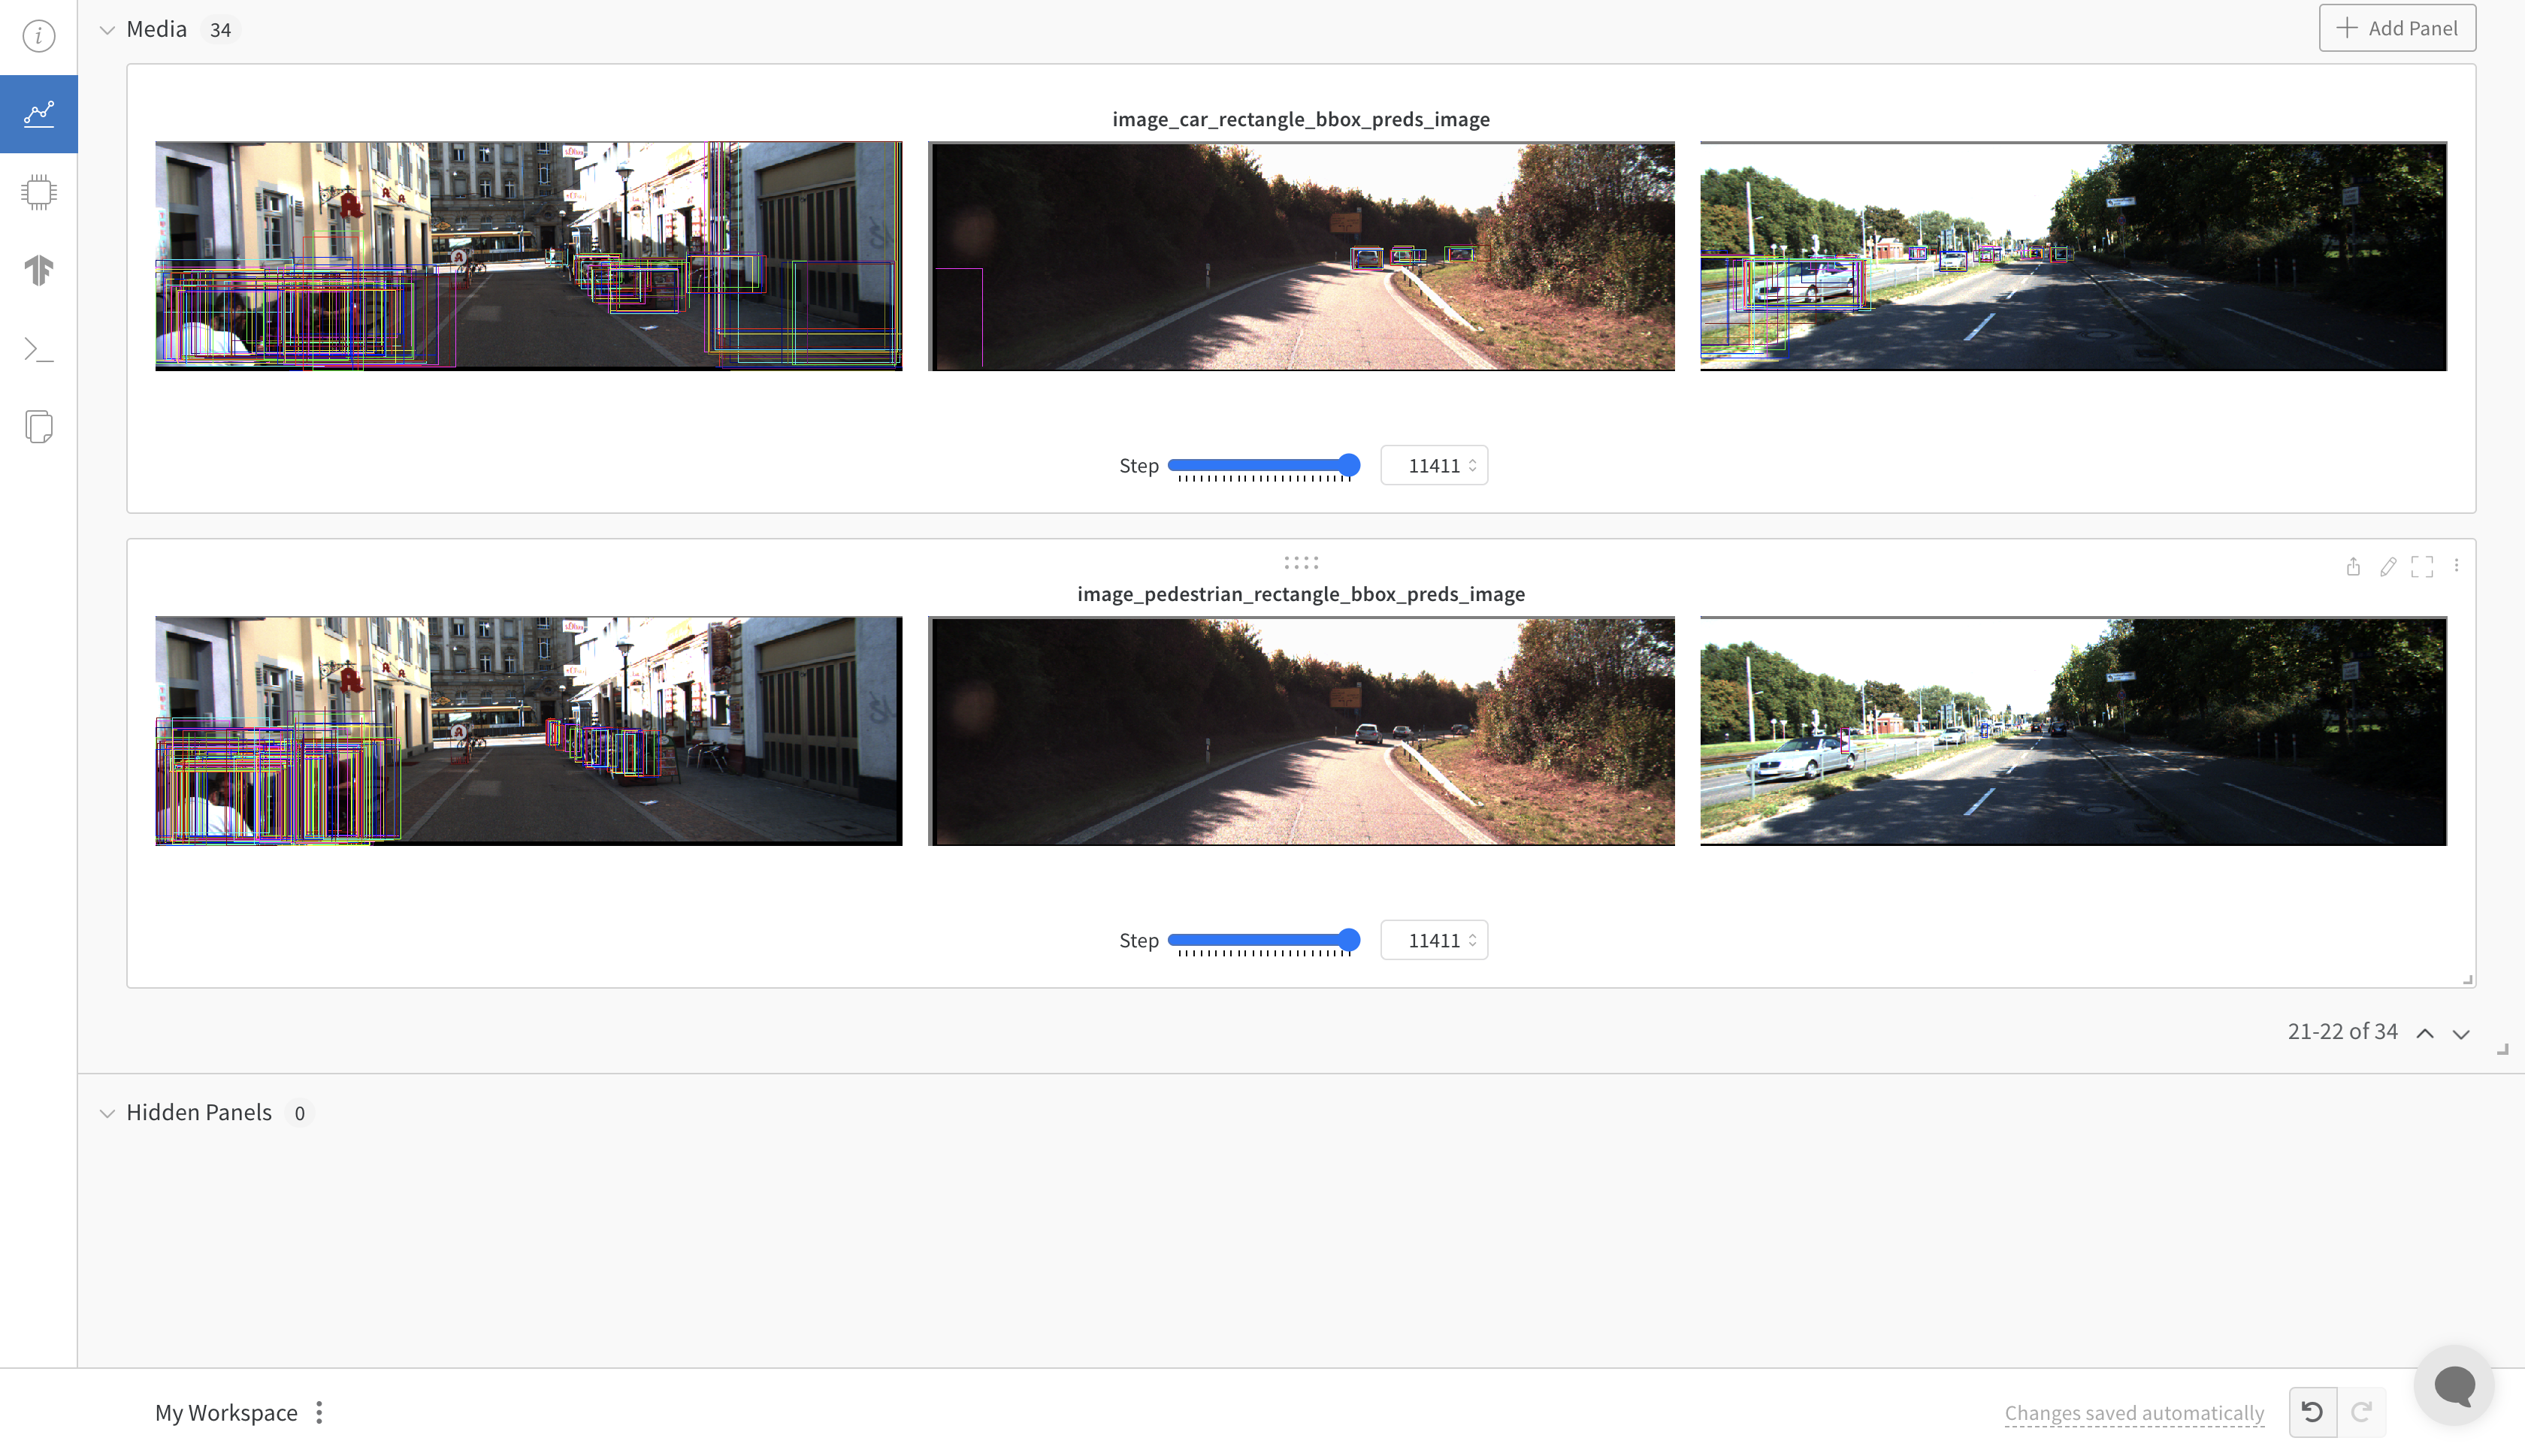
Image showing images with bounding boxes#
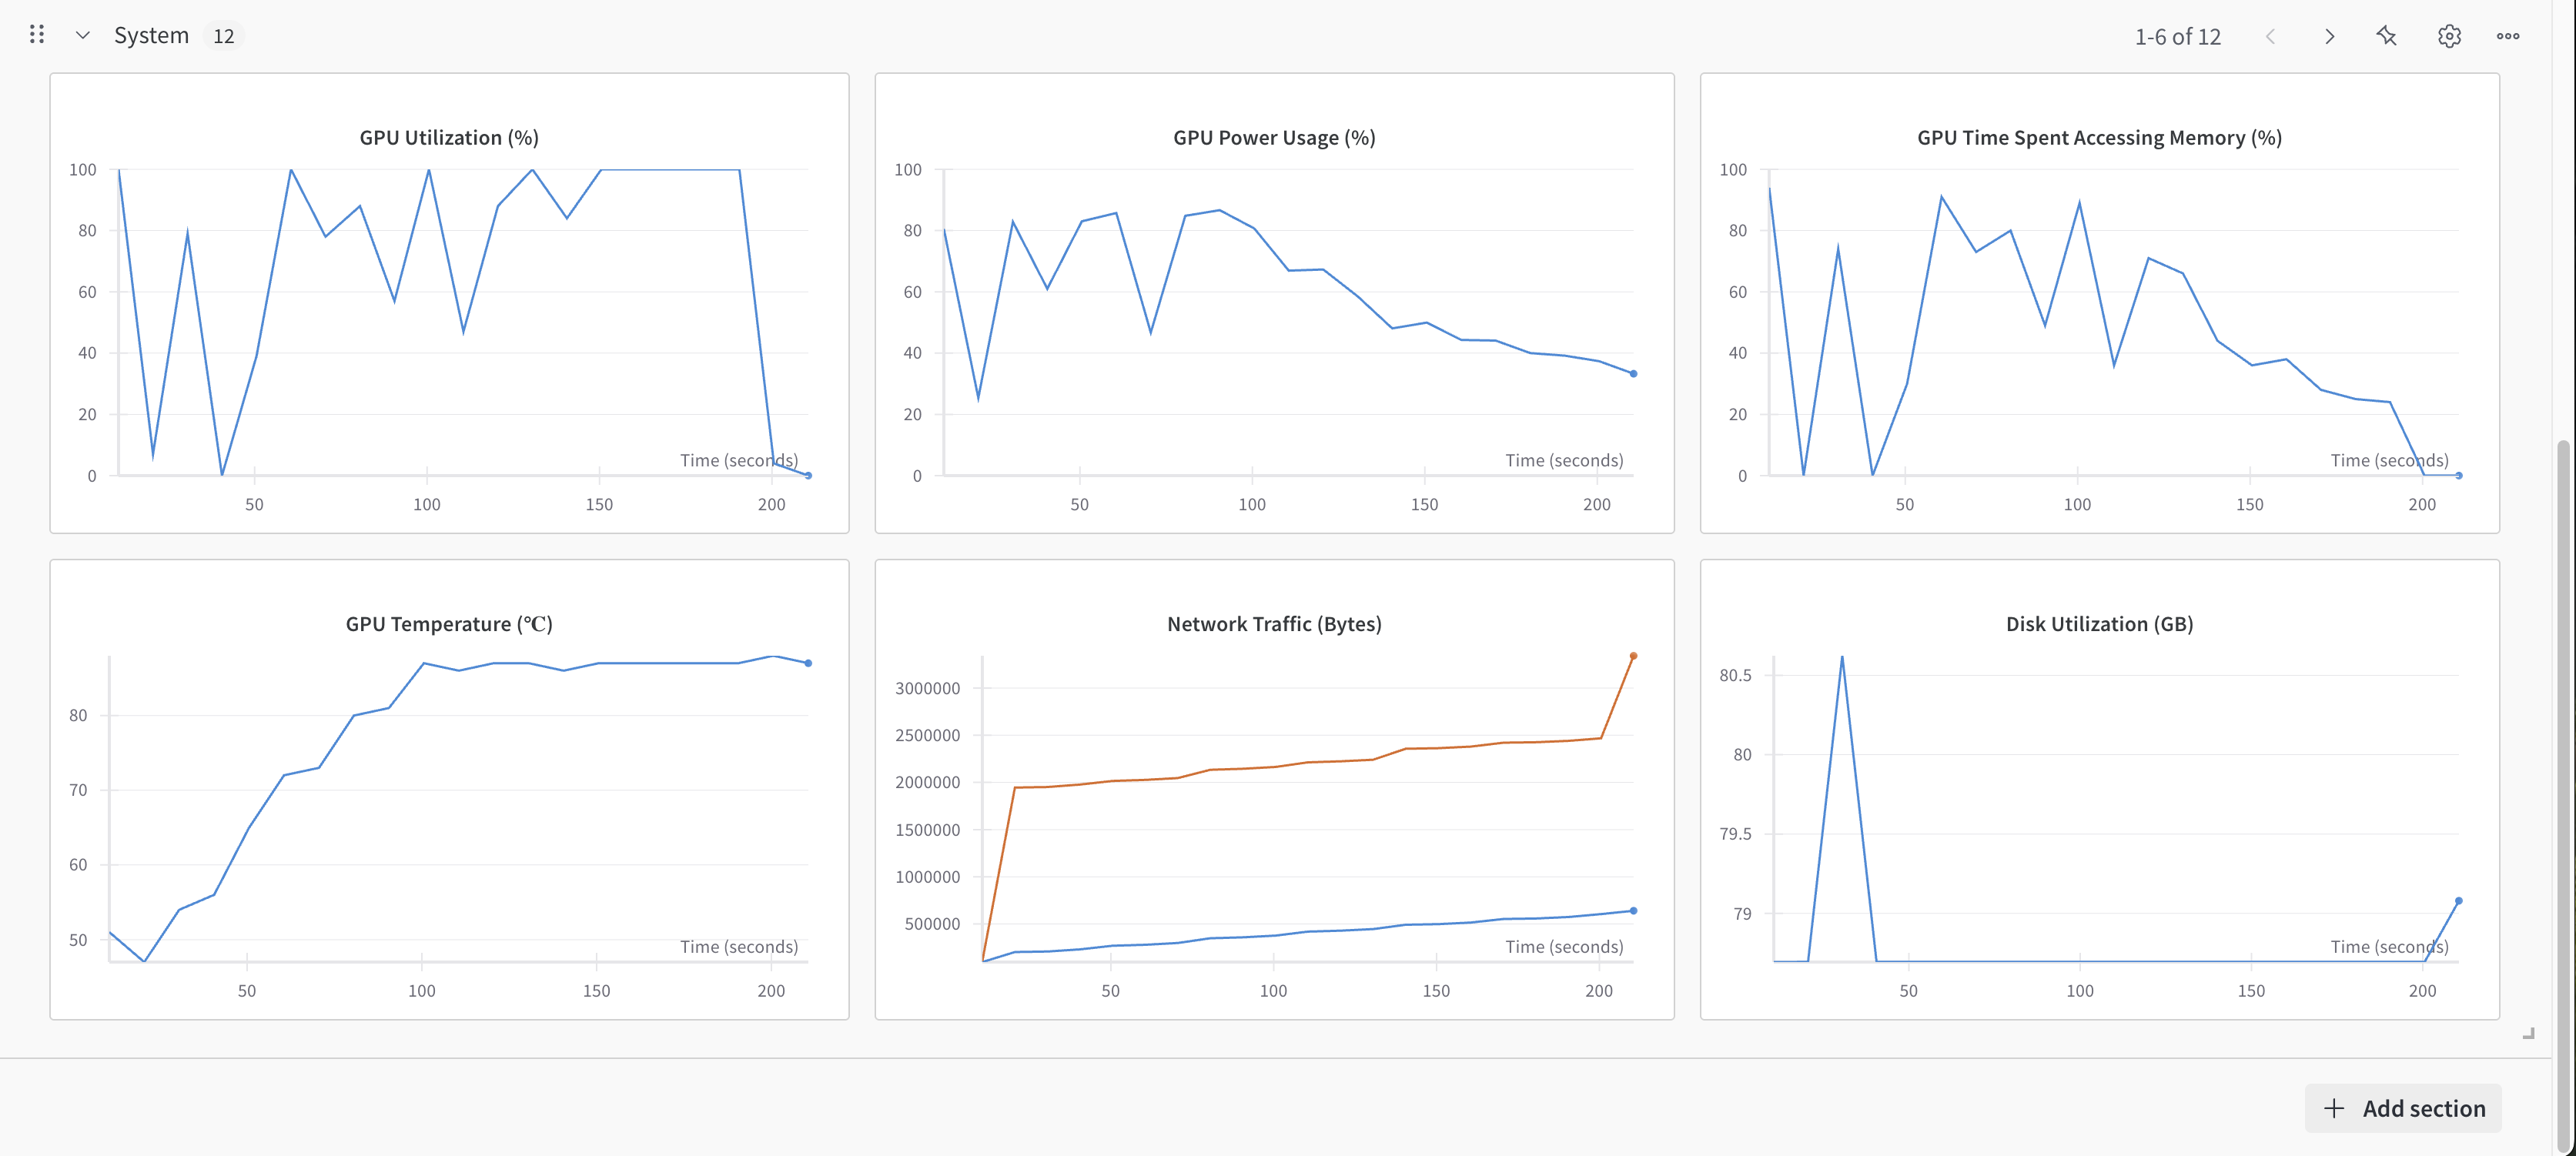
Image showing system utilization plots.#
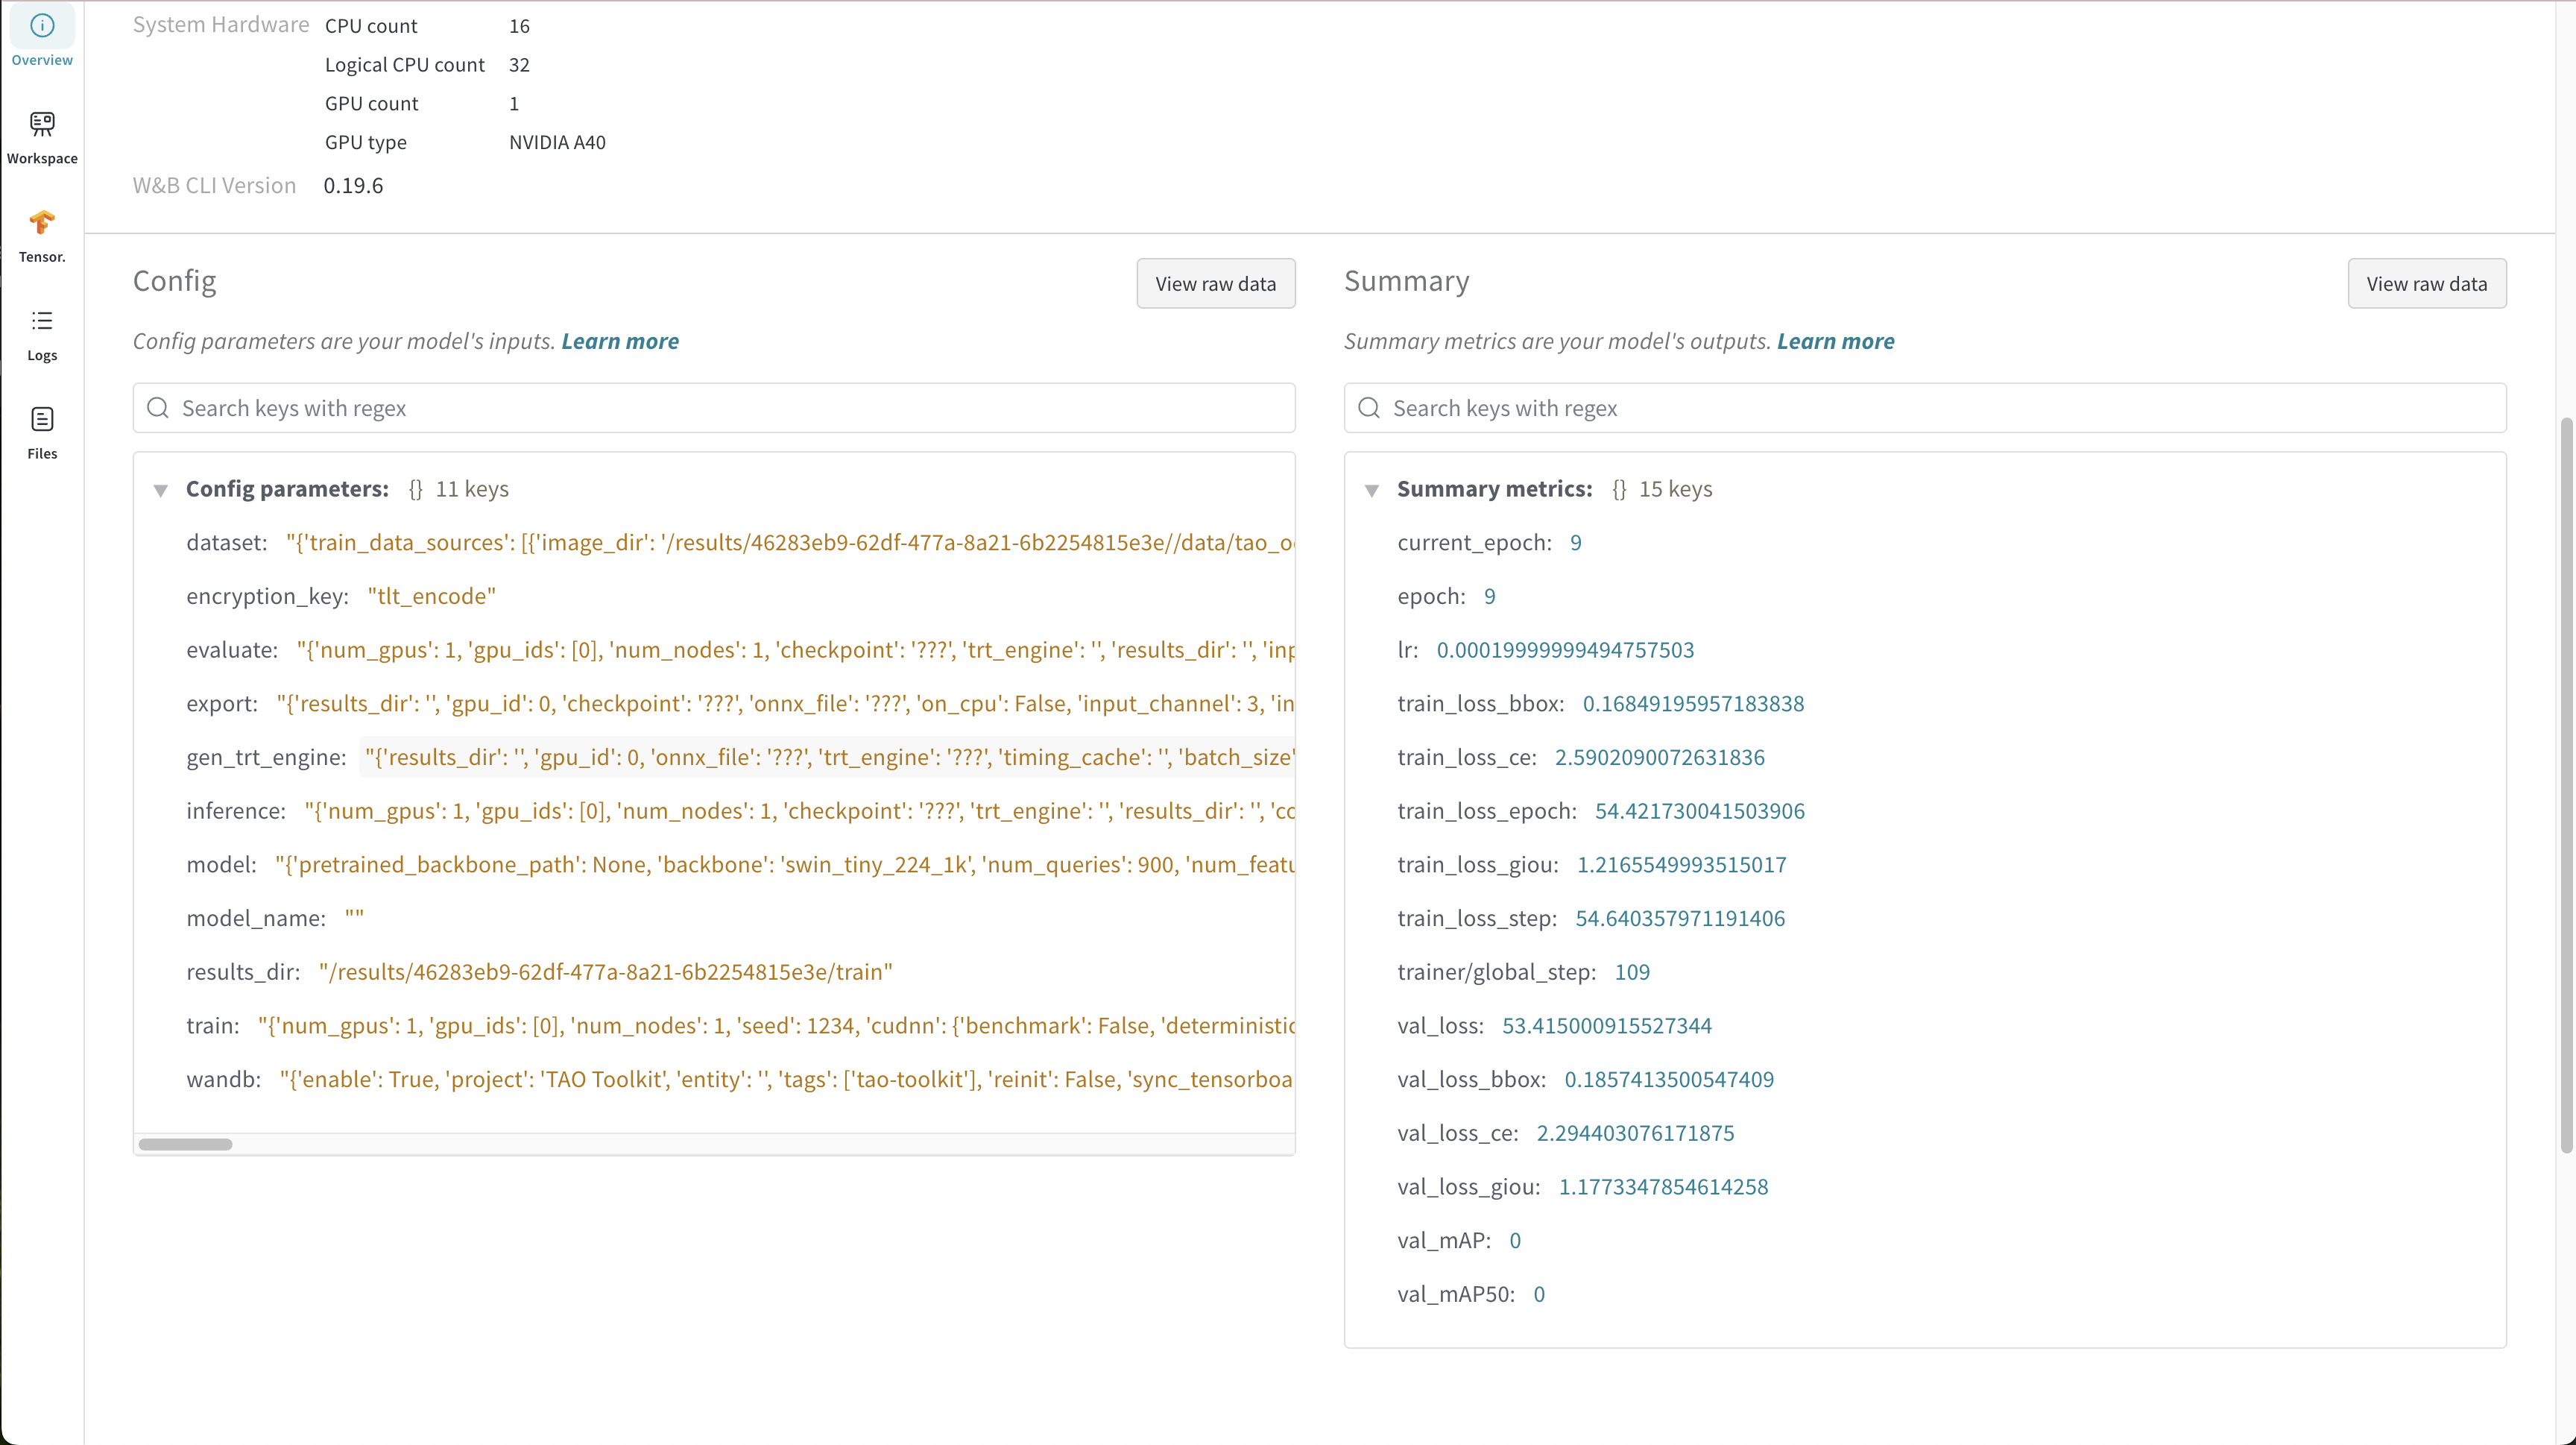
Configuration of the given experiment was saved for records.#
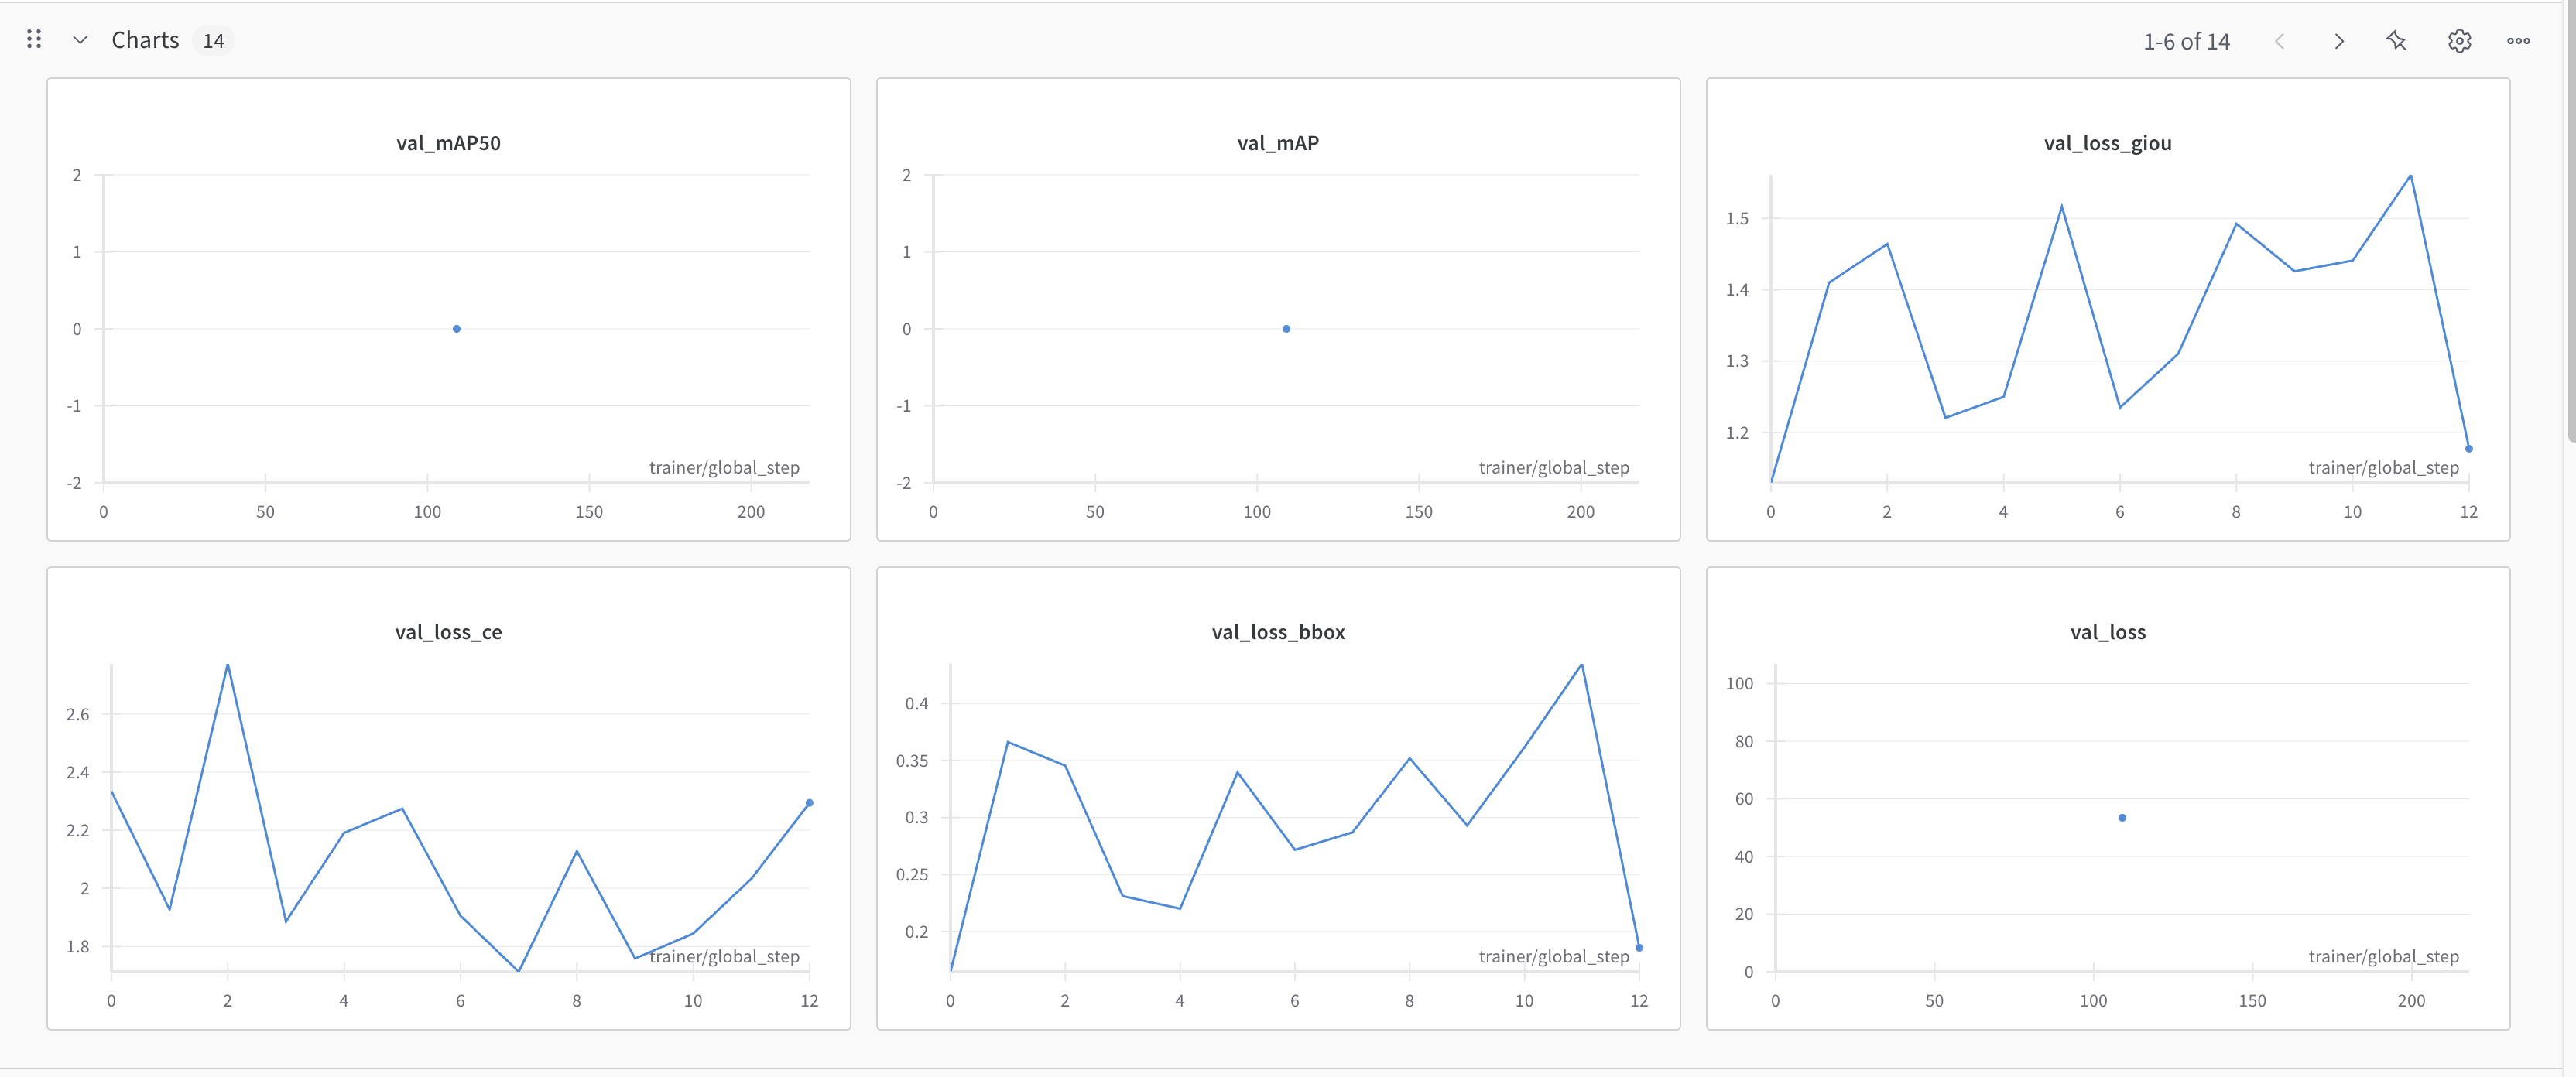
Metrics plotted during training#
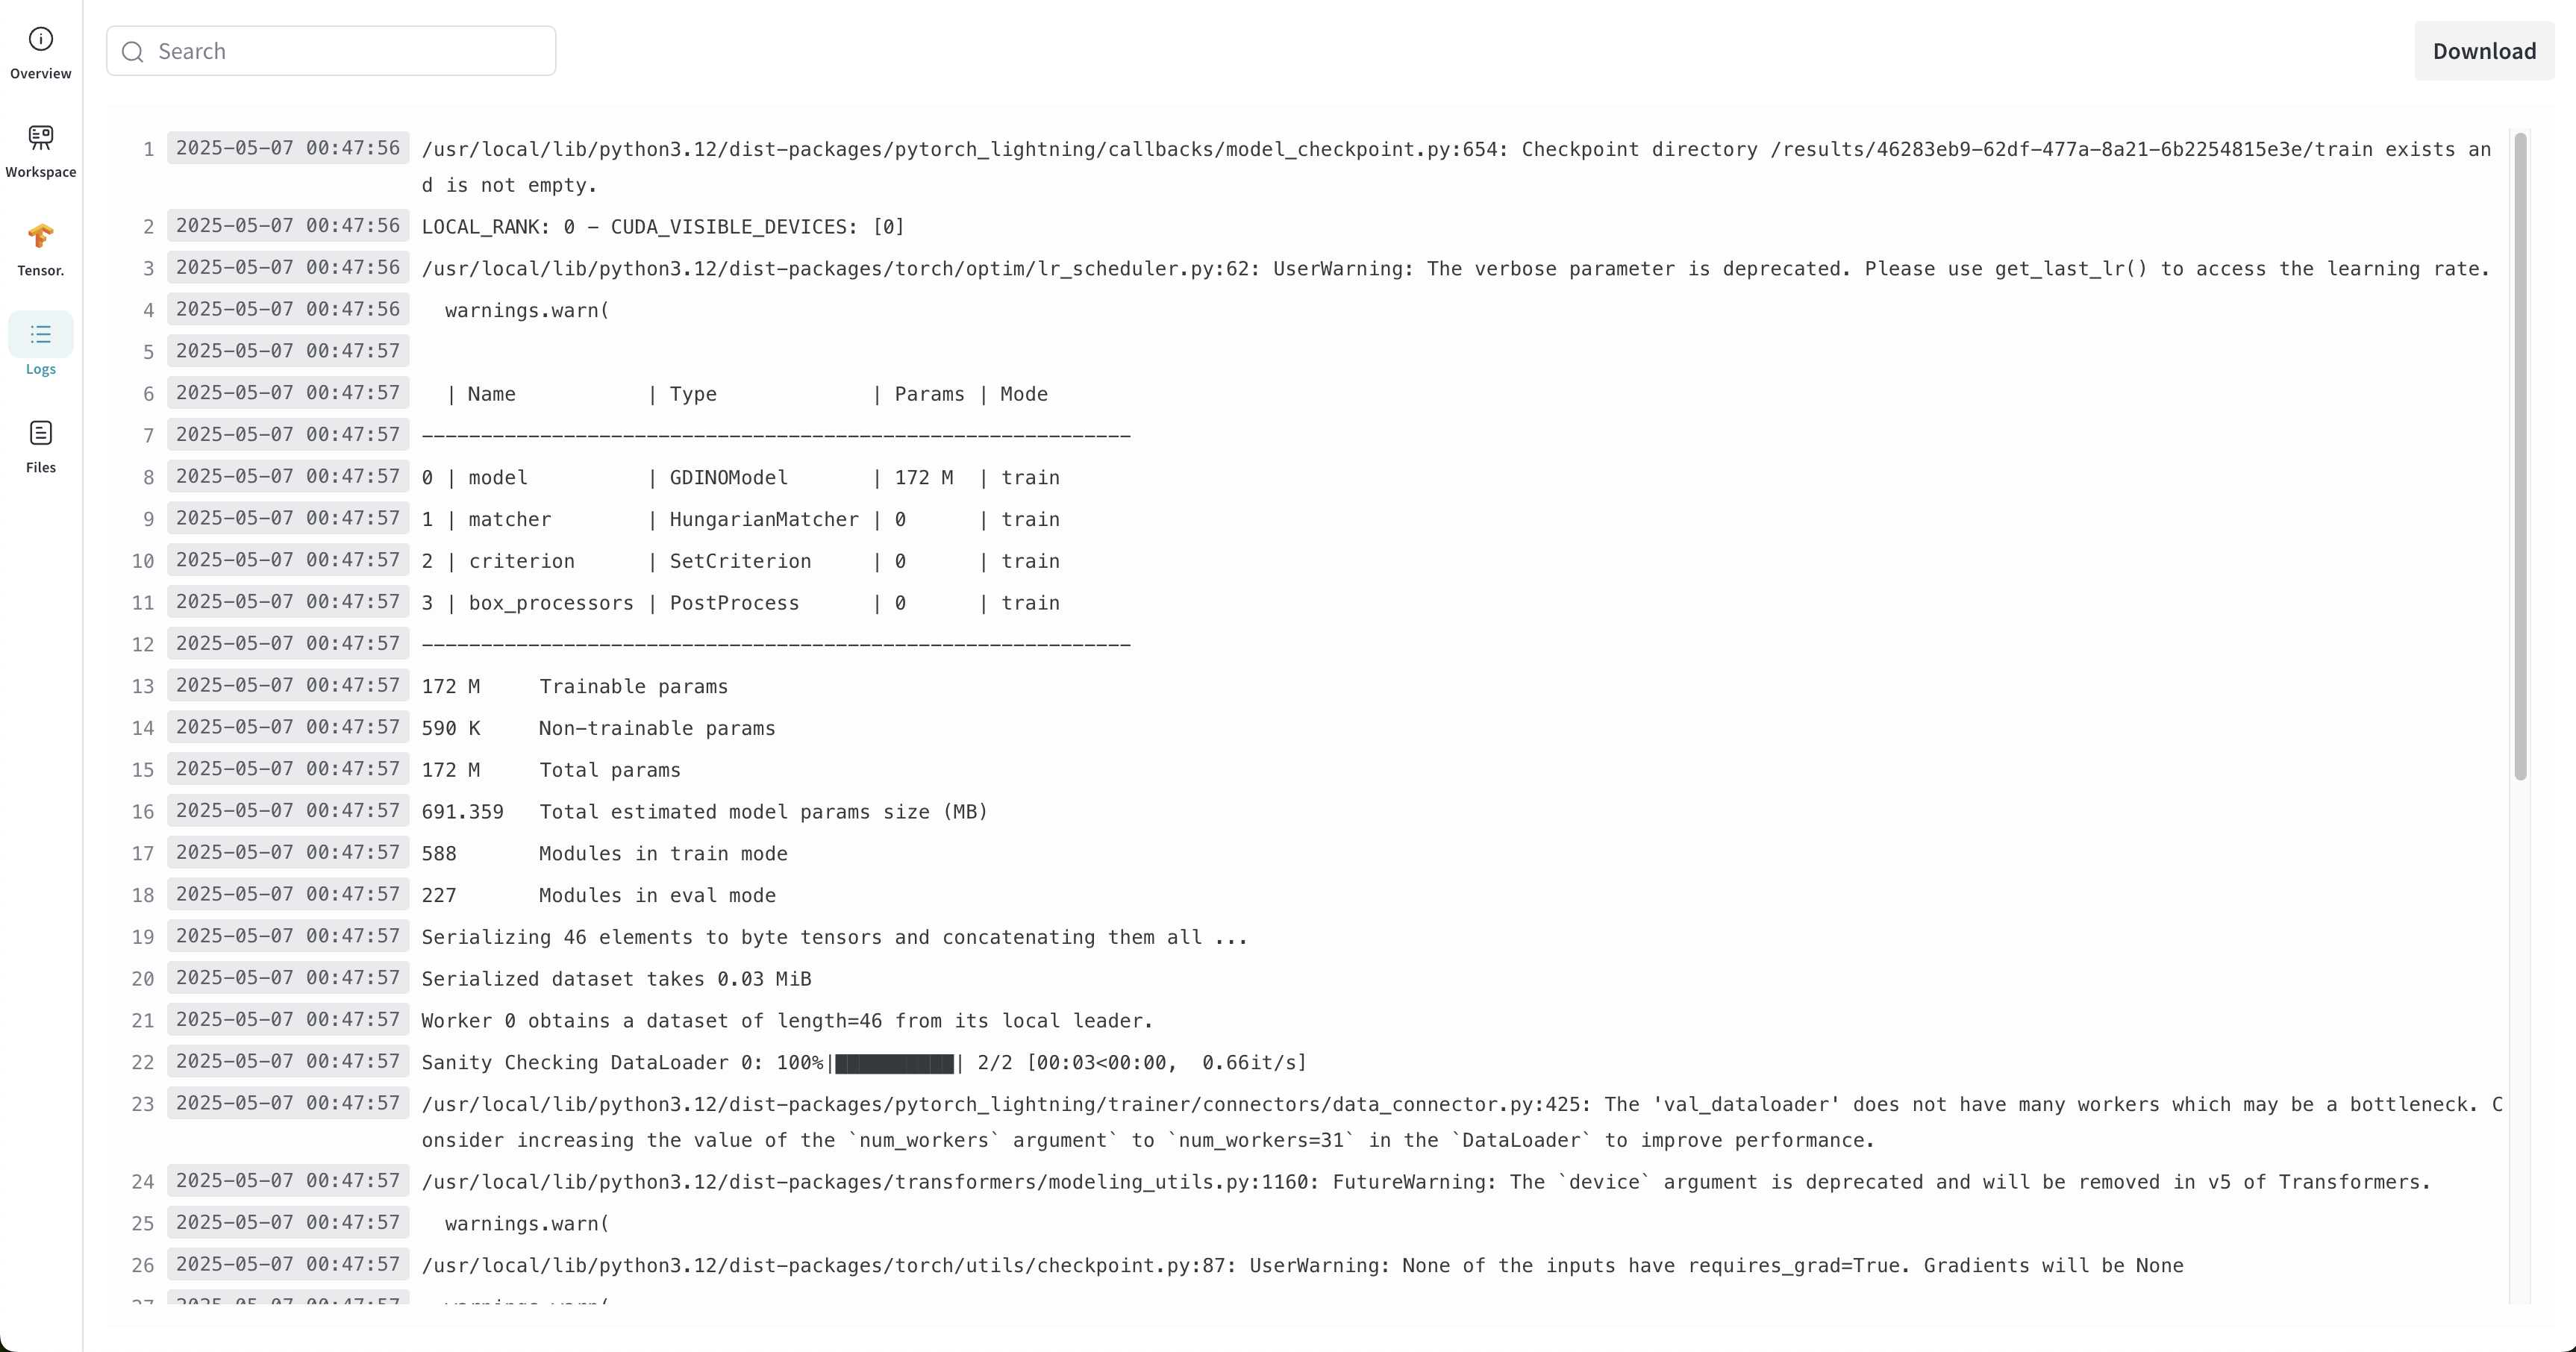
Streaming logs from the local machine running the training.#