

Jupyter in VS Code

Jupyter in VS Code + Kumo Coding Agent
Overview
This guide walks you through setting up the KumoSDK and Kumo Coding Agent for use with the KumoRFM Pre-Trained model in Jupyter notebooks inside VS Code.
This guide assumes minimal prior experience with Jupyter, VS Code, and coding agents. Experienced users may skip directly to relevant sections.
Prerequisites
Make sure you have:
- VS Code installed (Download)
- Python installed at the system level
- Access to a KumoRFM environment, including an API key and any required API URL
- VS Code Extensions
- Python (by Microsoft)
- Jupyter Extension Pack (by Microsoft)
You may also need:
- OpenAI or Anthropic subscription (recommended - required for use with Kumo Coding Agent)
- Homebrew (macOS package manager) (Install)
- GitHub CLI installed and authenticated (required for installing coding agent skills):
🖥 Terminal
Part 1: Setup for Jupyter in VS Code + KumoSDK
Step 1: Create or Open a Jupyter Notebook
To create a new notebook:
- Open the Command Palette (
Cmd + Shift + P) - Search for
Create: New Jupyter Notebook - Save the notebook (e.g.,
kumo_notebook.ipynb)
Click Select Kernel in the top-right of the notebook, then select or create a new Python virtual environment.
- Environment type:
Venv(recommended) orConda(if the Anaconda distribution is installed) - Select a Python version between 3.10 and 3.13
Once complete, ensure the selected kernel appears in the top-right of the notebook.
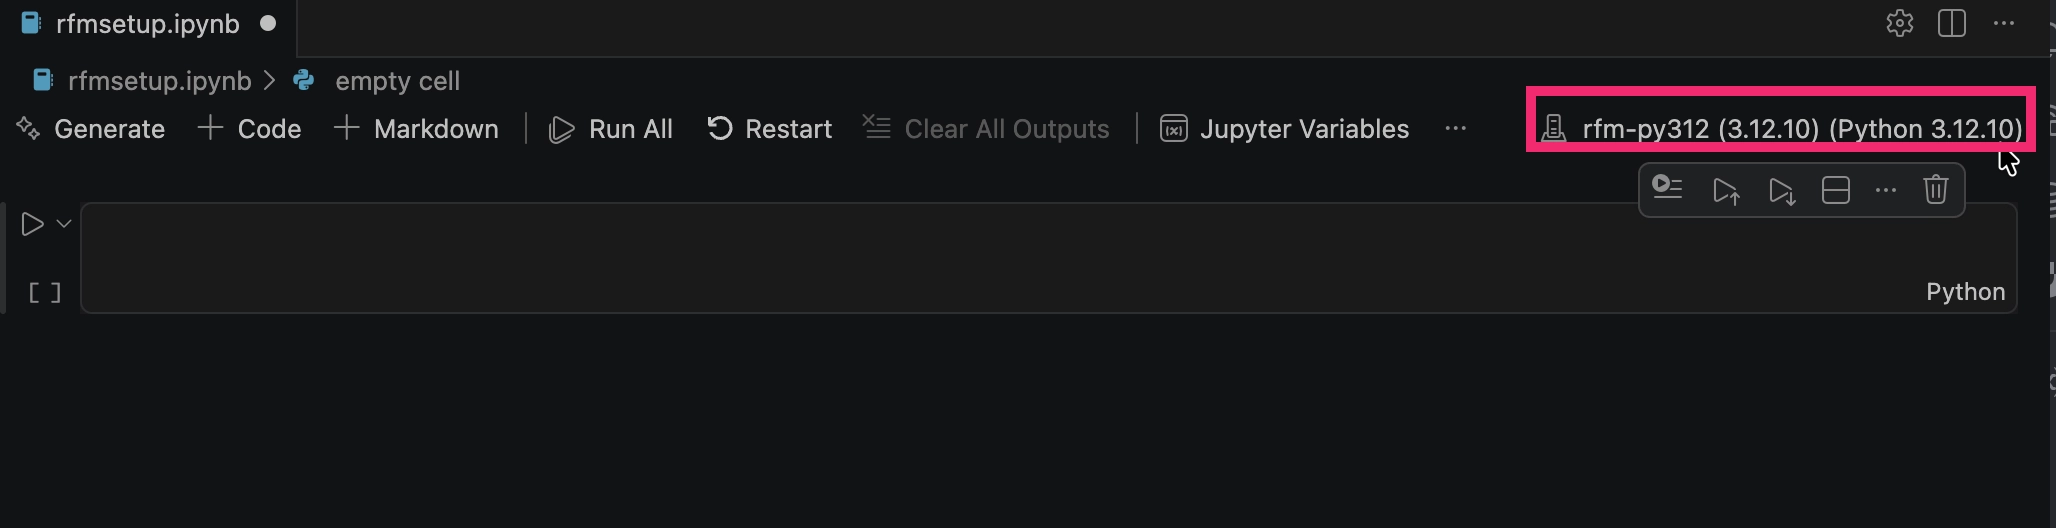
A project-specific interpreter keeps KumoSDK and notebook dependencies separate from your system Python and from unrelated projects.
Step 2: Install KumoSDK
Install the KumoSDK inside the notebook kernel:
📓 Notebook cell
Using %pip instead of !pip ensures the package installs into the active notebook kernel.
Verify installation:
📓 Notebook cell
Step 3: Authenticate KumoSDK
You will need an API key to make calls to KumoRFM.
There are two common approaches:
- Use the interactive code block below to set
KUMO_API_KEYfrom the notebook - Set
KUMO_API_KEYmanually with the API key provided for your KumoRFM environment
Interactive authentication:
📓 Notebook cell
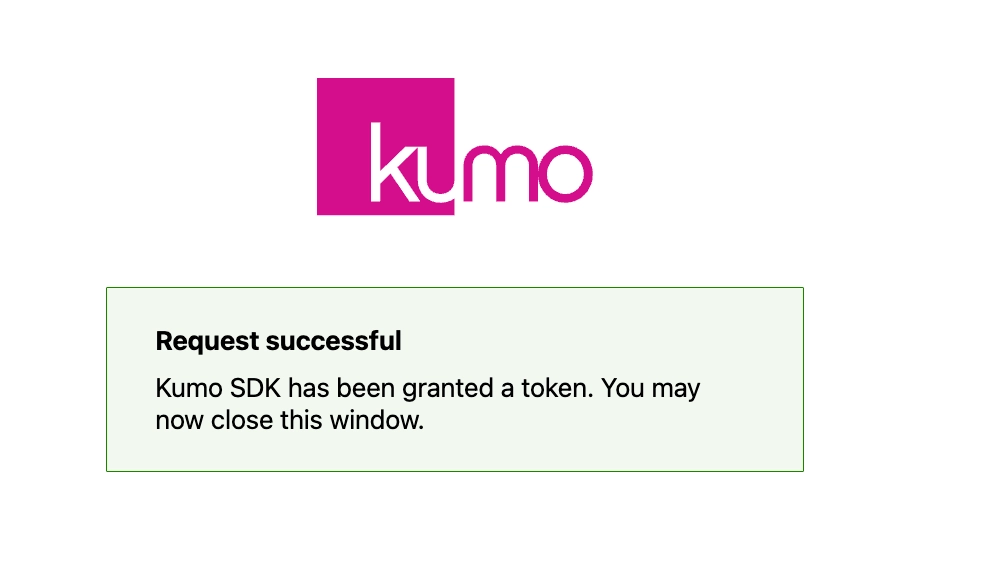
Manual authentication:
📓 Notebook cell
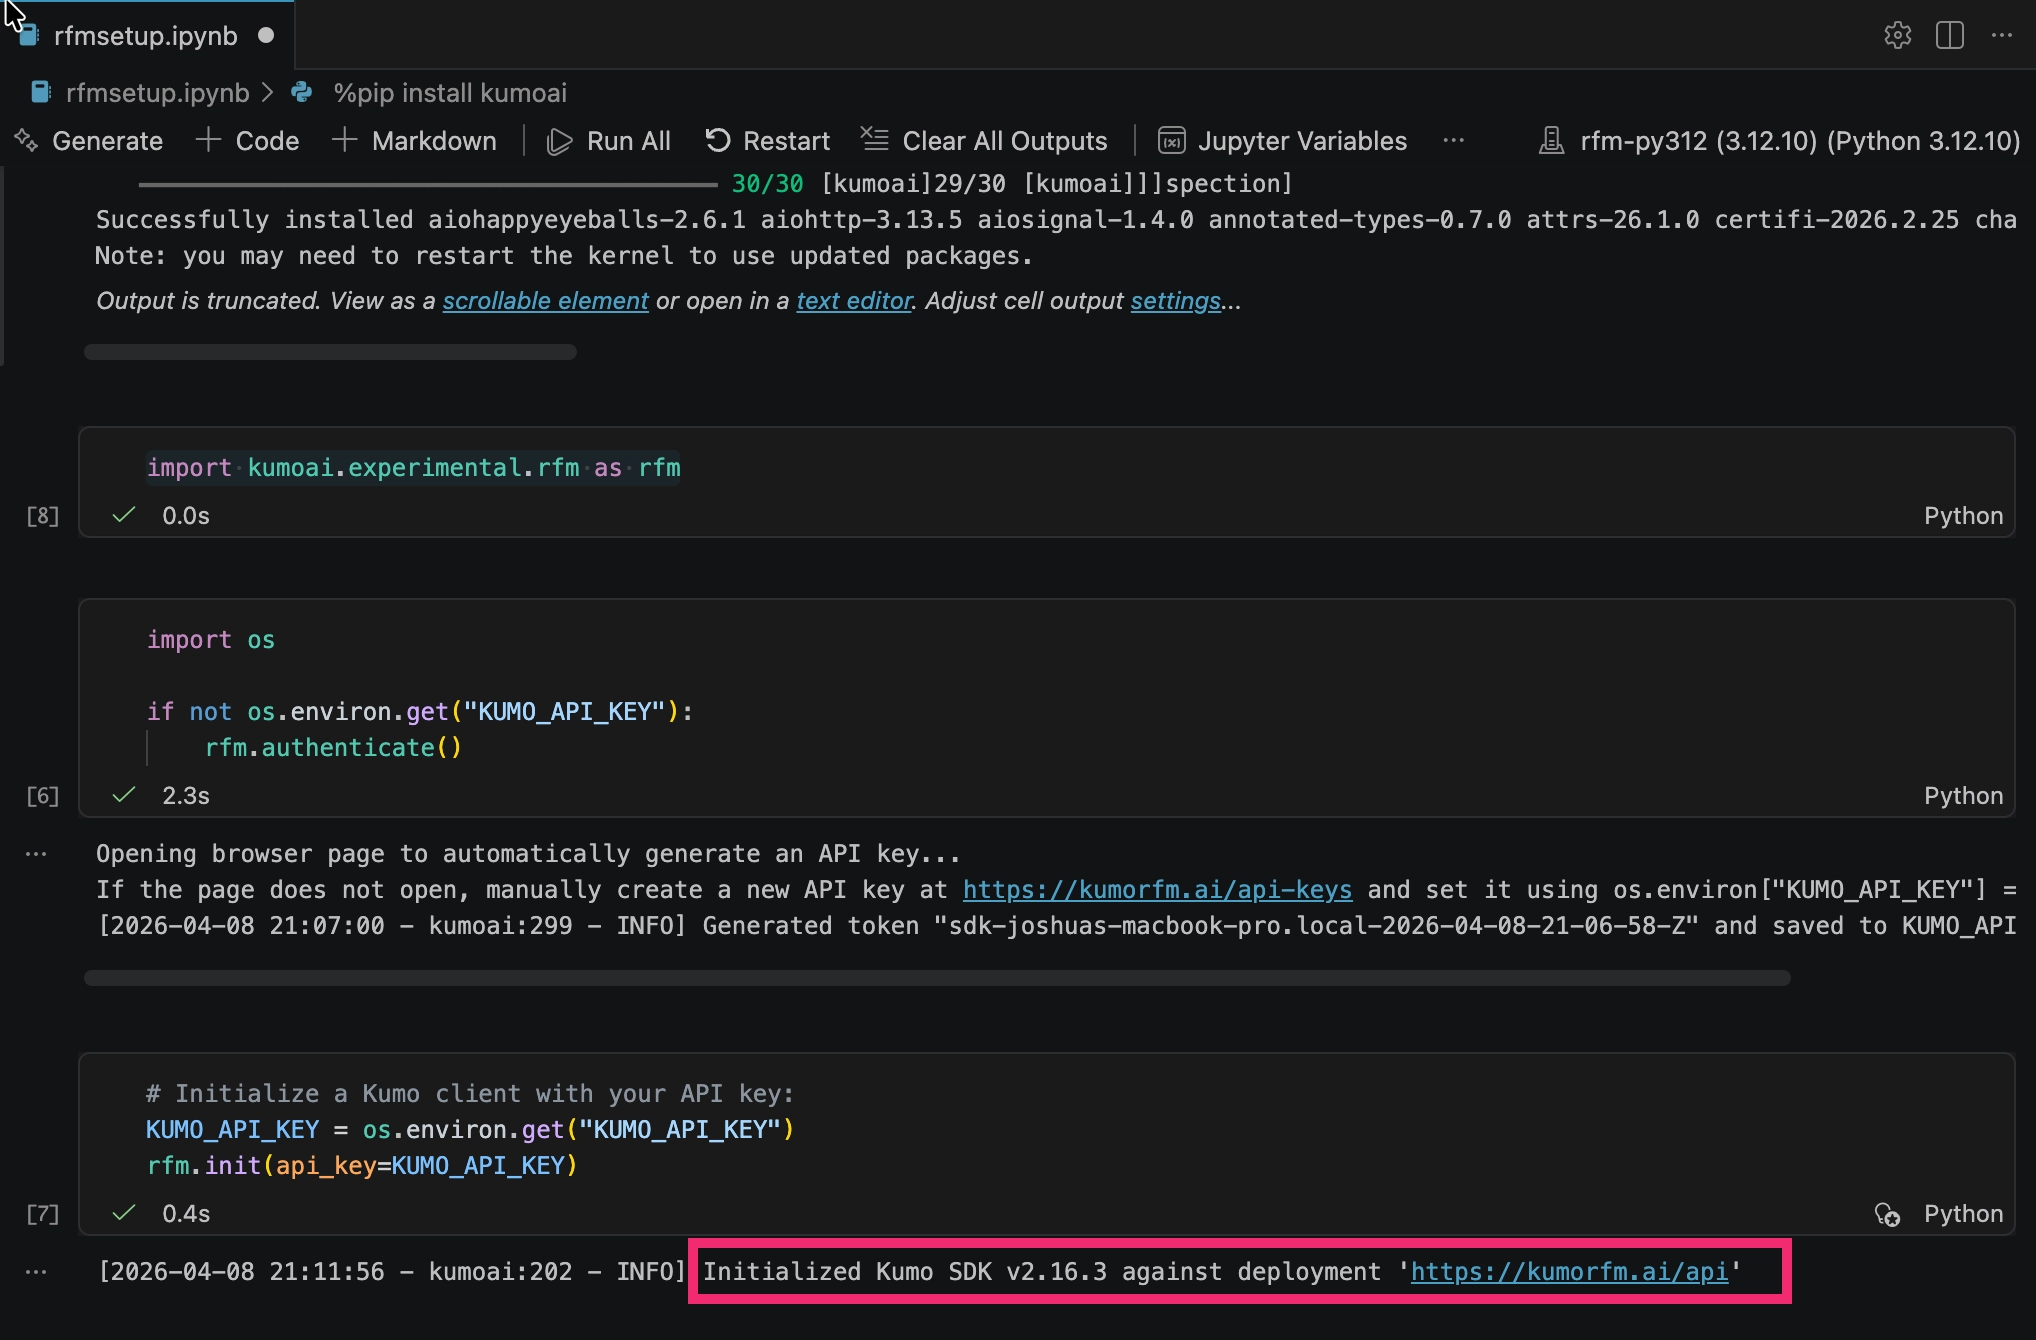
Step 4: Optional Dependencies
Install Graphviz:
The KumoSDK allows you to define and visualize a Kumo Graph, which represents data tables and the relationships between them.
To enable Kumo Graph visualization with KumoSDK, the Graphviz library must be installed correctly.
Installation requires:
dot— an executable that is part of the Graphviz library, installed at the system level- The
graphvizPython package installed in the notebook kernel
Check if dot is installed:
📓 Notebook cell
If this returns None, install Graphviz:
🖥 Terminal
Install the Python package:
📓 Notebook cell
Test that a simple graph renders:
📓 Notebook cell
Install Jinja2:
The KumoSDK requires Jinja2, a Python library used to style displayed outputs.
📓 Notebook cell
Part 2: Add a Coding Agent (Optional)
Choose one of the following to add an AI coding agent to your workflow:
Flow A — OpenAI Codex
Flow B — Anthropic Claude Code
Step 1: Install Extension
- Open VS Code Extensions (
Cmd + Shift + X) - Search for “Codex – OpenAI’s coding agent”
- Install the extension
Authenticate:
- Sign in with ChatGPT (recommended)
- Or configure
~/.codex/config.toml
Open Codex Chat using:
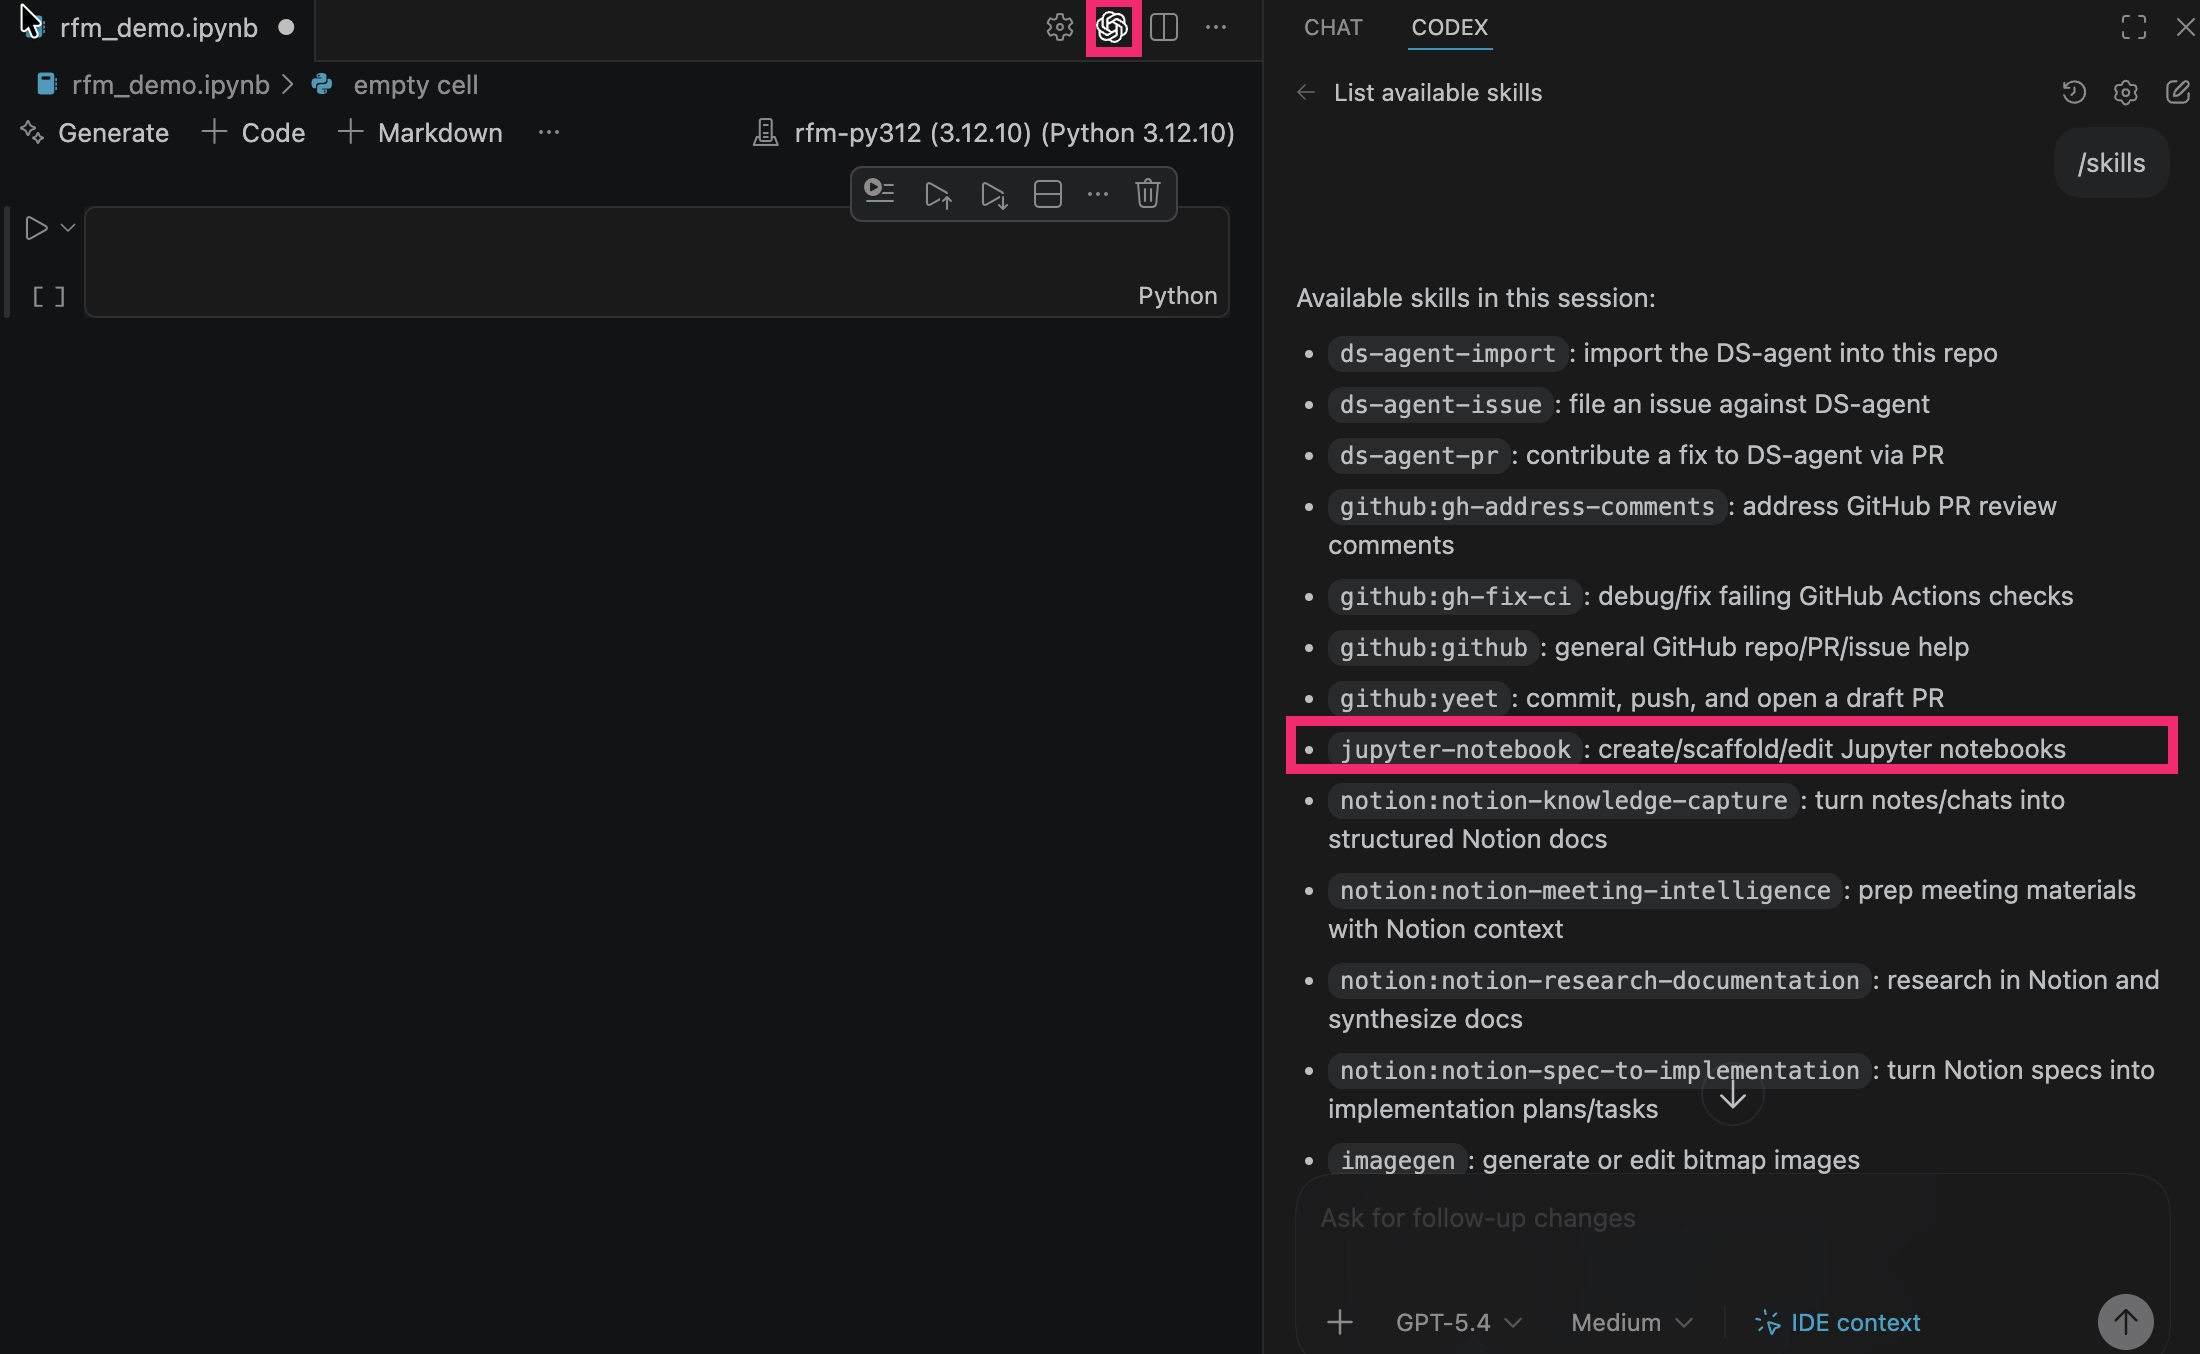
- The ChatGPT icon in the top-right corner added by the plugin
Reload VS Code if the extension does not appear.
Step 2: Install the Jupyter-Notebook skill
A Codex skill is a reusable set of instructions and resources that teaches Codex how to carry out a coding workflow consistently. In this case, you will add the Jupyter Notebook skill so Codex can create and modify Jupyter cells.
To check which skills are already available, run the following in Codex:
🤖 Codex
If the Jupyter Notebook skill is installed, you should see listed:
To install the skill, run:
🤖 Codex
Ensure GitHub CLI is installed and authenticated before running the skill installer. See prerequisites.
Step 3: Verify Codex is Working in Jupyter
Open the Codex panel and run:
🤖 Codex
Expected behavior:
The Codex agent can now modify files and notebooks, but you must still execute notebook cells manually.
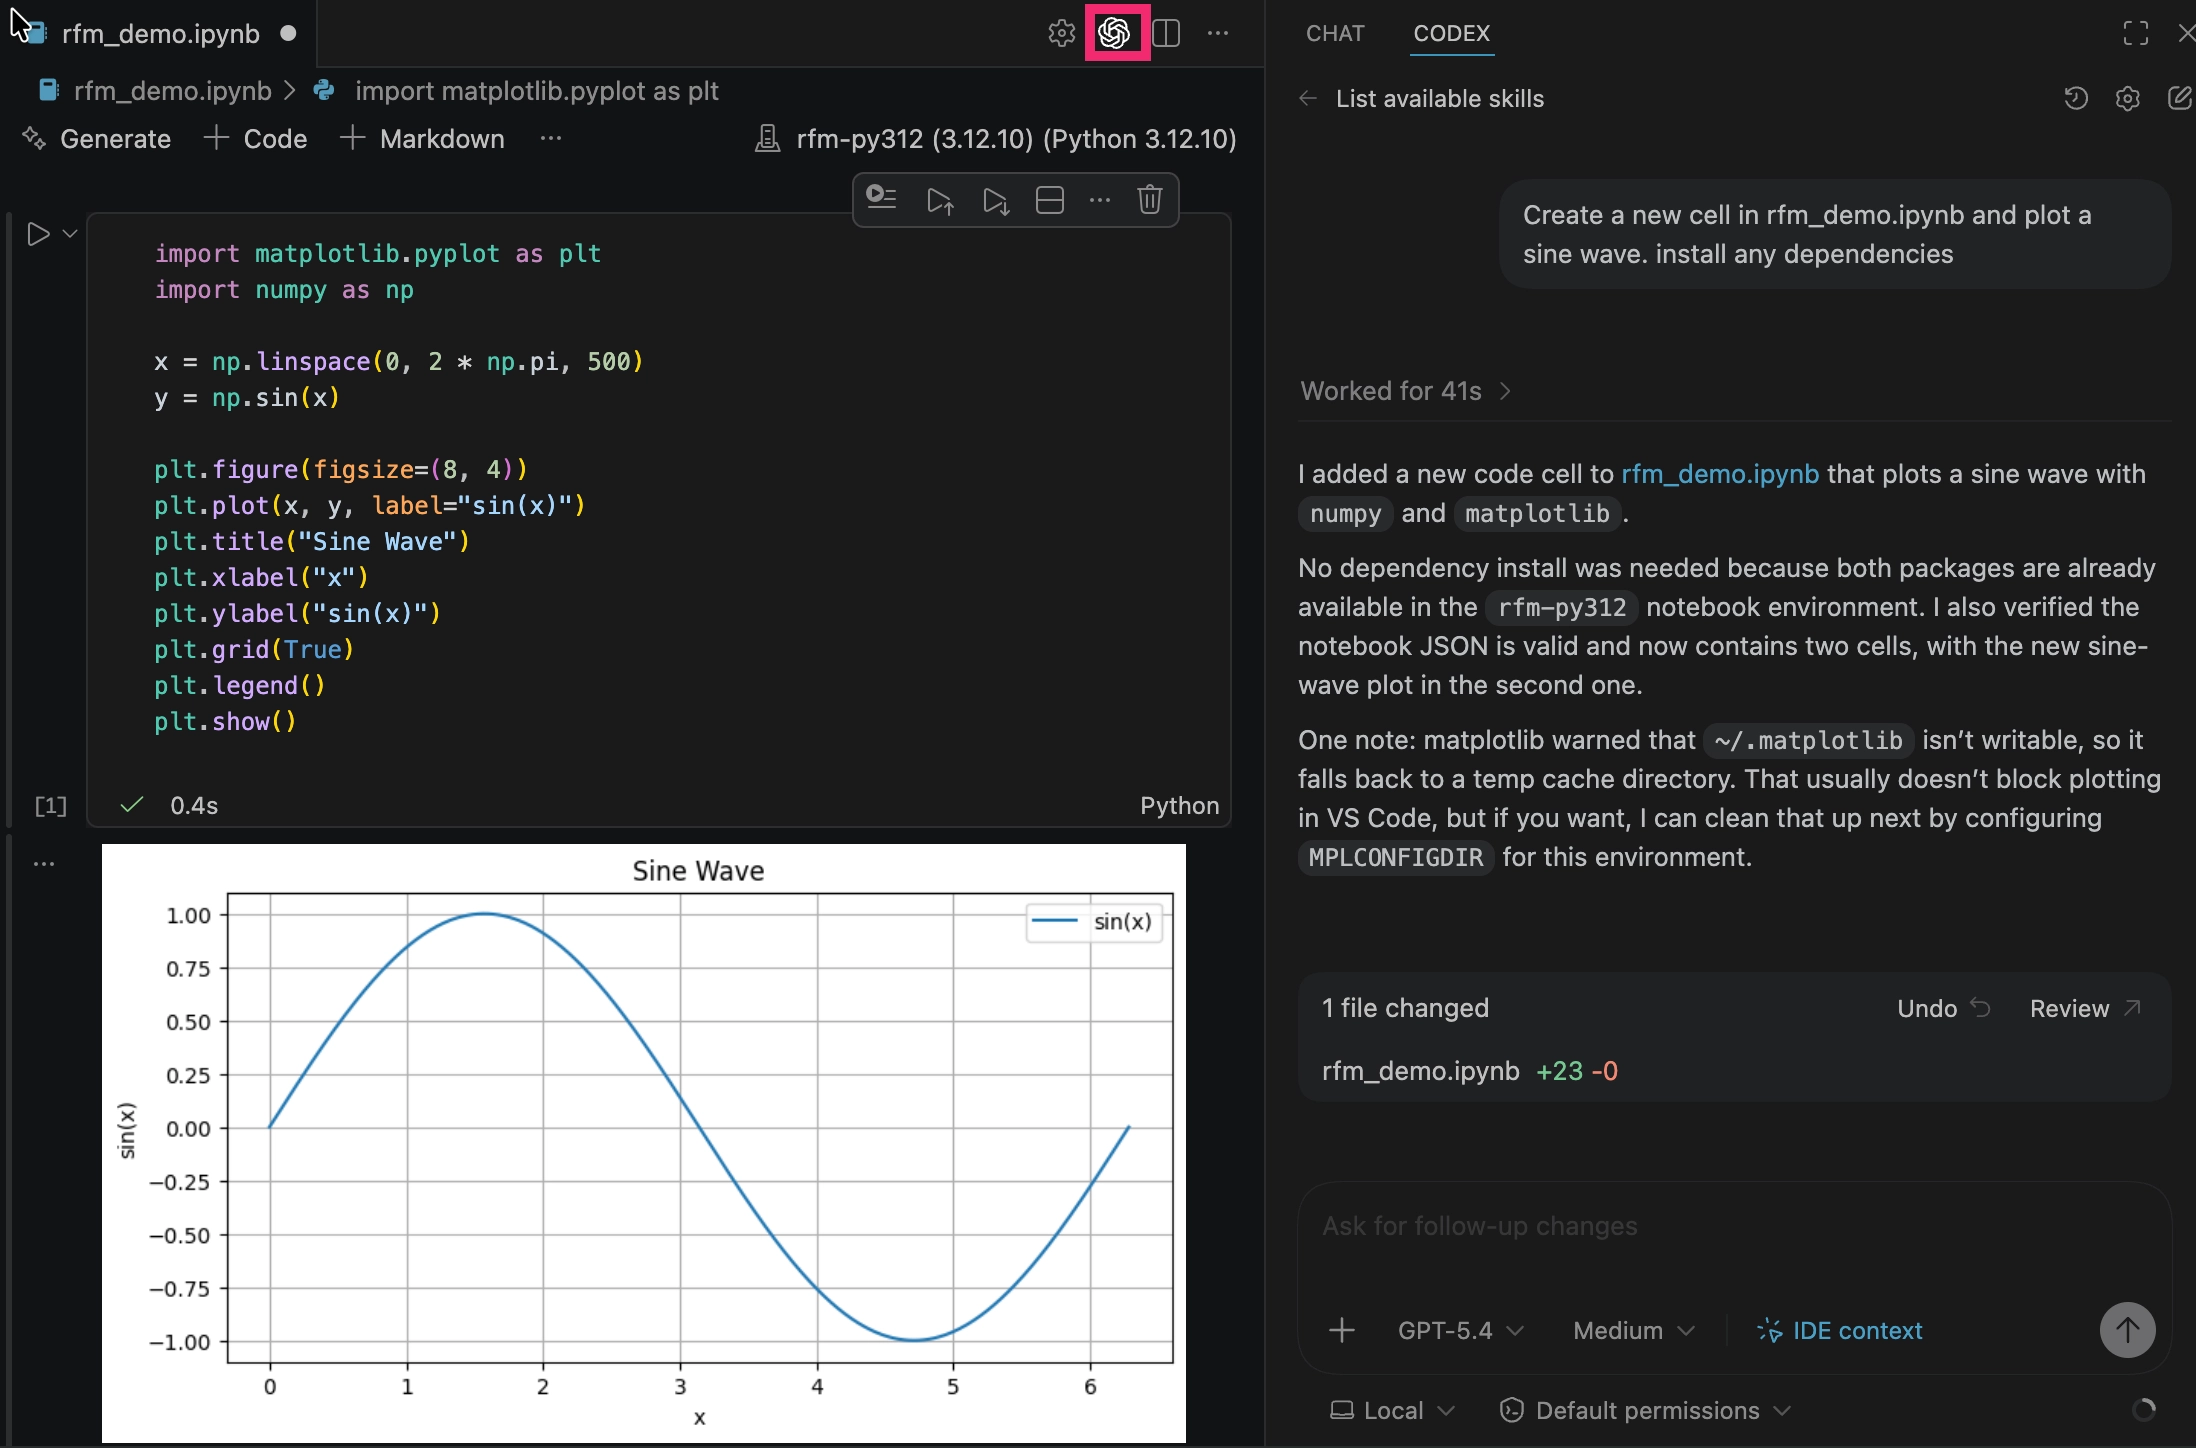
Step 4: Install Kumo Coding Agent
The Kumo Coding Agent has two parts:
- Context (knowledge base): Documentation, PQL rules, workflow guides, and data connector references that teach the agent how to use the Kumo platform. Installed by cloning the repository.
- Skills (slash commands): Actions like
/kumo-issueand/kumo-prfor reporting bugs and contributing fixes. Installed via the skill installer.
Install the context:
🖥 Terminal
This action adds a directory named kumo-coding-agent to your project. It contains the Kumo Coding Agent’s knowledge base. Confirm that this directory appears in your project.
Codex reads AGENTS.md automatically. No extra configuration needed.
Install the skills (optional). Inside a Codex session:
🤖 Codex
Step 5: Use the Kumo Coding Agent
Try a real prediction:
🤖 Codex
The agent will inspect the data, build a graph, and write PQL. You can then run the notebook end-to-end. If needed, authenticate the KumoSDK within the notebook before running the prediction.
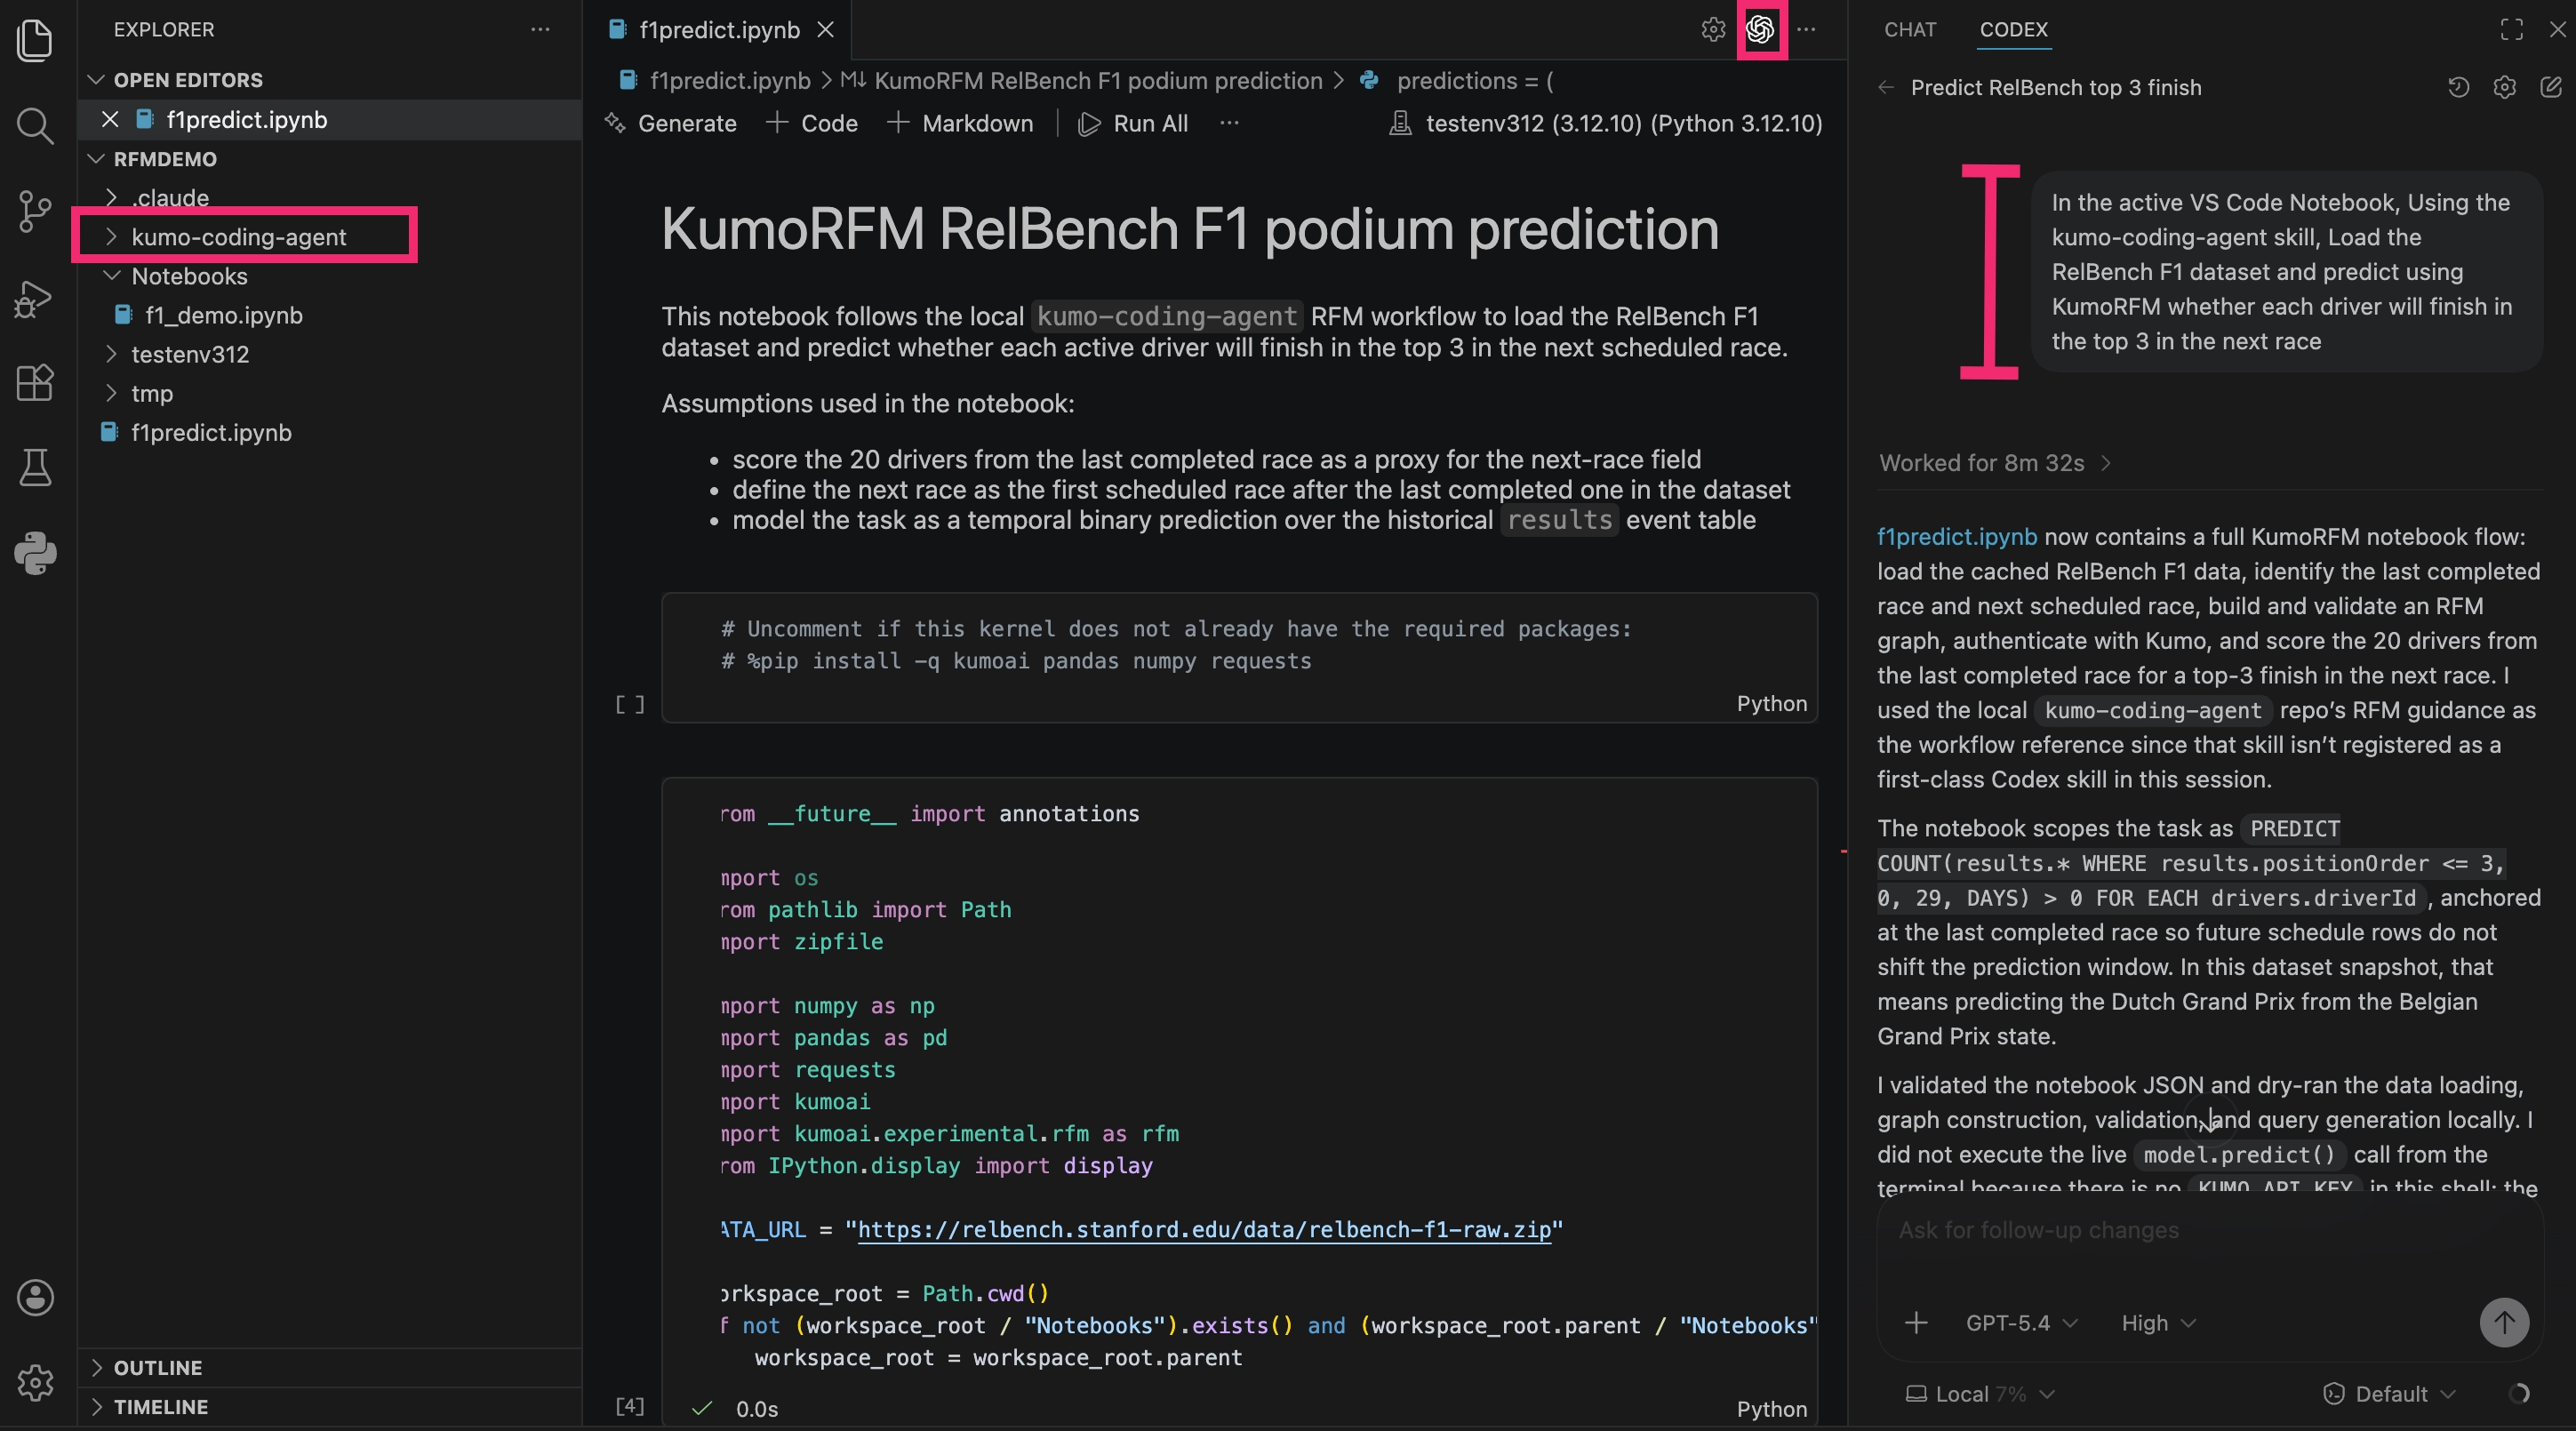
Before asking Codex to modify the notebook, save your changes first. If the notebook is not saved, VS Code may keep your unsaved version as the active notebook view and treat Codex’s edits as the previous file version. If you do not see Codex’s changes, try one of the following:
- Use the “Revert File” option in VS Code to refresh the notebook (
Cmd + Shift + P->Revert File) - Close the notebook tab and reopen it
You are now fully set up with KumoSDK and the Kumo Coding Agent. You can proceed to:
- the Kumo
Coding Agent Quick Startfor coding agent examples - the Kumo
SDK Quick Startto get familiar with core SDK functionality
Step 6 (Optional): Upgrade
Upgrade the KumoSDK:
📓 Notebook cell
Upgrade the Kumo Coding Agent:
🖥 Terminal
To pin to a specific version:
Troubleshooting
Notebook does not run
- Ensure the Jupyter extension is installed
- Ensure a kernel is selected
- Ensure Python version is 3.10–3.13
Kernel does not appear
- Restart VS Code
- Reopen the notebook
- Install
ipykernel
Wrong Python environment
- Re-select the kernel from Python Environments
kumoai cannot be imported
📓 Notebook cell
Restart the kernel after installation.
API key is missing
📓 Notebook cell
Next Steps
- Setup for SDK fundamentals
- Make Predictions for PQL query reference
- Kumo Coding Agent for agent source and skills