
Configuring x11vnc for Checking the GPU in a Linux Server#
x11vnc is a virtual network computing (VNC) server that provides remote access to an existing X session with any VNC viewer. You can use x11vnc to confirm that the NVIDIA GPU in a Linux server to which no display devices are directly connected is working as expected. Examples of servers to which no display devices are directly connected include a VM that is configured with NVIDIA vGPU, a VM that is configured with a pass-through GPU, and a headless physical host in a bare-metal deployment.
Before you begin, ensure that the following prerequisites are met:
The NVIDIA vGPU software software graphics driver for Linux is installed on the server.
A secure shell (SSH) client is installed on your local system:
On Windows, you must use a third-party SSH client such as PuTTY.
On Linux, you can run the SSH client that is included with the OS from a shell or terminal window.
Configuring x11vnc involves following the sequence of instructions in these sections:
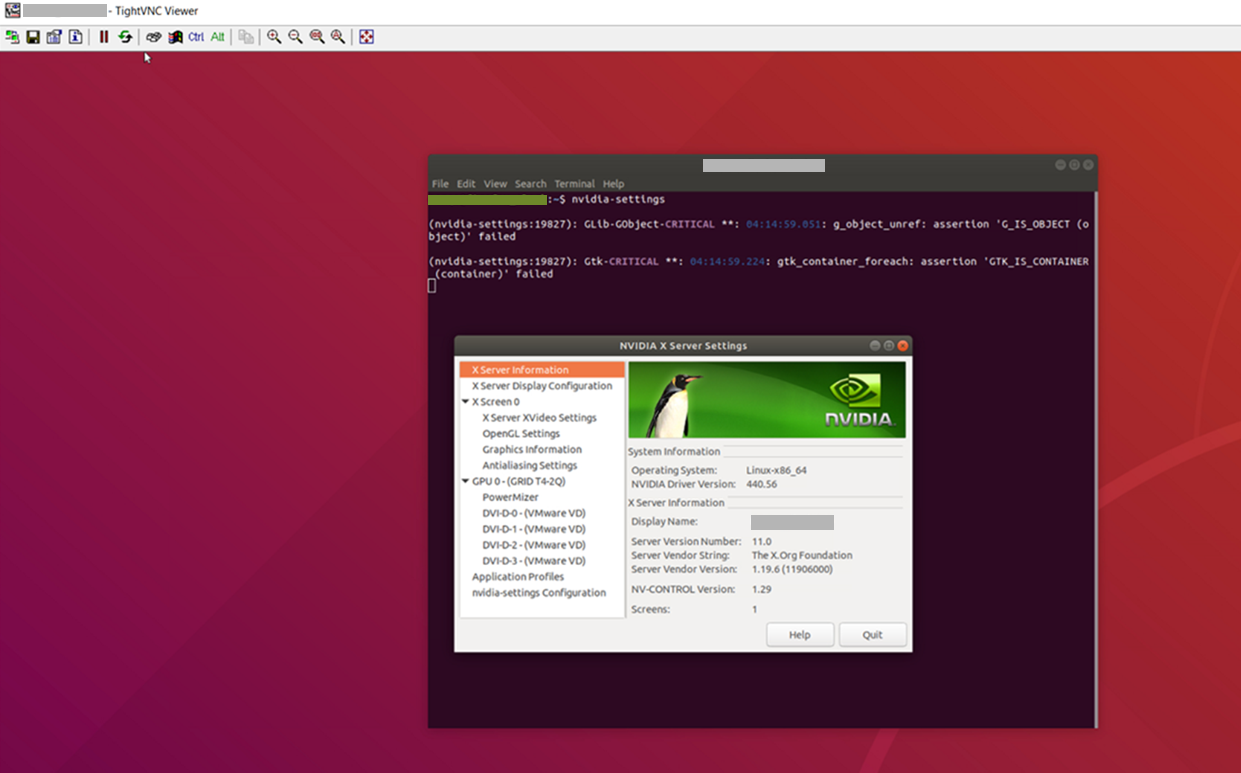
After connecting to the server, you can use NVIDIA X Server Settings to confirm that the NVIDIA GPU is working as expected.
Configuring the Xorg Server on the Linux Server#
You must configure the Xorg server to specify which GPU or vGPU is to be used by the Xorg server if multiple GPUs are installed in your server and to allow the Xorg server to start even if no connected display devices can be detected.
Log in to the Linux server.
Determine the PCI bus identifier of the GPUs or vGPUs on the server.
# nvidia-xconfig --query-gpu-info
Number of GPUs: 1

GPU #0:
  Name      : GRID T4-2Q
  UUID      : GPU-ea80de2d-1dd8-11b2-8305-c955f034e718
  PCI BusID : PCI:2:2:0

  Number of Display Devices: 0
In a plain text editor, edit the
/etc/X11/xorg.conffile to specify the GPU is to be used by the Xorg server and allow the Xorg server to start even if no connected display devices can be detected.In the
Devicesection, add the PCI bus identifier of GPU to be used by the Xorg server.Section "Device" Identifier "Device0" Driver "nvidia" VendorName "NVIDIA Corporation" BusID "PCI:2:2:0" EndSection
Note
The three numbers in the
PCI BusIDobtained bynvidia-xconfigin the previous step are hexadecimal numbers. They must be converted to decimal numbers in the PCI bus identifier in theDevicesection. For example, if the PCI bus identifier obtained in the previous step isPCI:A:10:0, it must be specified asPCI:10:16:0in the PCI bus identifier in theDevicesection.In the
Screensection, ensure that theAllowEmptyInitialConfigurationoption is set toTrue.Section "Screen" Identifier "Screen0" Device "Device0" Option "AllowEmptyInitialConfiguration" "True" EndSection
Restart the Xorg server in one of the following ways:
Restart the server.
Run the
startxcommand.If the Linux server is in run level 3, run the
init 5command to run the server in graphical mode.
Confirm that the Xorg server is running.
# ps -ef | grep X
On Ubuntu, this command displays output similar to the following example.
root     16500 16499  2 03:01 tty2     00:00:00 /usr/lib/xorg/Xorg -nolisten tcp :0 -auth /tmp/serverauth.s7CE4mMeIz
root      1140  1126  0 18:46 tty1     00:00:00 /usr/lib/xorg/Xorg vt1 -displayfd 3 -auth /run/user/121/gdm/Xauthority -background none -noreset -keeptty -verbose 3
root     17011 17108  0 18:50 pts/0    00:00:00 grep --color=auto X
On Red Hat Enterprise Linux, this command displays output similar to the following example.
root      5285  5181  0 16:29 pts/0    00:00:00 grep --color=auto X
root      5880     1  0 Jun13 ?        00:00:00 /usr/bin/abrt-watch-log -F Backtrace /var/log/Xorg.0.log -- /usr/bin/abrt-dump-xorg -xD
root      7039  6289  0 Jun13 tty1     00:00:03 /usr/bin/X :0 -background none -noreset -audit 4 -verbose -auth /run/gdm/auth-for-gdm-vr4MFC/database -seat seat0 vt1
Installing and Configuring x11vnc on the Linux Server#
Unlike other VNC servers, such as TigerVNC or Vino, x11vnc does not create an extra X session for remote access. Instead, x11vnc provides remote access to the existing X session on the Linux server.
Install the required
x11vncpackage and any dependent packages.For distributions based on Red Hat, use the
yumpackage manager to install thex11vncpackage.# yum install x11vnc
For distributions based on Debian, use the
aptpackage manager to install thex11vncpackage.# sudo apt install x11vnc
For SuSE Linux distributions, install x11vnc from the x11vnc openSUSE Software page.
Get the display numbers of the servers for the Xorg server.
# cat /proc/*/environ 2>/dev/null | tr '\0' '\n' | grep '^DISPLAY=:' | uniq
DISPLAY=:0
DISPLAY=:100
Start the x11vnc server, specifying the display number to use.
The following example starts the x11vnc server on display 0 on a Linux server that is running the Gnome desktop.
# x11vnc -display :0 -auth /run/user/121/gdm/Xauthority -forever \
-shared -ncache -bg
Note
If you are using a C-series vGPU, omit the
-ncacheoption.The x11vnc server starts on display
<hostname>:0, for example,my-linux-host:0.26/03/20200 04:23:13 The VNC desktop is: my-linux-host:0 PORT=5900
Using a VNC Client to Connect to the Linux Server#
On your client computer, install a VNC client such as TightVNC.
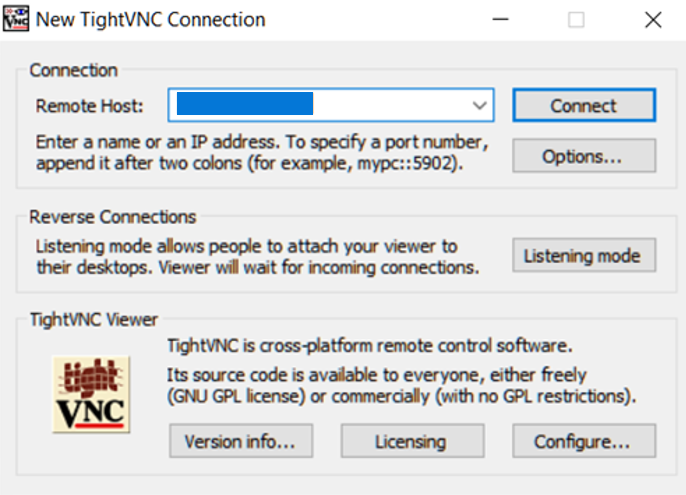
Start the VNC client and connect to the Linux server.
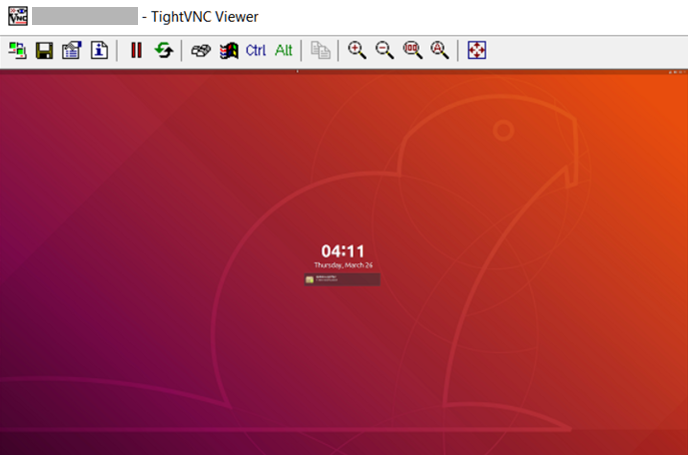
The X session on the server opens in the VNC client.
Troubleshooting: If your VNC client cannot connect to the server, change permissions on the Linux server as follows:
Allow the VNC client to connect to the server by making one of the following changes:
Disable the firewall and the
iptablesservice.Open the VNC port in the firewall.
Ensure that permissive mode is enabled for Security Enhanced Linux (SELinux).
After connecting to the server, you can use NVIDIA X Server Settings to confirm that the NVIDIA GPU is working as expected.